
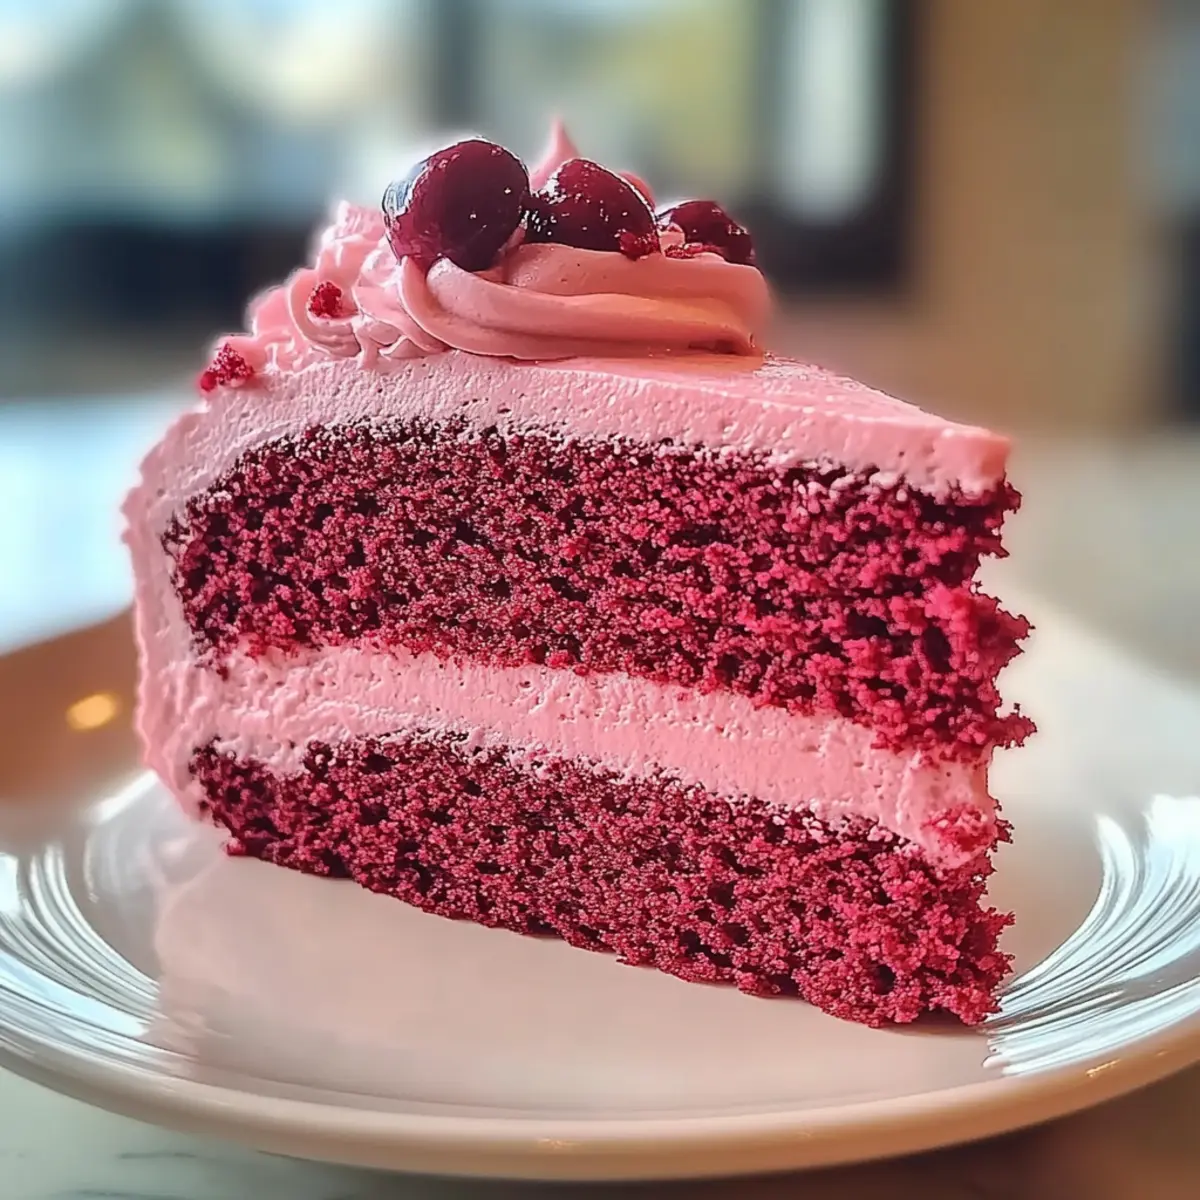
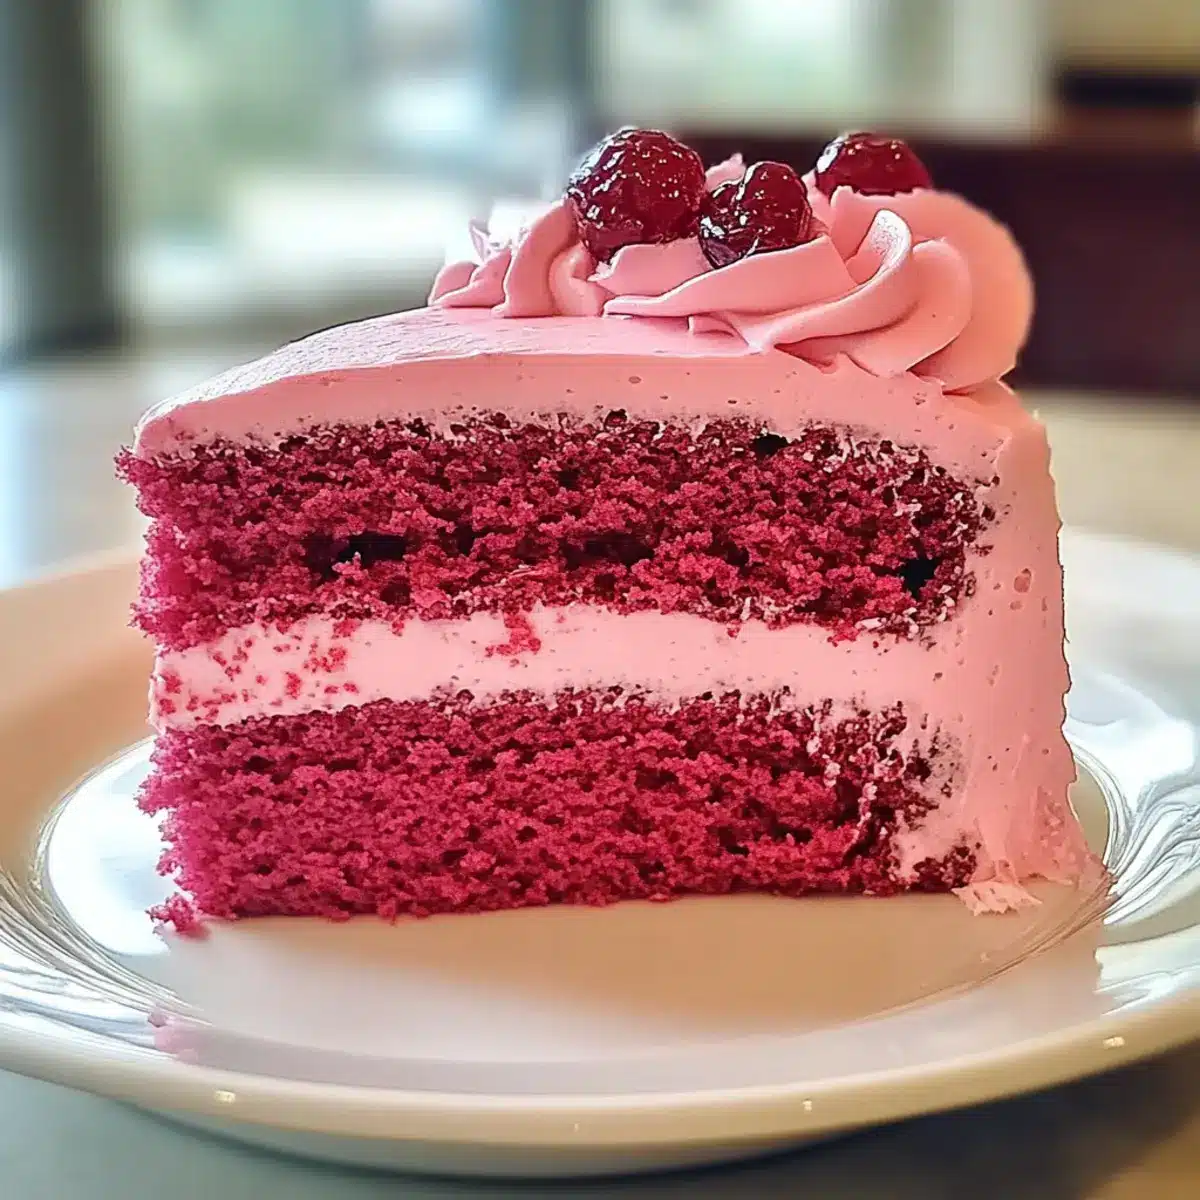
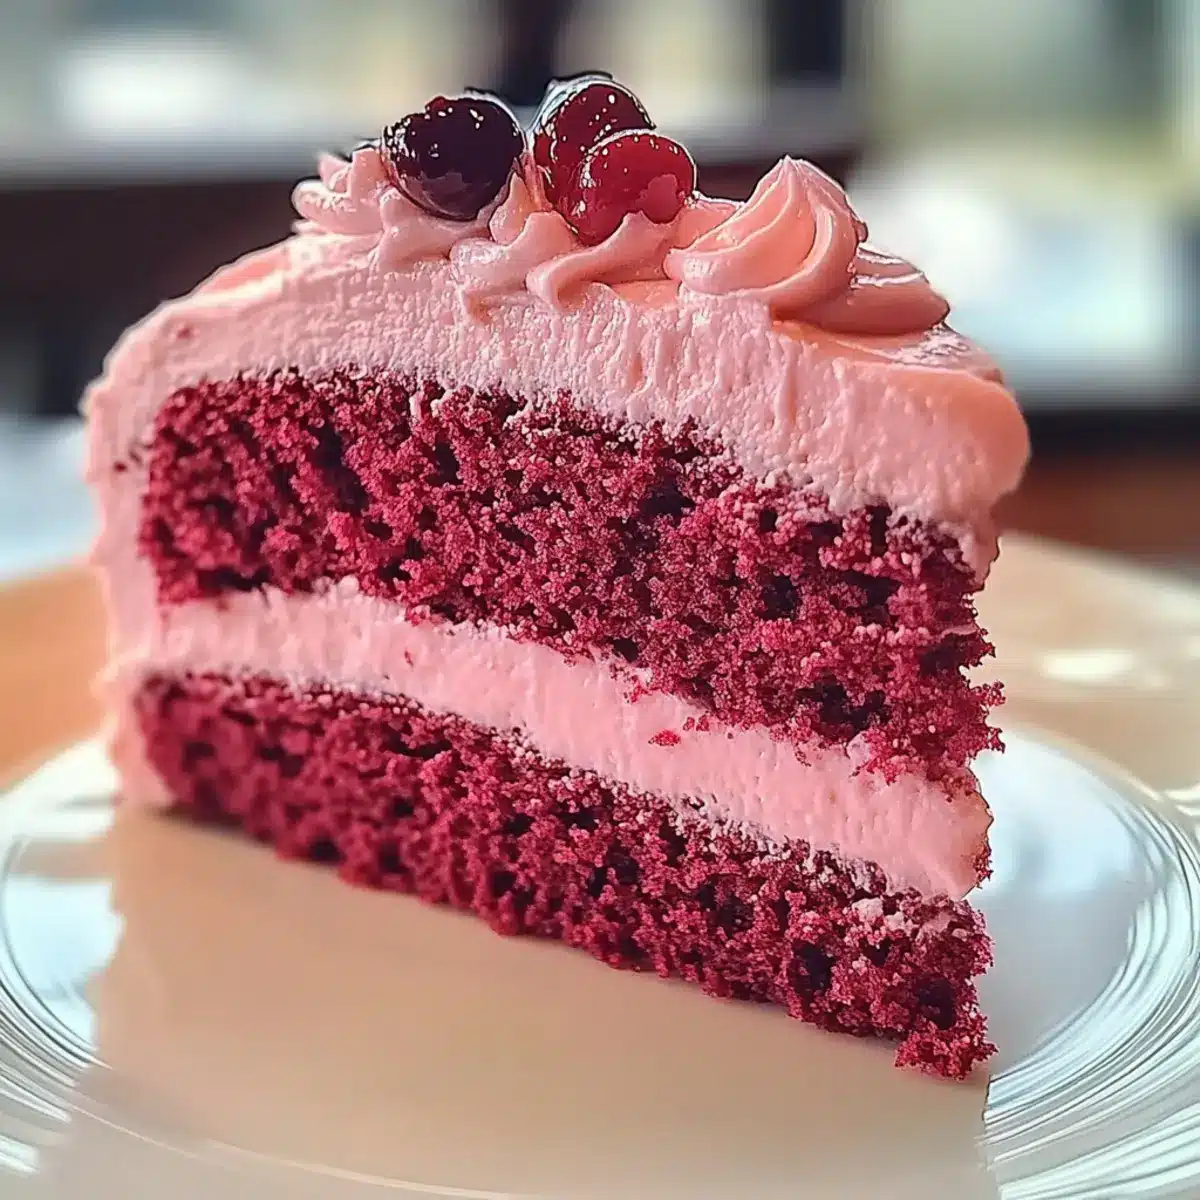
“Here we go again,” I thought, as I rummaged through my pantry, desperately searching for something to surprise my mom on Mother’s Day. That’s when I stumbled upon a vibrant bottle of food coloring, and instantly the idea struck me: an enchanting Pink Velvet Cake! This showstopper not only dazzles with its delightful hue but also boasts a soft, fluffy texture that melts in your mouth. As a bonus, it’s quick to whip up and transforms any gathering into a celebration. If you’re ready to unleash your inner baker and create a heartfelt dessert that’s both delicious and visually stunning, this Pink Velvet Cake is your perfect canvas. Are you curious about how to bring this confectionary dream to life?
Why Pink Velvet Cake Will Captivate You?
Irresistible Appeal: The charming pink hue and lush texture create a visual feast that can brighten any table setting.
Easy to Create: With simple ingredients and straightforward steps, even novice bakers will find delight in this cake.
Flavorful Layers: The luscious cream cheese frosting beautifully complements the rich undertones of cocoa, making each bite unforgettable.
Versatile Charm: Perfect for Mother’s Day or everyday celebrations—this cake easily transitions to every occasion.
Quick Bake Time: In just about an hour, you can whip up this showstopper, leaving you time to enjoy the celebration!
Ready to impress? Pair it with a dollop of freshly whipped cream or perhaps a side of fresh strawberries; the options are endless! If you’re in the mood for more delightful desserts, why not try our Mini Cheesecake Cups or Moist Pound Cake?
Pink Velvet Cake Ingredients
Prepare to bring your dreamy Pink Velvet Cake to life with these essential ingredients.
For the Cake
- Cake Flour – Provides structure and a light texture; can be substituted with all-purpose flour for a denser cake.
- Granulated Sugar – Adds delightful sweetness and moisture; ensure it’s creamed well with butter for optimal aeration.
- Unsweetened Cocoa Powder – Infuses rich chocolate flavor; avoid Dutch-processed cocoa to maintain vibrant color.
- Baking Powder – Acts as a leavening agent for a fluffy rise.
- Salt – Enhances flavor and balances the cake’s sweetness.
- Unsalted Butter – Creates a moist texture and rich flavor; soften at room temperature for easy creaming.
- Eggs (room temperature) – Contributes to structure and richness; letting them reach room temperature aids in proper emulsification.
- Buttermilk – Increases tenderness and adds a slight tang; yogurt can be used as a substitute for a similar effect.
- Pure Vanilla Extract – Provides a warm, aromatic flavor.
- Red Food Coloring – Achieves that enchanting pink hue without changing the flavor; adjust the amount according to your color preference.
For the Frosting
- Cream Cheese Frosting – Adds a luscious, creamy sweetness that beautifully complements the cake’s texture.
Now you’re ready to dive into the baking magic of this delightful Pink Velvet Cake!
Step‑by‑Step Instructions for Pink Velvet Cake
Step 1: Preheat the Oven and Prepare Pans
Begin by preheating your oven to 350°F (175°C). While the oven warms up, prepare two 9-inch round cake pans by greasing them with butter and dusting with flour to prevent the cake from sticking. This foundational step ensures your Pink Velvet Cake releases easily and maintains its beautiful shape after baking.
Step 2: Combine Dry Ingredients
In a large mixing bowl, sift together 2 cups of cake flour, 1 tablespoon of unsweetened cocoa powder, 1 teaspoon of baking powder, and ½ teaspoon of salt. Whisk these ingredients thoroughly to ensure even distribution, which is crucial for the rise and flavor of your cake. Set aside as you move to the next step of creating the rich batter.
Step 3: Cream Butter and Sugar
In another bowl, place ¾ cup of softened unsalted butter and 1 ½ cups of granulated sugar. Using an electric mixer, cream the butter and sugar together on medium speed for about 3 minutes, or until the mixture is light and fluffy. This aeration is key for a tender Pink Velvet Cake, so take the time to achieve the right consistency.
Step 4: Incorporate Eggs
With the butter and sugar mixture ready, add 3 room temperature eggs one at a time, mixing well after each addition. This step not only enriches the batter but also ensures a smooth consistency. Continue to beat until the mixture is fully combined and glossy, showcasing a lovely golden hue before moving on.
Step 5: Add Wet Ingredients
Next, mix in 1 cup of buttermilk, 2 teaspoons of pure vanilla extract, and 2 tablespoons of red food coloring. Stir the mixture until all the ingredients are thoroughly combined, creating a vibrant batter. The addition of buttermilk contributes to the cake’s tenderness, while the food coloring gives that enchanting pink hue essential to your Pink Velvet Cake.
Step 6: Combine Wet and Dry Mixtures
Gradually add the dry ingredient mixture to the wet batter in three parts, folding gently with a spatula. Mix just until combined to maintain the airiness of the batter, which is crucial for a fluffy cake. Avoid over-mixing during this step, as it can lead to a denser texture.
Step 7: Divide and Bake
Carefully pour the prepared batter evenly into the two greased cake pans. Smooth the tops with the spatula, ensuring an even spread. Place the pans in the preheated oven and bake for 25 to 30 minutes. To check for doneness, insert a toothpick in the center of the cakes—if it comes out clean, they are ready!
Step 8: Cool the Cakes
Once baked, remove the cakes from the oven and allow them to cool in the pans for 10 minutes. After this cooling period, carefully invert them onto wire racks to cool completely. This step is vital for ensuring they are the right texture and temperature before frosting.
Step 9: Frost the Cake
Once fully cooled, take your luscious cream cheese frosting and generously spread it between the layers of your Pink Velvet Cake and on the top. Use a spatula to create a smooth finish, embracing the playful aesthetic of this cake. The creamy frosting will enhance both the flavor and presentation, making your cake irresistible.
Expert Tips for Pink Velvet Cake
-
Proper Creaming: Ensure you cream the butter and sugar until light and fluffy—this is essential for a well-risen Pink Velvet Cake.
-
Room Temperature Ingredients: Always use room temperature eggs and buttermilk; this helps them emulsify better, leading to a smoother batter.
-
Gentle Folding: When combining wet and dry ingredients, fold gently to avoid deflating the batter; over-mixing can lead to a dense cake.
-
Doneness Test: Use a toothpick to check if the cake is done; it should come out clean. This step helps you avoid an underbaked or overbaked Pink Velvet Cake.
-
Cooling Time: Allow the cakes to cool completely before frosting. This ensures that the cream cheese frosting doesn’t melt, preserving the cake’s beautiful layers.
Make Ahead Options
These enchanting Pink Velvet Cakes are perfect for busy home cooks looking to save time and enjoy delightful desserts! You can prepare the cake layers up to 24 hours in advance. Simply bake the cakes, allow them to cool completely, and then tightly wrap them in plastic wrap before refrigerating to maintain moisture and freshness. For the cream cheese frosting, prepare it ahead of time and store it in an airtight container in the fridge for up to 3 days. When you’re ready to serve, just frost the cooled cakes and let them sit at room temperature for 30 minutes before cutting. This way, you’ll have a stunning dessert ready with minimal effort, just as delicious as if you made it that day!
What to Serve with Enchanting Mother’s Day Pink Velvet Cake
Create the perfect celebration with delicious accompaniments that enhance this cake’s vibrant flavor and texture.
-
Fresh Strawberries: Their sweet, juicy flavor beautifully complements the rich cocoa notes, adding a refreshing element that elevates your cake experience.
-
Whipped Cream: A dollop of freshly whipped cream provides a light, airy contrast, enhancing the cake’s plush texture for a decadent dessert moment.
-
Chocolate Ganache: Drizzling warm chocolate ganache adds a luxurious touch, creating an indulgent pairing that deepens the rich flavor profile of your Pink Velvet Cake.
-
Vanilla Ice Cream: This classic pairing brings a cool creaminess, balancing the cake’s sweetness while providing a delightful temperature contrast.
-
Sparkling Lemonade: Pairing with bubbly lemonade adds a zesty brightness that cuts through the richness. Sip while enjoying your cake for a refreshing experience.
-
Cream Cheese Mints: These little bites echo the cream cheese frosting flavors, creating a cohesive dessert theme that leaves guests wanting more.
Embrace creativity and delight your guests as you serve heartwarming slices of Pink Velvet Cake alongside these fantastic pairings!
How to Store and Freeze Pink Velvet Cake
Room Temperature: Store the Pink Velvet Cake in an airtight container at room temperature for up to 3 days to maintain its moist texture and flavor.
Fridge: If you need to keep the cake longer, refrigerate it in an airtight container for up to 5 days. Just make sure to bring it to room temperature before serving for the best experience.
Freezer: For longer storage, wrap individual slices tightly in plastic wrap, then place them in a freezer-safe bag. The Pink Velvet Cake can be frozen for up to 3 months without losing its delightful taste and texture.
Reheating: To enjoy frozen slices, simply thaw them in the refrigerator overnight. You can also briefly warm individual slices in the microwave for 10-15 seconds for a fresh-from-the-oven taste.
Pink Velvet Cake Variations & Substitutions
Feel free to get creative with your Pink Velvet Cake; these fun twists will leave your friends and family in awe!
-
Buttermilk Swap: Use yogurt instead of buttermilk for a tangy twist that keeps the cake moist and tender.
You’ll still achieve that delicious fluffiness with this simple change. -
Flavor Boost: Add almond extract alongside vanilla for a lovely nutty flavor that beautifully enhances the pink delight.
This perfect pairing adds a unique character to every bite! -
Fruity Freshness: Top your cake with fresh berries like strawberries or raspberries for a refreshing contrast and a pop of color.
This fruity addition not only beautifies the presentation but adds an irresistible taste. -
Choco Twist: Mix in chocolate chips into the batter for a rich surprise that chocolate lovers will swoon over.
It offers a delightful bite with every forkful! -
Vegan Option: Replace eggs with flaxseed meal (1 tablespoon flaxseed with 3 tablespoons water = 1 egg) and use plant-based butter plus almond milk instead of buttermilk.
You can still enjoy the festive flavors and textures without eggs or dairy! -
Cocoa Depth: Consider increasing the amount of cocoa powder for a more chocolatey experience.
You can bring out richer flavors and a deeper hue, making your cake even more decadent. -
Spice It Up: Add a hint of cinnamon or nutmeg to the dry ingredients for a warm, spiced flavor that complements the sweet notes.
This subtle change can elevate your cake to new heights of deliciousness.
Need more delicious ideas? Check out our delightful Butter Pecan Cupcakes for a nutty alternative or dive into our tempting Fried Strawberry Cheesecake for a unique twist!
Pink Velvet Cake Recipe FAQs
How do I choose the right type of flour for my Pink Velvet Cake?
I recommend using cake flour as it provides the light, airy texture that a Pink Velvet Cake is known for. However, if you only have all-purpose flour on hand, you can use it instead, keeping in mind that the cake may turn out a bit denser.
What’s the best way to store leftover Pink Velvet Cake?
To keep your cake fresh, store it in an airtight container at room temperature for up to 3 days. If you need to store it longer, place it in the refrigerator for up to 5 days, but make sure to ensure it’s at room temperature before serving to enhance its flavors.
Can I freeze Pink Velvet Cake, and what’s the best method?
Absolutely! To freeze your Pink Velvet Cake, wrap individual slices tightly in plastic wrap, then place them in a freezer-safe bag or container. The cake can be stored in the freezer for up to 3 months without compromising its delightful taste and texture. When you’re ready to enjoy, simply thaw it in the refrigerator overnight.
What should I do if my cake doesn’t rise properly?
If your Pink Velvet Cake doesn’t rise as expected, it could be due to under-creaming the butter and sugar or using stale baking powder. Make sure to cream the butter and sugar until light and fluffy before adding the eggs, and always use fresh leavening agents. As a tip, always test your baking powder by adding a teaspoon to warm water; if it fizzes, it’s still good to use!
Can I make substitutions for any of the ingredients?
Indeed! If you don’t have buttermilk, you can substitute it with yogurt for a similar tanginess, or mix one cup of milk with one tablespoon of vinegar and let it sit for a few minutes. If you have any dietary restrictions like lactose intolerance, consider using non-dairy butter and cream cheese alternatives that taste just as wonderful in creating this charming dessert.
Is this Pink Velvet Cake safe for children and pets?
Yes, the ingredients used in this Pink Velvet Cake are generally safe for children; just keep an eye on the sugar content. However, avoid feeding it to pets as chocolate (from cocoa powder) is toxic to dogs and cats. Always ask your vet for specific dietary guidance for your furry friends.

Delightful Pink Velvet Cake: A Whimsical Treat for All Occasions
Ingredients
Equipment
Method
- Preheat the oven to 350°F (175°C) and prepare two 9-inch round cake pans by greasing with butter and dusting with flour.
- In a large bowl, sift together the cake flour, cocoa powder, baking powder, and salt.
- In another bowl, cream the butter and sugar together until light and fluffy.
- Add the eggs one at a time to the butter-sugar mixture, mixing well after each addition.
- Mix in buttermilk, vanilla extract, and food coloring until thoroughly combined.
- Gradually add the dry mixture to the wet batter, folding gently.
- Divide the batter evenly between the two prepared pans and bake for 25 to 30 minutes.
- Allow the cakes to cool in the pans for 10 minutes before inverting onto wire racks.
- Once cooled, spread cream cheese frosting between the cake layers and on top.
Leave a Reply