
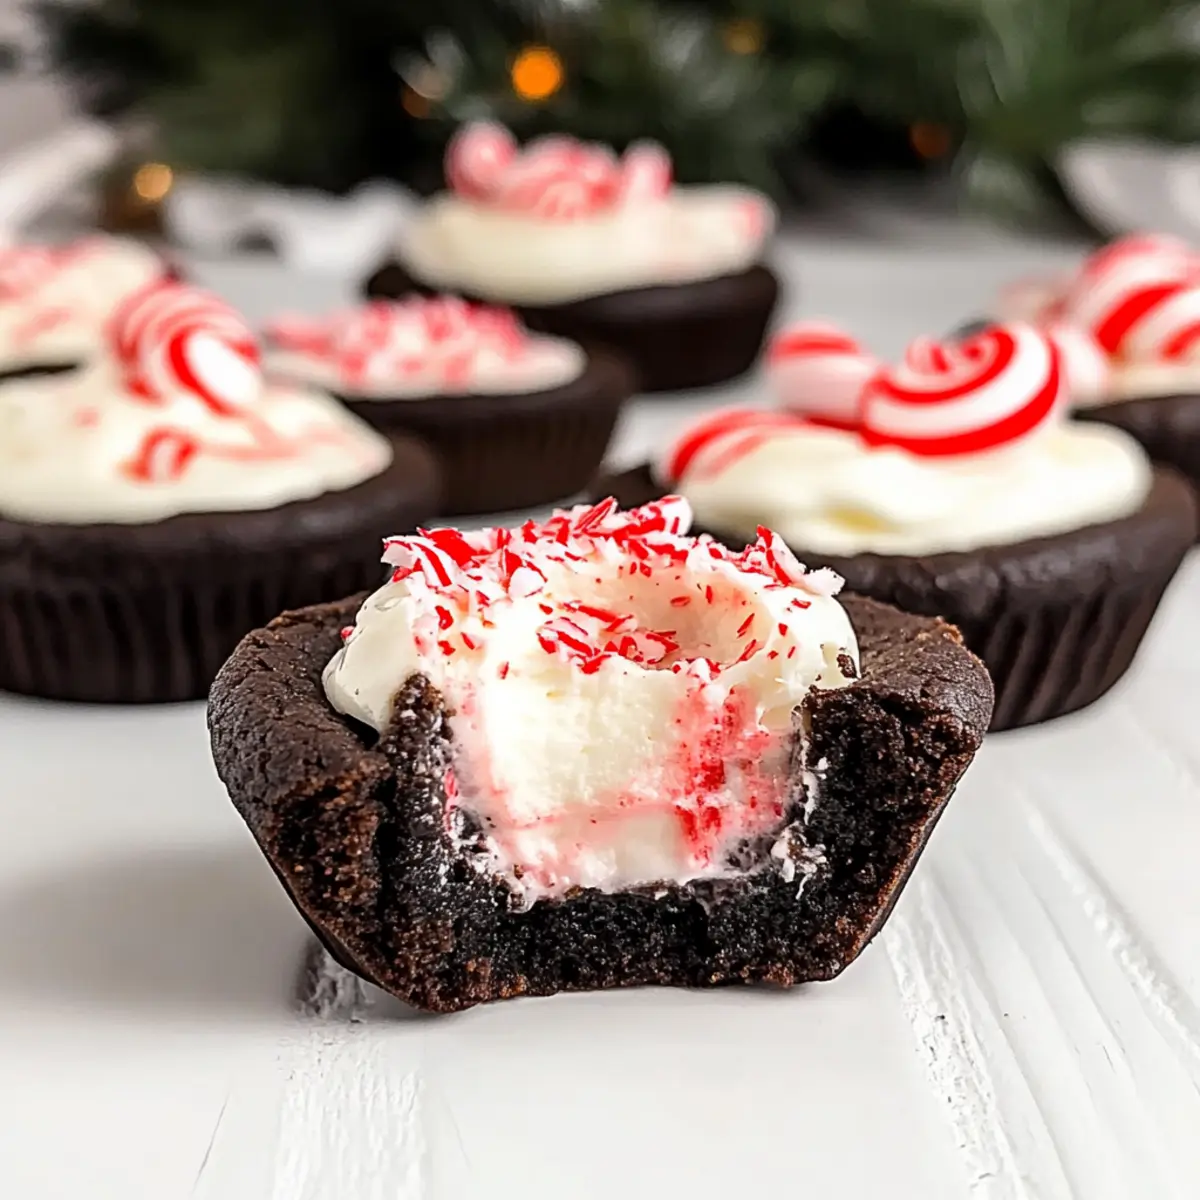
The holiday season is all about creating sweet memories, and nothing encapsulates that more than these delightful Chocolate Peppermint Cookie Cups. With a rich chocolate base cradling a fluffy peppermint cheesecake filling, each bite is a joyful blend of festive flavors. These cookie cups are not only a crowd-pleaser but also perfect for make-ahead baking, allowing you to save time during those bustling holiday weeks. Imagine surprising your friends and family with a treat that’s both nostalgic and unique, topped with crunchy candy canes for that extra pop of excitement! Trust me, you’ll want to keep this recipe in your holiday rotation. Are you ready to whip up some magic in your kitchen?
Why are Chocolate Peppermint Cups a Must-Try?
Irresistible Holiday Charm: These cookie cups capture the essence of the season, combining rich chocolate and fresh peppermint for a festive treat.
Make-Ahead Convenience: Prepare them in advance, freeing up time for other holiday festivities without sacrificing flavor!
Versatile Variations: Feel free to experiment by using different extracts or toppings, like Raspberry Filled Cookies or even Mini Cheesecake Cups for a twist.
Crowd Pleaser: Perfect for holiday gatherings, these treats are sure to be the talk of the dessert table!
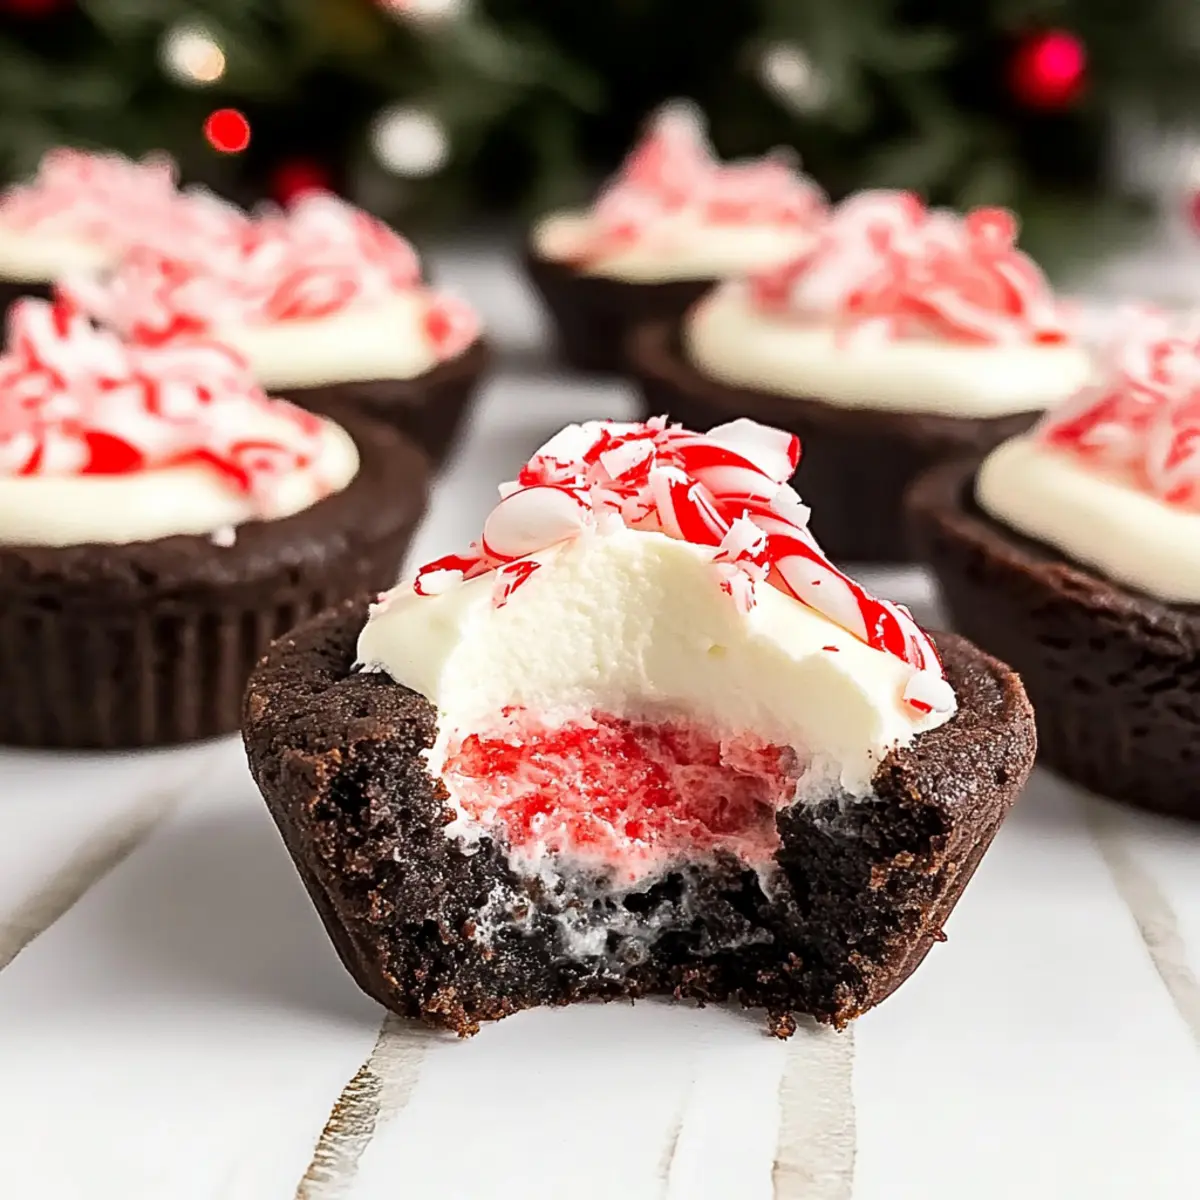
Decadent Delight: The combination of a soft chocolate base and airy filling creates a symphony of texture and flavor in every bite.
Chocolate Peppermint Cookie Cups Ingredients
These festive cookies are ready to shine at your next holiday gathering!
For the Cookie Base
- All-Purpose Flour – Provides structure to the cookie cups. Substitute with gluten-free flour if desired.
- Dutch-Processed Cocoa Powder – Adds deep chocolate flavor and color. Can be replaced with regular cocoa powder.
- Black Cocoa Powder – Gives a darker color and slight Oreo flavor. Substitute with more Dutch-processed cocoa if unavailable.
- Baking Soda – Leavening agent to help cookies rise. Ensure it’s fresh for best results.
- Salt – Enhances flavor; do not skip even in sweet recipes.
- Unsalted Butter – Adds moisture and richness. Can use salted butter, but reduce additional salt in the recipe.
- Granulated Sugar – Sweetens the cookie base. Can substitute with coconut sugar for a lower glycemic option.
- Light Brown Sugar – Contributes moisture and a slight caramel flavor. Dark brown sugar can be used for a deeper taste.
- Eggs – Provide structure and moisture. Use room temperature eggs for better incorporation.
- Vanilla Extract – Adds flavor depth; use pure vanilla extract for the best quality.
For the Cheesecake Filling
- Heavy Whipping Cream – For a rich, fluffy cheesecake filling; must be chilled for proper whipping.
- Cream Cheese – Forms the base of the cheesecake filling. Use full-fat for creaminess.
- Granulated Sugar (in filling) – Sweetens the cheesecake.
- Peppermint Extract – Infuses the filling with holiday flavor. Adjust quantity for stronger or milder taste.
- Red Color Gel – Optional for aesthetic appeal in the piping; regular food coloring can be used.
For the Topping
- Candy Canes – Topping for crunch and festive look. Can be omitted for a simpler presentation.
Step‑by‑Step Instructions for Chocolate Peppermint Cookie Cups
Step 1: Preheat the Oven
Begin by preheating your oven to 350°F (175°C). While the oven warms up, grease two standard cupcake tins with cooking spray. This will ensure the cookie cups release easily after baking. Get ready to whip up your delightful Chocolate Peppermint Cookie Cups as the oven reaches the right temperature!
Step 2: Prepare Dry Ingredients
In a medium bowl, whisk together the all-purpose flour, Dutch-processed cocoa powder, black cocoa powder, baking soda, and salt until well combined. This step is essential for even distribution of ingredients, providing a rich foundation for your cookie cups. Set this mixture aside as you move on to the next delicious step.
Step 3: Cream the Butter and Sugars
In a stand mixer, combine the unsalted butter, granulated sugar, and light brown sugar. Beat the mixture on medium speed for 2-3 minutes or until it becomes light and fluffy. This creaming process is crucial for incorporating air into the batter, enriching the texture of your Chocolate Peppermint Cookie Cups.
Step 4: Incorporate Eggs and Vanilla
Add in the eggs one at a time, mixing well after each addition. Then, pour in the vanilla extract and blend until fully incorporated. Make sure everything is combined smoothly; this will enhance the flavor and moisture in your cookie cups, setting the stage for a wonderfully rich experience.
Step 5: Combine the Mixtures
Gradually add the dry ingredient mixture to the creamed butter and sugars, mixing on low speed until just combined. Avoid overmixing, as this can result in tough cookie cups. You want a soft dough that is well-blended, which is essential for the perfect Chocolate Peppermint Cookie Cups.
Step 6: Bake and Create Wells
Using a cookie scoop, portion the dough into the greased cupcake tins, filling each cup about two-thirds full. Bake in the preheated oven for 10-13 minutes. As soon as they come out of the oven, immediately press a jar or spoon into the center of each cookie to create a well for the filling. This will shape your cookie cups perfectly!
Step 7: Cool the Cookie Cups
Allow the cookie cups to cool in the pan for about 10 minutes before gently transferring them to a wire rack. This step will help them firm up while preventing them from becoming soggy. Let them cool completely before preparing the filling, ensuring the best texture for your Chocolate Peppermint Cookie Cups.
Step 8: Make the Cheesecake Filling
In a large bowl, whip the heavy cream using an electric mixer until stiff peaks form. In another bowl, combine the cream cheese, sugar, and peppermint extract, blending until smooth. Gradually fold in the whipped cream until fully incorporated, creating a light and airy filling that complements your cookie cups beautifully.
Step 9: Pipe the Filling
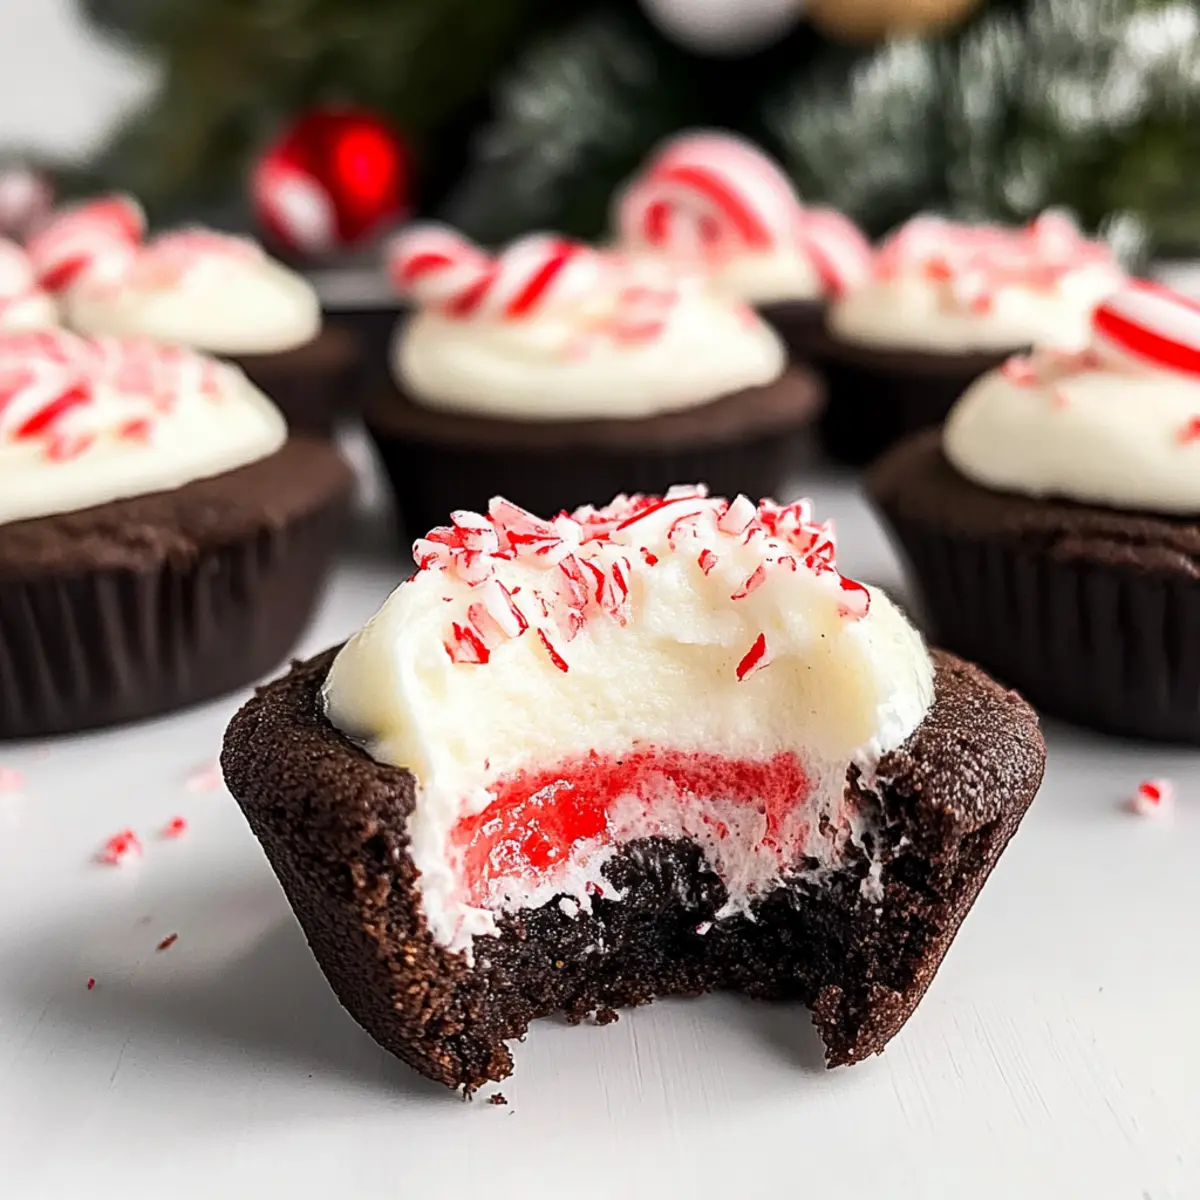
Prepare a piping bag with the cheesecake mixture and fill the cooled cookie cups generously. You can add some decorative flair by using a striped piping technique with red color gel if desired. Refrigerate the filled cookie cups for at least 1-2 hours to allow them to set and develop flavor.
Step 10: Garnish and Serve
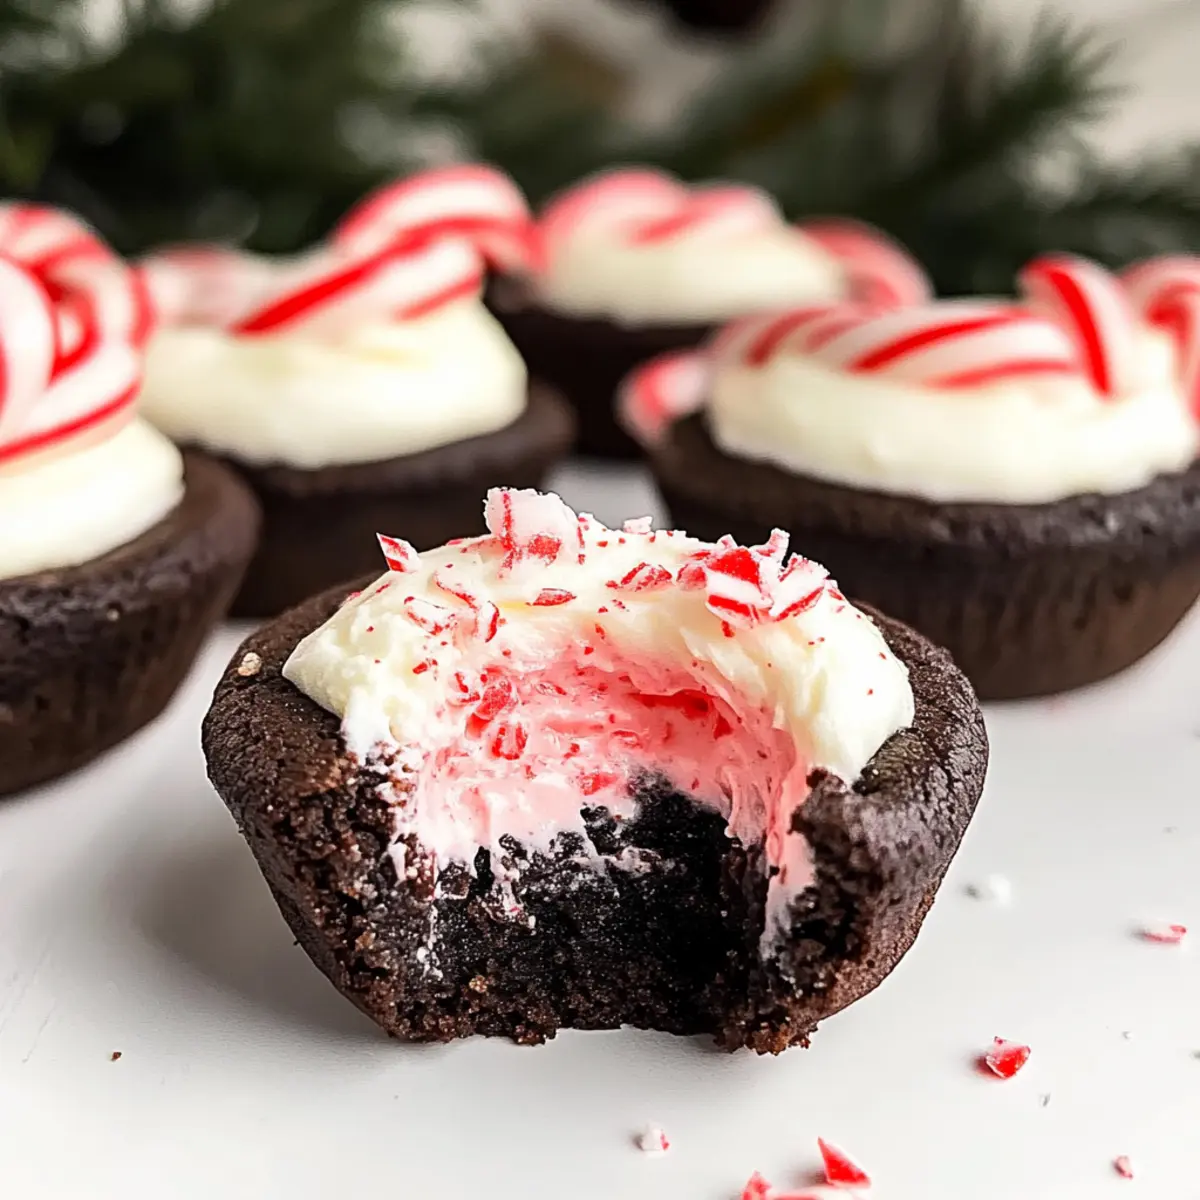
Just before serving, sprinkle the tops of your Chocolate Peppermint Cookie Cups with crushed candy canes for a festive crunch and a pop of color. These delicious treats are best enjoyed within 2-3 days, or you can freeze them for up to a month if you wish to save some for later!
Expert Tips for Chocolate Peppermint Cookie Cups
- Room Temperature Ingredients: Ensure butter and eggs are at room temperature for better incorporation; this helps achieve a light, fluffy cookie base.
- Check Baking Time: Watch the baking time closely; underbaked cookies will be soft but firm up as they cool, so keep an eye on them!
- Easy Removal: For easier removal from tins, let cookies cool just slightly before gently twisting them out—this prevents breakage.
- Perfect Filling Texture: Use full-fat cream cheese for the cheesecake filling; it gives the best creamy texture that perfectly contrasts with the chocolate cookie base.
- Customize Flavor: Feel free to adjust peppermint extract for varying intensities of flavor; start small and add more for personal preference in your Chocolate Peppermint Cookie Cups.
Chocolate Peppermint Cookie Cup Variations
Feel free to mix and match flavors for a delightful twist on your cookie cups that will inspire your holiday spirit!
-
Almond Flavor: Substitute peppermint extract with almond extract for a unique and aromatic flavor. It adds a nutty sweetness that beautifully complements chocolate.
-
Vanilla Base: Swap the chocolate cookie base for a vanilla or gingerbread version. A gingerbread twist creates a delightful spiced alternative to traditional flavors, giving you a cozy holiday feel.
-
Cocoa Swap: Use only Dutch-processed cocoa for a deep chocolate flavor throughout, as black cocoa can sometimes be overpowering. It’s a simple adjustment that keeps the focus on chocolate richness.
-
Lower Sugar: Try substituting granulated sugar with coconut sugar for a lower glycemic option. This swap will give your cookies a richer, caramel-like taste while maintaining sweetness.
-
Crushed Candies: Top with different crushed candies like toffee bits or chocolate-covered pretzels for varied textures and flavors. Imagine adding a crunchy surprise in every bite!
-
Mint Green Gel: Use green color gel instead of red for a frosty minty appearance. This simple change will brighten up your presentation, making them even more festive.
-
Filling Delight: Add crushed Oreos to the cheesecake filling for a cookies-and-cream flavor addition. The contrasting textures make your dessert a party showstopper!
-
Spice it Up: For warmth, mix in a pinch of cinnamon or nutmeg to the cookie dough. A hint of spice can transform your cookie cups into a holiday classic reminiscent of seasonal desserts.
These variations not only cater to diverse tastes but also elevate your Chocolate Peppermint Cookie Cups to new heights, making them extraordinary holiday treats. Don’t hesitate to explore different toppings and fillings, and have fun creating! If you’re looking for more cookie inspiration, try making some delightful Winter Wonderland Chocolate or Chocolate Thumbprint Cookies.
What to Serve with Chocolate Peppermint Cookie Cups
Create a festive spread that perfectly complements the magic of the season!
-
Festive Fruit Platter: A colorful mix of seasonal fruits like pomegranate and citrus offers a refreshing contrast to the rich cookies. The vibrant hues also add a cheerful touch to your dessert table.
-
Peppermint Hot Chocolate: Serve a warm cup of homemade peppermint hot chocolate topped with whipped cream for a cozy drink pairing that highlights the minty flavor. It’s like a warm hug in a mug!
-
Classic Eggnog: The creamy texture and spicy notes of eggnog make it an excellent counterpart to the sweet, chocolatey cookie cups, perfect for holiday gatherings.
-
Gingerbread Cookies: Pair these cookie cups with spiced gingerbread cookies for a delightful contrast in flavors and a nod to traditional holiday treats. The spices will complement the peppermint beautifully.
-
Chocolate Mint Ice Cream: For an indulgent treat, serve these cookie cups with a scoop of chocolate mint ice cream. The creamy decadence and cool mintiness echo the flavors of the dessert perfectly.
-
Winter Spice Mulled Wine: A warm glass of spiced mulled wine offers a sophisticated pairing, infusing cozy spices that complement every bite of the cookie cups. The aromas will fill your home with holiday cheer!
Make Ahead Options
These Chocolate Peppermint Cookie Cups are a fantastic solution for busy home cooks looking to save time during the holiday rush! You can prepare the cookie base up to 24 hours in advance by baking the cookie cups and allowing them to cool completely before storing them in an airtight container at room temperature. The cheesecake filling can be made 3 days ahead; just whip the cream and blend with cream cheese and peppermint extract, then store in the refrigerator. When you’re ready to serve, simply pipe the filling into the cooled cookie cups and garnish with crushed candy canes. This make-ahead strategy ensures you have delicious treats on hand without last-minute stress!
Storage Tips for Chocolate Peppermint Cookie Cups
Fridge: Store your cookie cups in an airtight container for up to 3 days to maintain freshness and flavor.
Freezer: Individually wrap the cookie cups in plastic wrap and place them in a freezer-safe bag for up to 4 weeks. Prevents freezer burn and keeps them delightful!
Reheating: For a warm treat, gently reheat the cookie cups in the microwave for about 10-15 seconds, ensuring the cheesecake filling remains creamy. Enjoy the rich flavors of your Chocolate Peppermint Cookie Cups!
Chocolate Peppermint Cookie Cups Recipe FAQs
How do I select the right ingredients for Chocolate Peppermint Cookie Cups?
Absolutely! For the chocolate cookie base, choose high-quality Dutch-processed cocoa powder for a deep flavor. When selecting peppermint extract, aim for pure extracts for the best taste, and if fresh peppermint is available, use it to enhance flavor even further. Also, ensure your cream cheese is full-fat for a creamy filling that perfectly complements the cookie base.
How should I store my Chocolate Peppermint Cookie Cups?
Store your cookie cups in an airtight container in the refrigerator for up to 3 days. If you want to keep them longer, you can freeze them! Individually wrap each cookie cup in plastic wrap and place them in a freezer-safe bag. They’ll stay delicious for up to 4 weeks. Just remember, don’t add toppings before freezing to maintain their crunch!
Can I freeze Chocolate Peppermint Cookie Cups and if so, how?
Certainly! To freeze your Chocolate Peppermint Cookie Cups, after baking and cooling, wrap each cookie cup individually in plastic wrap tightly. Then, place them in a freezer-safe resealable bag or container. For the best results, consume them within 4 weeks. When you’re ready to enjoy, simply let them thaw in the fridge overnight and add the toppings just before serving.
What can I do if my cookie cups don’t form wells properly?
Very! If your cookie cups didn’t form wells, it might be due to underbaking or overfilling the muffin tins. Ensure to press a jar into the center immediately after baking while they’re still warm for the best results. If they seem too soft, they can still be saved by gently pressing them into shape while cooling. Let them cool completely, and fill them with the cheesecake once they have set.
Are there dietary considerations to keep in mind for Chocolate Peppermint Cookie Cups?
Absolutely! If someone has dairy allergies, opt for dairy-free cream cheese and a dairy-free whipped topping alternative. To make them gluten-free, substitute all-purpose flour with a gluten-free flour blend that includes xanthan gum for structure. For a lower-sugar option, use coconut sugar instead of granulated sugar. Always remember to check labels when accommodating dietary restrictions!
Can I make variations of these Chocolate Peppermint Cookie Cups?
The more the merrier! You can swap out certain ingredients, such as using almond extract instead of peppermint for a different flavor twist. For the cookie base, try gingerbread or vanilla instead of chocolate for varied seasonal delights. Experiment with different toppings like crushed toffee or sprinkles for added texture!
Decadent Chocolate Peppermint Cookie Cups for Holiday Cheer
Ingredients
Equipment
Method
- Preheat your oven to 350°F (175°C) and grease two standard cupcake tins with cooking spray.
- Whisk together the all-purpose flour, Dutch-processed cocoa powder, black cocoa powder, baking soda, and salt until well combined.
- In a stand mixer, combine the unsalted butter, granulated sugar, and light brown sugar. Beat until light and fluffy.
- Add in the eggs one at a time, mixing well after each addition, then add the vanilla extract and blend until fully incorporated.
- Gradually add the dry mixture to the creamed butter and sugars, mixing on low speed until just combined.
- Scoop the dough into the greased cupcake tins, filling each cup about two-thirds full. Bake for 10-13 minutes.
- Press a jar or spoon into the center of each cookie to create a well for filling.
- Cool the cookie cups in the pan for about 10 minutes, then transfer them to a wire rack to cool completely.
- Whip the heavy cream until stiff peaks form. In another bowl, blend the cream cheese, sugar, and peppermint extract until smooth. Fold in the whipped cream.
- Pipe the cheesecake mixture into the cooled cookie cups and refrigerate for 1-2 hours to set.
- Before serving, sprinkle with crushed candy canes for a festive touch.
Leave a Reply