
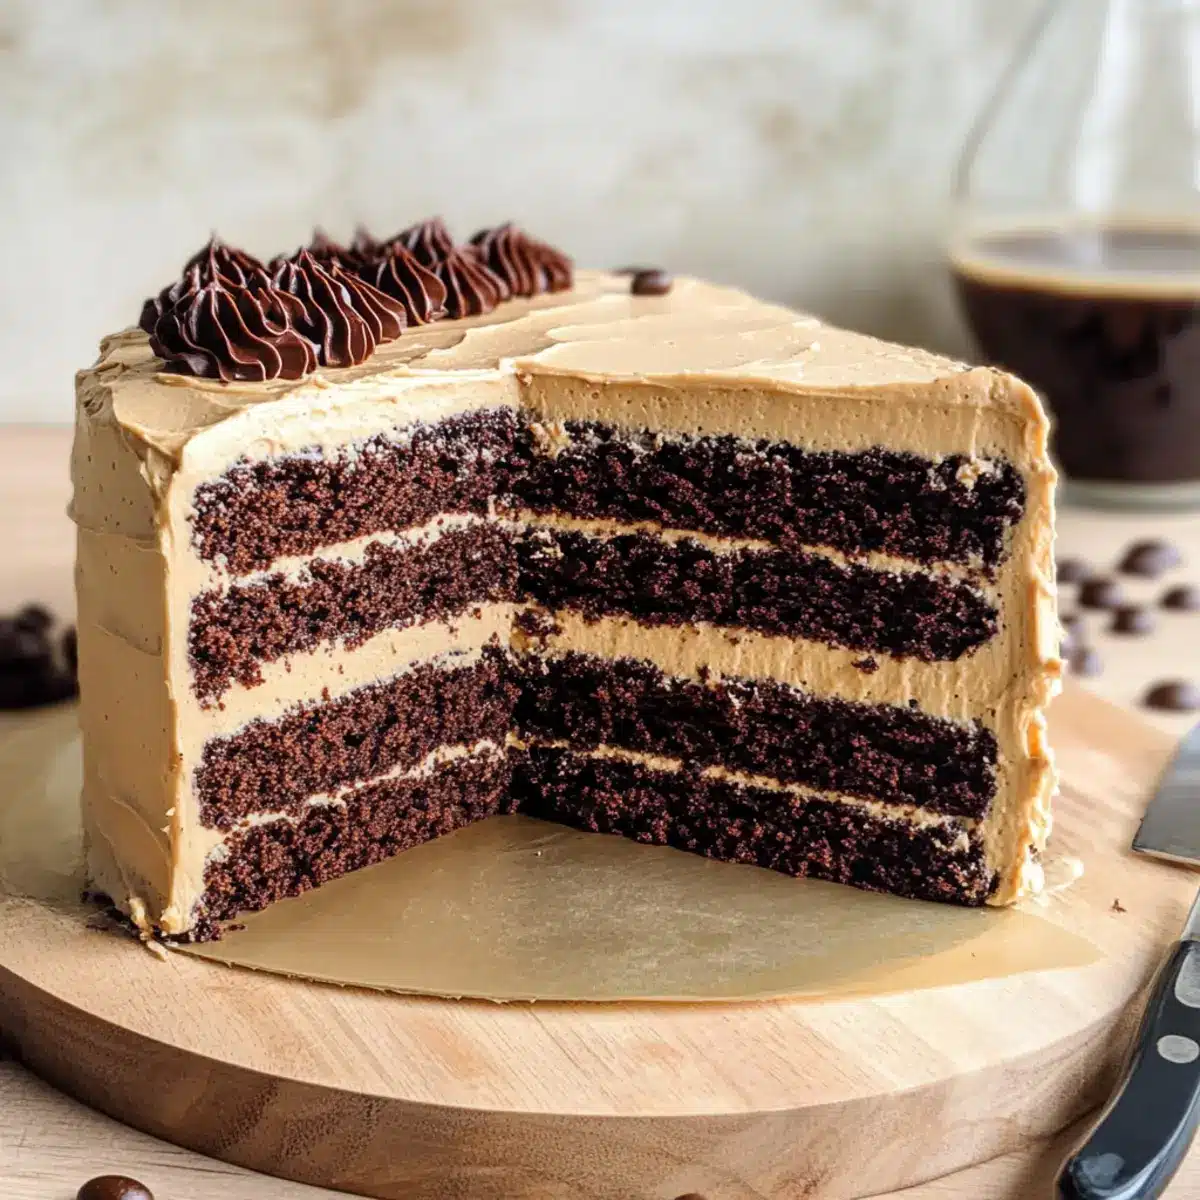
As I stood in my kitchen, the rich aroma of coffee mingled with the sweet scent of melting chocolate, I knew I was about to create something special. This Best Coffee Chocolate Cake with Creamy Buttercream is not just another dessert; it’s a cozy embrace of flavors designed to captivate your senses. With its three layers of incredibly moist chocolate cake and a luxuriously creamy coffee buttercream, this recipe boasts not only quick prep time but also a delightful surprise for cake lovers. Whether you’re celebrating with friends, aiming to impress at a potluck, or simply treating yourself to a slice of indulgence, this cake promises to be a showstopper. Ready to elevate your baking game and bring a piece of dessert paradise to your table? Let’s dive in!
Why is this cake a must-bake?
Decadent Flavor: The blend of rich chocolate and bold coffee creates a harmonious taste that will have everyone coming back for seconds.
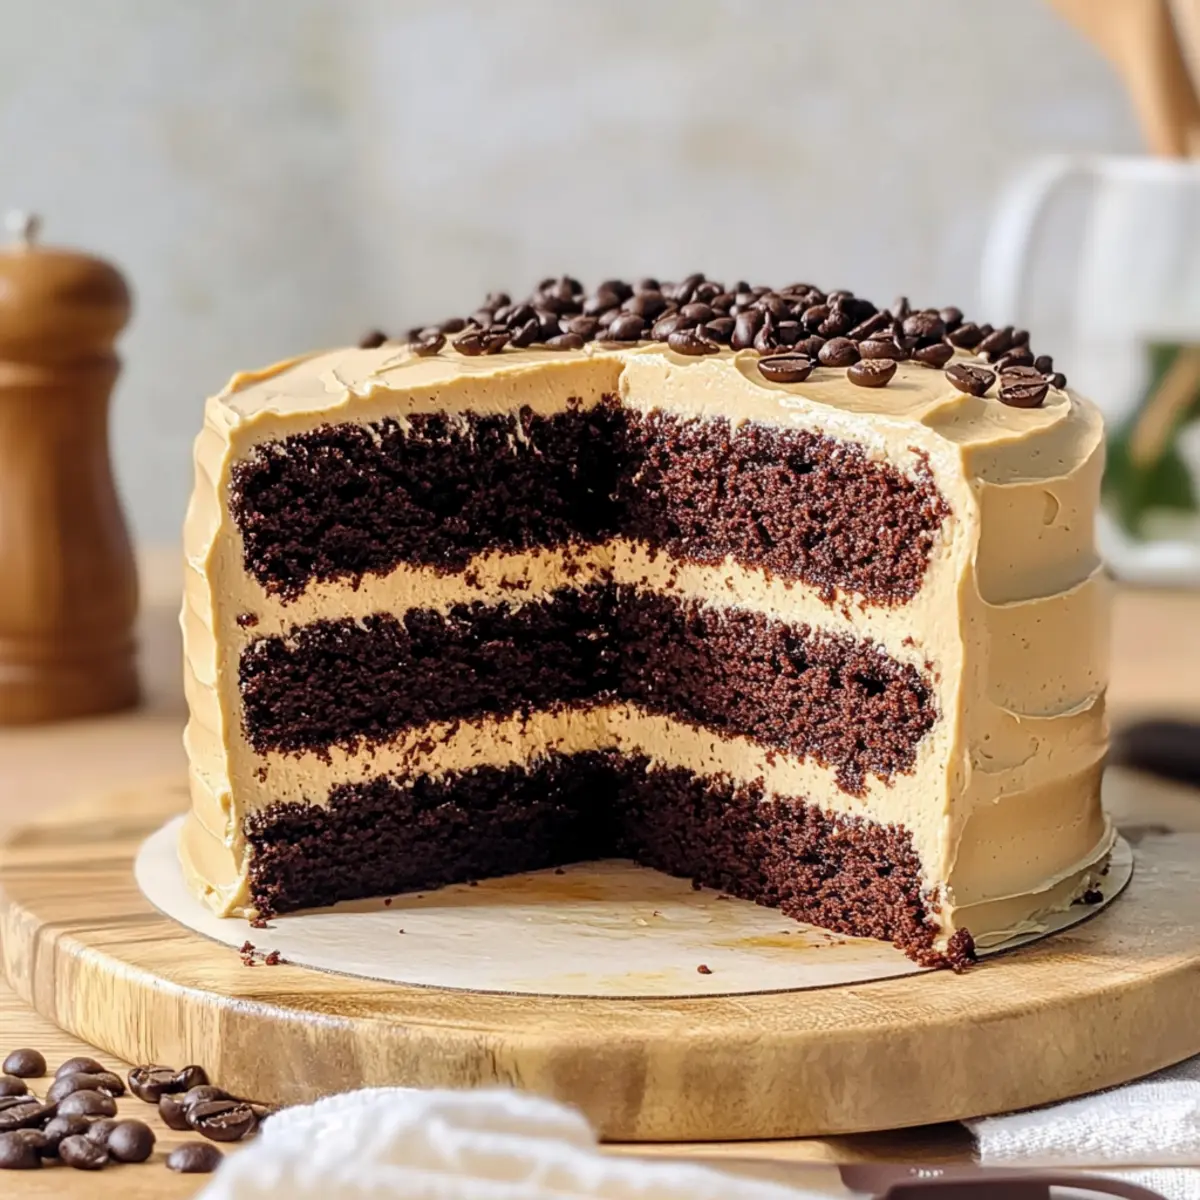
Showstopper Presentation: With three gorgeous layers and smooth buttercream, this cake is not just delicious; it’s a feast for the eyes too.
Quick Prep: Enjoy a flavorful dessert without spending hours in the kitchen. This cake comes together swiftly, allowing you to savor the delicious results.
Versatile Enjoyment: Perfect for gatherings or a relaxing evening at home, this cake pairs beautifully with a fresh pot of brewed coffee or a scoop of vanilla ice cream.
Elevate your dessert game with this indulgent Coffee Chocolate Cake; it’s sure to become a favorite! For chocolate lovers looking for more, check out our Chocolate Thumbprint Cookies.
Coffee Chocolate Cake Ingredients
For the Cake Layers
• Black Coffee – Adds depth of flavor and moisture; substitute with 2 teaspoons of instant coffee if needed.
• All-Purpose Flour – Provides the necessary structure and stability for the cake.
• Cornstarch – Ensures a lovely, tender crumb in each slice.
• Granulated Sugar – Sweetens the cake for a delightful finish.
• Dark Brown Sugar – Adds moistness and rich caramel notes for extra flavor contrast.
• Unsweetened Dutch Cocoa Powder – Delivers a deep chocolate taste without extra sweetness.
• Baking Powder – Helps leaven the cake for a light and airy texture.
• Baking Soda – Works alongside baking powder to ensure proper rise.
• Salt – Balances sweetness and enhances overall flavor profile.
• Vegetable Oil – Retains moisture and keeps the cake soft.
• Sour Cream – Contributes richness and additional moisture; Greek yogurt is a great substitute.
• Eggs – Essential for structure; use room temperature for best results.
• Vanilla Extract – Elevates the cake’s flavor to new heights.
For the Creamy Buttercream
• Butter – Creates a super creamy texture for the frosting.
• Powdered Sugar – Sweetens and thickens the buttercream for easy spreading.
• Instant Espresso Powder (optional) – Intensifies the coffee flavor in the buttercream if desired.
This Coffee Chocolate Cake is sure to impress with its delightful combination of flavors and textures!
Step‑by‑Step Instructions for Coffee Chocolate Cake
Step 1: Preheat the Oven
Start by preheating your oven to 170ºC (340ºF). While the oven warms up, line three 20 cm (8-inch) cake pans with parchment paper, ensuring the paper covers the bottoms and sides. This step is crucial to prevent sticking and guarantees a smooth release when you’re ready to enjoy your Coffee Chocolate Cake!
Step 2: Mix the Dry Ingredients
In a large mixing bowl, whisk together the all-purpose flour, cornstarch, granulated sugar, dark brown sugar, unsweetened Dutch cocoa powder, baking powder, baking soda, and salt. This blend of dry ingredients forms the backbone of your cake, ensuring a fantastic texture. Mix until everything is evenly combined, leaving no lumps behind for a perfect rise.
Step 3: Combine the Wet Ingredients
In another bowl, mix the cooled black coffee, vegetable oil, sour cream, eggs, and vanilla extract. Whisk until the mixture is smooth and fully integrated. The combination of these wet ingredients not only brings moisture to your Coffee Chocolate Cake layers but also infuses deep flavor that balances beautifully with the cocoa.
Step 4: Combine Mixtures
Slowly pour the wet ingredient mixture into the dry ingredients, stirring gently with a spatula or wooden spoon. Keep mixing until you achieve a smooth and glossy batter. Take care not to overmix, as this could affect the cake’s texture. Your Coffee Chocolate Cake batter should be luxuriously thick yet pourable—just right for divided baking!
Step 5: Bake the Cake Layers
Evenly divide the batter among your prepared cake pans. Bake in the preheated oven for about 28-30 minutes, or until a toothpick inserted into the center of the cakes comes out clean. Looking for a soft bounce back when lightly pressed will also indicate doneness. Allow the cakes to cool in the pans for about 10 minutes before moving them to wire racks to cool completely.
Step 6: Make the Buttercream Frosting
While the cake layers cool, prepare the creamy buttercream. In a large mixing bowl, beat the softened butter with an electric mixer until fluffy, about 2-3 minutes. Gradually add the sifted powdered sugar, vanilla extract, and cooled black coffee while mixing on low speed until smooth and creamy. This buttercream will wrap your Coffee Chocolate Cake in a luscious layer of flavor.
Step 7: Assemble the Cake
Once the cake layers are completely cooled, carefully trim the tops to create a flat surface. Layer the first cake on a serving platter, spreading a generous amount of buttercream on top. Repeat with the second layer and generously frost the top and sides of the entire cake with the remaining buttercream. Finally, create a thin crumb coat by covering the cake lightly, allowing you to get wonderfully smooth frosting.
Step 8: Final Touches
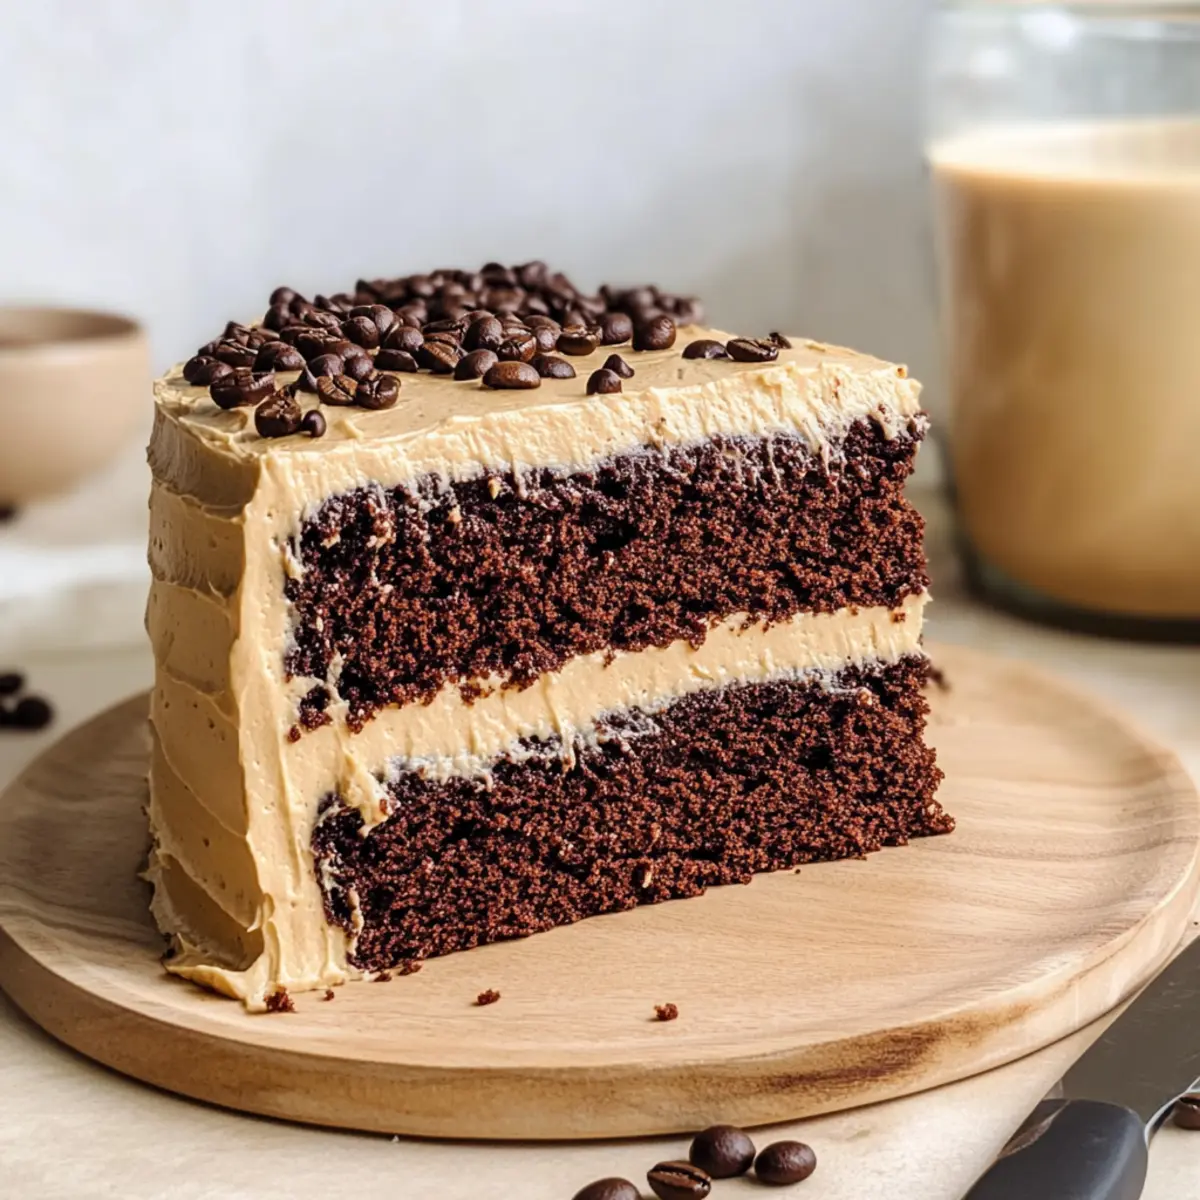
For an added aesthetic, you can decorate the top of your Coffee Chocolate Cake with chocolate shavings, coffee beans, or a sprinkle of cocoa powder. Once decorated, let the cake sit for a few minutes to allow the frosting to set slightly before slicing into this decadent treat. Your cake is now ready to be served, celebrating the delightful combination of coffee and chocolate!
What to Serve with Coffee Chocolate Cake
Savoring a slice of rich chocolate cake evokes a warm, comforting ambiance—pair it perfectly with delightful accompaniments!
-
Fresh Brewed Coffee: The bold flavor of coffee enhances the cake’s richness, making every bite even more indulgent and aromatic.
-
Vanilla Ice Cream: The cold, creamy ice cream contrasts the cake’s warmth, providing a soothing balance of flavors that melts beautifully together.
-
Whipped Cream: Light and airy, freshly whipped cream adds a heavenly touch to each slice, making it feel like a special occasion.
-
Chocolate Ganache Drizzle: A silky ganache adds an extra layer of chocolate delight, enhancing the overall decadence for true dessert lovers.
-
Fresh Fruit Salad: A refreshing fruit salad with berries cuts through the cake’s richness, providing a fruity, zesty element that brightens each bite.
-
Hazelnut Biscotti: This crunchy treat offers a delightful texture contrast, ideal for dipping into coffee or enjoying alongside a slice of cake.
-
Red Wine: A glass of rich red wine complements the cake’s deep flavors, perfect for elevating a dessert gathering with friends.
-
Chocolate Mousse: For an indulgent experience, serve a small scoop of chocolate mousse on the side; the combination is pure bliss.
Engage your senses and elevate your dessert experience with these delightful pairings!
Expert Tips for Coffee Chocolate Cake
-
Room Temperature Ingredients: Ensure your eggs and sour cream are at room temperature for a smoother batter and better emulsion, which leads to an incredibly moist Coffee Chocolate Cake.
-
Doneness Check: Use a cake tester or toothpick to check doneness. It should come out clean without wet batter. This helps avoid overbaking and a dry texture.
-
Cool Layers Completely: Allow the cake layers to cool completely before frosting. This prevents the buttercream from melting and ensures a beautifully layered cake.
-
Frosting Consistency: Achieve smooth frosting by mixing your buttercream on low speed and gradually adding powdered sugar. If too thick, add a splash of milk for a creamier texture.
-
Crumb Coating Trick: Apply a thin layer of buttercream around the cake as a crumb coat before final frosting. This secures any crumbs and creates a polished finish for your Coffee Chocolate Cake.
How to Store and Freeze Coffee Chocolate Cake
Room Temperature: Store the Coffee Chocolate Cake in an airtight container at room temperature for up to 3 days to keep it fresh and moist.
Fridge: If you have leftovers, seal the cake in an airtight container and refrigerate for up to 5 days. This will help maintain its flavor and texture.
Freezer: For long-term storage, wrap the cake layers tightly in plastic wrap and foil, then freeze for up to 2 months. Allow to thaw in the fridge overnight before enjoying.
Reheating: To enjoy refrigerated or frozen slices, allow them to come to room temperature or warm them gently in the oven at low heat for a few minutes for a fresh taste.
Make Ahead Options
These Coffee Chocolate Cake layers are perfect for busy home cooks looking to save time during the week! You can bake the cake layers up to 24 hours in advance and store them in an airtight container at room temperature to maintain their moisture and flavor. For longer storage, wrap them in plastic wrap and refrigerate for up to 3 days or freeze for up to 3 months. When you’re ready to serve, simply thaw if frozen, and prepare the buttercream fresh for the creamiest texture. This method will ensure that your Coffee Chocolate Cake remains just as delicious when it’s time for a special treat or celebration!
Coffee Chocolate Cake Variations
Feel free to let your creativity shine and tailor the Coffee Chocolate Cake to your liking!
-
Nutty Delight: Substitute half of the all-purpose flour with almond flour for added moisture and a delicious nutty flavor that elevates the cake’s depth.
-
Extra Chocolate: Fold in 1 cup of chocolate chips into the batter for an extra chocolatey surprise in each slice, creating little pockets of melted chocolate bliss.
-
Decadent Mocha: Add 1 tablespoon of instant espresso powder to the batter for an intensified coffee kick—perfect for true coffee lovers craving that extra zing.
-
Flavored Frosting: Infuse your buttercream with a splash of flavored extract, like hazelnut or caramel, for a delightful twist that complements the chocolate and coffee beautifully.
-
Zesty Citrus Kick: Grate the zest of one orange or lemon into the batter for a fresh citrus note that cuts through the richness, adding a bright and inviting flavor to each bite.
-
Vegan Version: Substitute the eggs with flax eggs and use coconut oil instead of vegetable oil to create a delicious vegan iteration without sacrificing taste or texture.
-
Gluten-Free Option: Use a gluten-free all-purpose flour blend in place of regular flour to accommodate gluten-sensitive friends while still enjoying this decadent dessert.
Enjoy exploring these variations while you create your perfect indulgence! For more delightful chocolate options, consider trying our Moist Pound Cake or indulge in some Winter Wonderland Chocolate.
Coffee Chocolate Cake Recipe FAQs
How do I select the right coffee for my cake?
Absolutely! For the best flavor, use a bold brew of freshly brewed coffee, as it enhances the richness of the chocolate. If you’re short on time, instant coffee can be a suitable substitute—just combine 2 teaspoons with water to make the equivalent of your brewed coffee.
What’s the best way to store my Coffee Chocolate Cake?
To keep your cake fresh, store it in an airtight container at room temperature for up to 3 days. If you’re enjoying the cake later, refrigerating it in an airtight container can last up to 5 days. This helps preserve the flavor and moisture, keeping it delicious till the last bite.
Can I freeze the Coffee Chocolate Cake?
Absolutely! To freeze your cake, first, let it cool completely. Wrap each layer tightly in plastic wrap and then in aluminum foil to minimize freezer burn. You can freeze the cake layers for up to 2 months. When you’re ready to enjoy, thaw the layers overnight in the refrigerator before assembling and frosting.
What should I do if my cake layers domed while baking?
Very! If your cake layers have a dome, no worries! Just use a serrated knife to carefully trim the tops so they are level. This will make it much easier to stack and frost later on. Additionally, ensuring your oven temperature is accurate can help prevent doming in the future.
Can I make this Coffee Chocolate Cake dairy-free?
Yes, you can! To make it dairy-free, replace sour cream with a dairy-free yogurt or a blend of silken tofu and a splash of lemon juice. Use plant-based butter for the buttercream, and choose dairy-free milk substitutes for any liquid ingredients if needed. Enjoy this cake while accommodating dietary needs!
Is this cake suitable for pets?
No, it’s best to keep this coffee chocolate cake away from your furry friends. Both chocolate and coffee are toxic to pets, especially dogs and cats, so make sure to enjoy this treat for yourself while keeping it out of their reach.

Irresistible Coffee Chocolate Cake for True Dessert Lovers
Ingredients
Equipment
Method
- Preheat your oven to 170ºC (340ºF) and line three 20 cm (8-inch) cake pans with parchment paper.
- In a large mixing bowl, whisk together the all-purpose flour, cornstarch, granulated sugar, dark brown sugar, unsweetened Dutch cocoa powder, baking powder, baking soda, and salt.
- In another bowl, mix the cooled black coffee, vegetable oil, sour cream, eggs, and vanilla extract until smooth.
- Slowly pour the wet mixture into the dry ingredients, stirring gently until smooth and glossy.
- Evenly divide the batter among the prepared cake pans and bake for 28-30 minutes.
- Prepare the creamy buttercream by beating the softened butter until fluffy, then gradually adding the sifted powdered sugar, vanilla extract, and cooled black coffee.
- Once the cake layers are completely cooled, trim the tops, layer them on a platter, and generously frost with buttercream.
- Decorate with chocolate shavings, coffee beans, or a sprinkle of cocoa powder, then let it sit for a few minutes before slicing.
Leave a Reply