
As the grill crackles with excitement, the warm, nutty aroma of toasted rice fills the kitchen. Let me introduce you to one of my absolute favorites: Grilled Rice Balls, or Yaki Onigiri. These delightful Japanese snacks boast a crispy exterior that gives way to soft, fluffy rice that melts in your mouth. What makes them truly irresistible is their versatility; whether you opt for the savory depth of Miso Butter or the umami punch from Soy Sauce, they are perfect as on-the-go snacks or a fun twist on traditional rice dishes. Not only are they easy to make, but they’re also vegetarian-friendly, making them a crowd-pleaser for anyone looking to steer away from fast food. So, are you ready to unlock the secrets of these delicious, portable morsels? Let’s dive in!
Why Are Grilled Rice Balls So Irresistible?
Versatile and Flavorful: The simple yet delicious flavors of Miso Butter and Soy Sauce elevate these rice balls to a new level.
Quick to Make: In just a few steps, you’ll have these delightful snacks ready, making them perfect for busy weekdays.
Crowd-Pleasing Snack: Whether you’re hosting a gathering or simply need a midday pick-me-up, these grilled rice balls will surely impress.
Healthy Alternative: With wholesome ingredients, they’re a great way to satisfy cravings without resorting to fast food.
Perfectly Portable: Enjoy them warm or pack them for lunch; they’re easy to take on-the-go, just like my Caramelized Pork Rice!
Grilled Rice Balls Ingredients
• Get ready to create mouthwatering grilled rice balls that will elevate your snack time!
For the Rice
• Short Grain Rice – This is essential for achieving that authentic fluffy texture; use Japonica ‘Koshihikari’ for best results.
• Water – Necessary to properly cook the rice, ensuring it achieves the right consistency.
For the Miso Butter Variation
• Miso – Adds a depth of flavor and umami; soy sauce can be used, but it changes the taste profile.
• Mirin – Provides sweetness, so if you don’t have it, try increasing sugar slightly.
• Sake – Enhances flavor; can also be omitted if you wish.
• Sugar – Balances flavors, especially important in your miso mixture.
• Butter – Creates that crispy exterior when grilled and adds rich flavor.
For the Soy Sauce Variation
• Soy Sauce – The star ingredient for the soy sauce variation, providing a savory kick.
• Vegetable Oil – Used for frying, helping to create that delicious crispy crust.
To Garnish
• Chives – Adds a fresh touch to your grilled rice balls.
• Sesame Seeds – For an additional crunch and nutty flavor.
• Everything Bagel Seasoning – Introduces flavor diversity; substitute with other seasonings if desired.
With these key ingredients ready, you’ll be on your way to crafting irresistible grilled rice balls that are not only indulgent but also easy to prepare!
Step‑by‑Step Instructions for Grilled Rice Balls
Step 1: Cook the Rice
Begin by rinsing 1 cup of short grain rice until the water runs clear. Cook the rice in a rice cooker with 1.5 cups of water, setting it to the appropriate setting for white rice. Let it steam for about 20 minutes, until fluffy and soft. Once done, allow the rice to cool slightly, ensuring it still retains warmth for easy shaping.
Step 2: Prepare the Miso Mixture
While the rice is cooking, combine 2 tablespoons of miso, 1 tablespoon of mirin, 1 tablespoon of sake, and 1 teaspoon of sugar in a small bowl. Add 1 tablespoon of softened butter and mix until smooth and well incorporated. This savory miso mixture will enhance the flavor of your grilled rice balls, creating a deliciously rich coating.
Step 3: Shape the Rice
Once the rice has cooled just enough to handle, divide it into 6 equal portions, about the size of a baseball. Using a piece of cling wrap, mold each portion into a triangle shape by pressing firmly but gently to avoid breaking the rice. This step is crucial for ensuring your grilled rice balls hold their shape during cooking.
Step 4: Grill Miso Flavor Rice Balls
Heat a cast-iron skillet over medium heat and add a tablespoon of butter. Once melted, carefully place the triangular rice balls in the skillet. Grill each side for about 1 minute, brushing them generously with the prepared miso mixture. The goal is to achieve a beautiful golden-brown crust while the insides remain warm and fluffy.
Step 5: Grill Soy Sauce Flavor Rice Balls
For the soy sauce variation, clean the skillet and heat a tablespoon of vegetable oil over medium heat. Gently place the rice balls in the skillet and brush them with soy sauce, turning them every minute for about 5-6 minutes total. This process will give your rice balls a savory, crisp exterior that contrasts beautifully with the soft interior.
Step 6: Serve and Garnish
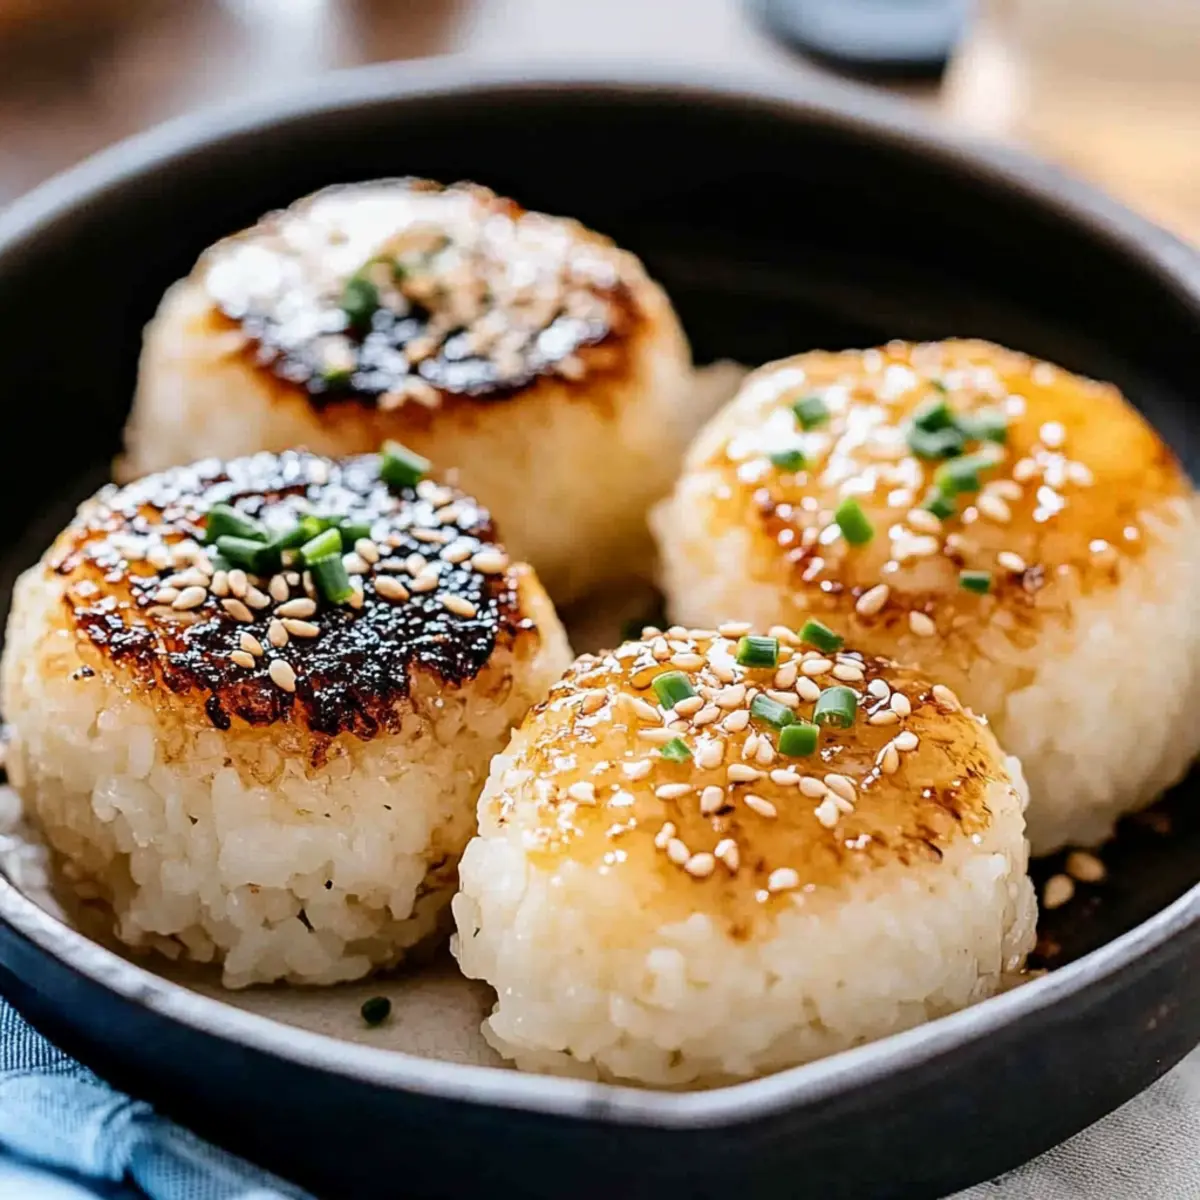
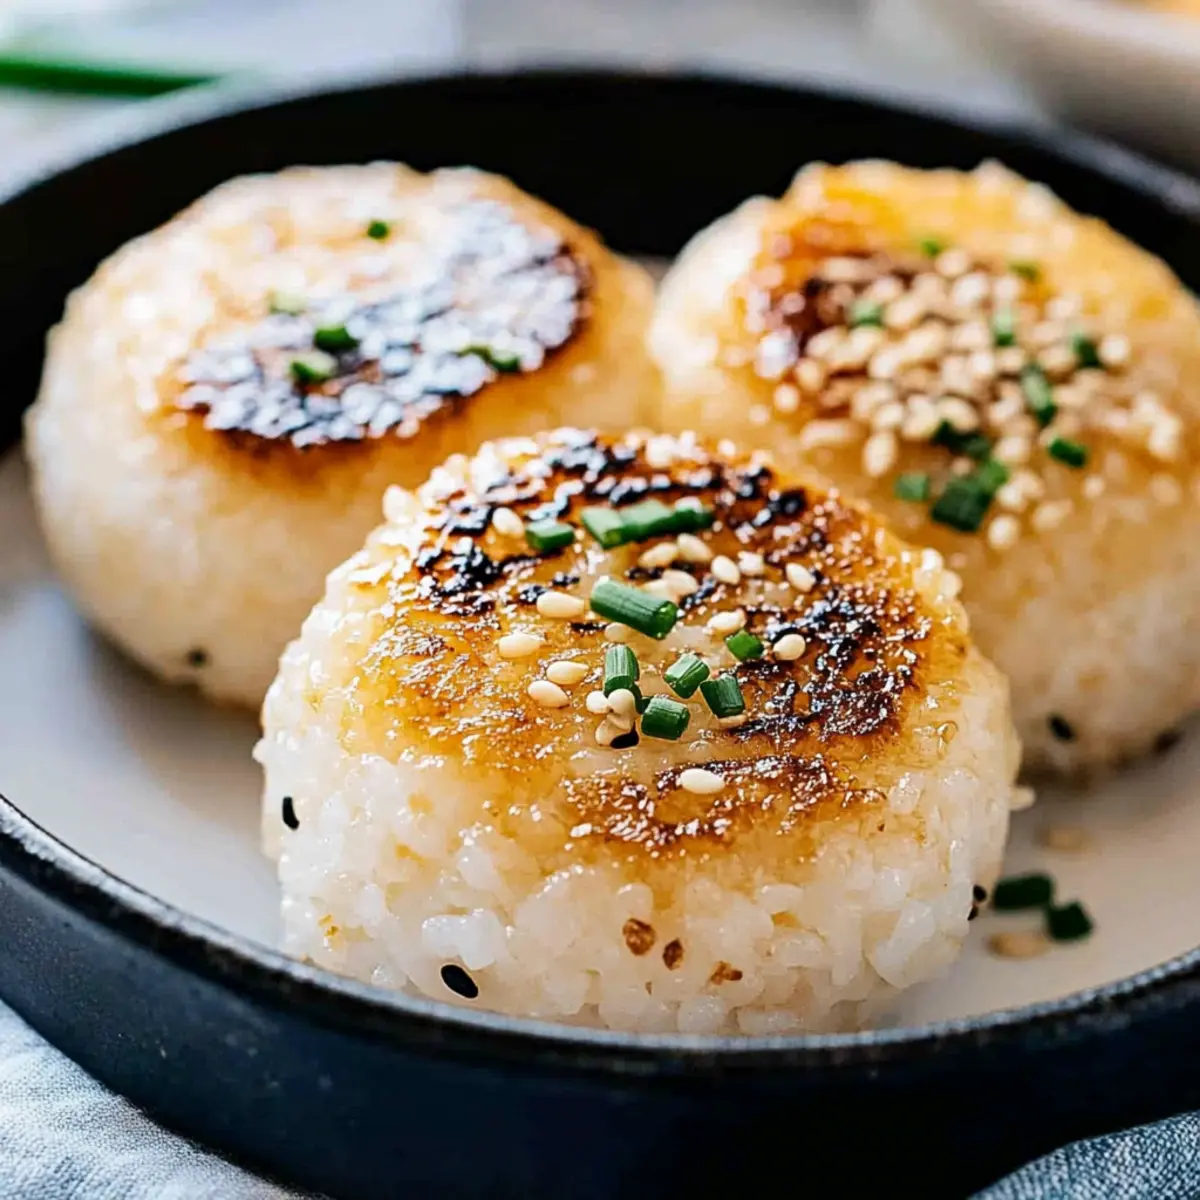
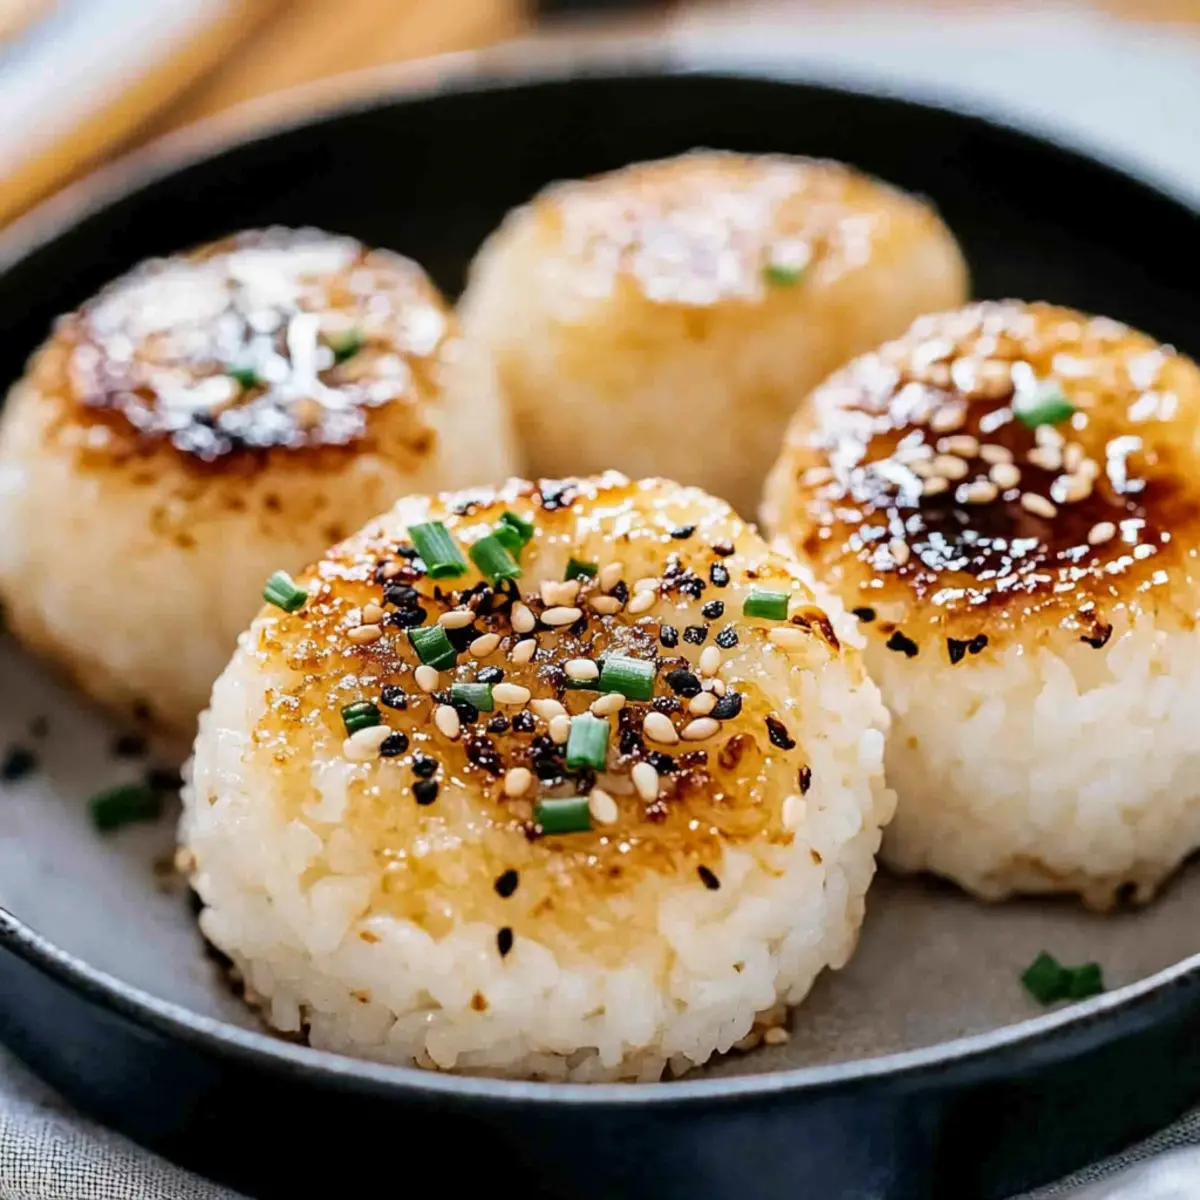
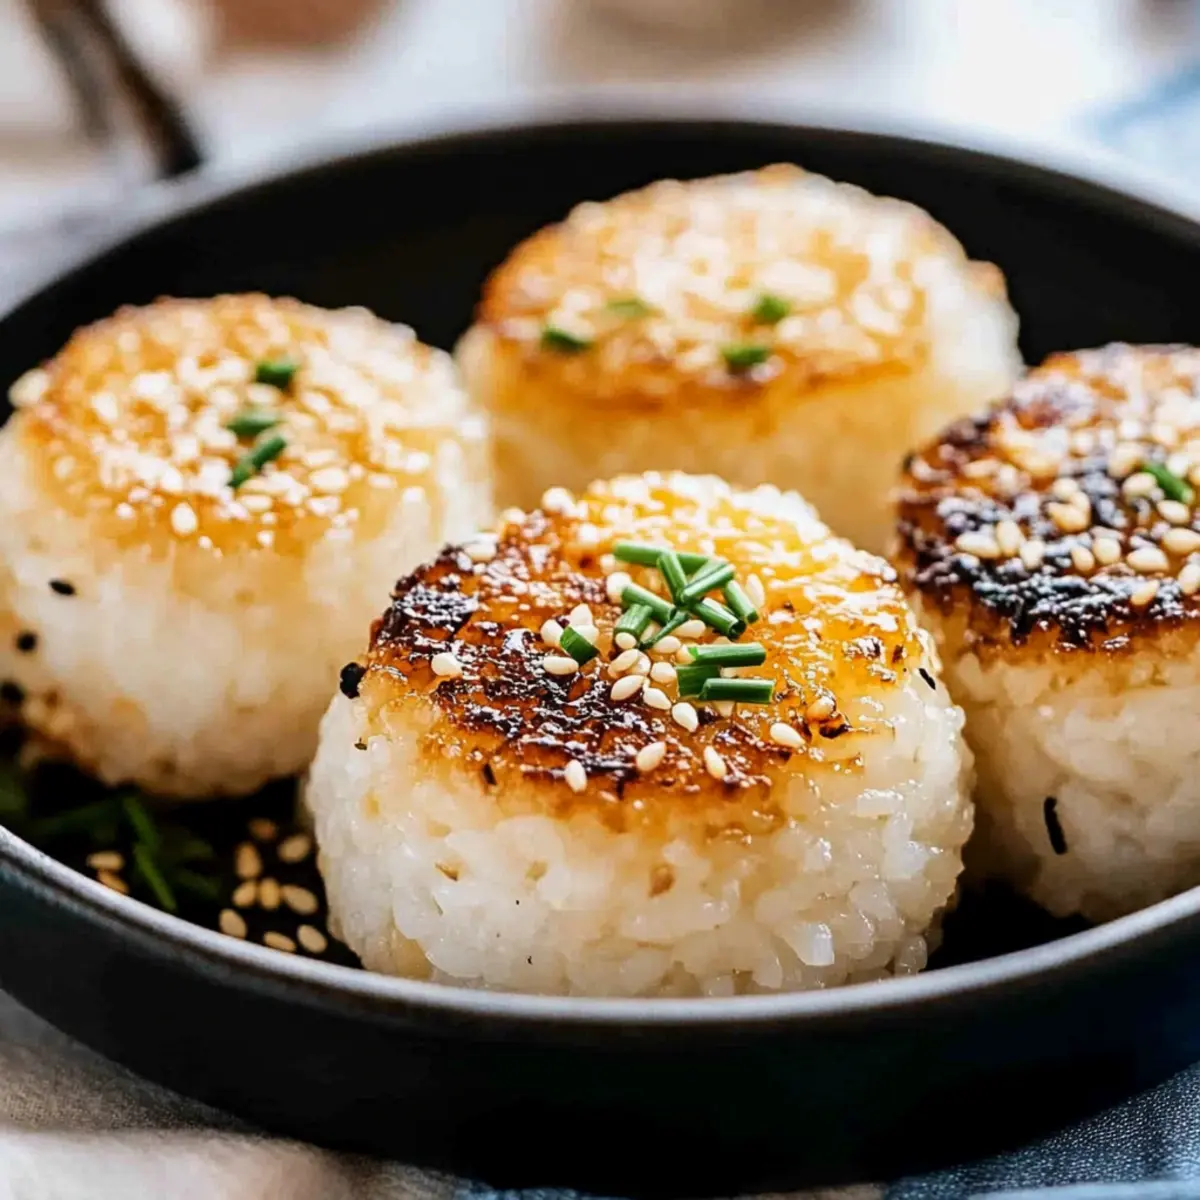
Once grilled to perfection, remove the rice balls from the skillet and let them rest for a minute. Top each grilled rice ball with a pat of butter and sprinkle with chopped chives and sesame seeds for added flavor and texture. These delicious grilled rice balls are now ready to be served warm, perfect for snacking or as a delightful meal accompaniment.
Make Ahead Options
Yaki Onigiri are perfect for meal prep enthusiasts looking to save time during busy weeknights! You can shape the rice balls up to 24 hours in advance; simply wrap each one tightly in cling wrap and store them in the refrigerator. For even longer storage, freeze the shaped rice balls in a zip-lock bag for up to 3 months. This way, they’ll be ready to grill whenever you need a quick snack or meal. To maintain their quality, make sure to let them cool slightly before wrapping to avoid sogginess. When you’re ready to enjoy, grill them directly from the fridge or frozen; just add a couple of extra minutes to the cooking time for perfect, crispy results with that comforting soft interior!
Expert Tips for Grilled Rice Balls
Shape while Warm: Make sure to shape the grilled rice balls while the rice is still warm, as this helps them hold their form better.
Firm Press: Press the rice firmly when molding to prevent the balls from falling apart during the grilling process.
Watch for Burns: Be careful with the miso sauce while grilling; the sugars can burn easily, so keep an eye on them.
Experiment with Flavors: Don’t hesitate to try different seasonings or add-ins like furikake or pickled vegetables for more unique grilled rice balls.
Storage Advice: If preparing ahead, wrap the shaped rice balls in plastic wrap and freeze them to maintain freshness; reheat directly from frozen.
Grilled Rice Balls Variations & Substitutions
Feel free to get creative and customize your grilled rice balls to match your tastes or dietary needs—your taste buds will thank you!
- Dairy-Free: Substitute butter with olive oil or vegan butter for a rich, crispy texture while keeping it plant-based.
- Spicy Kick: Add a sprinkle of chili flakes or drizzle with sriracha before grilling for a flavorful heat that elevates each bite.
- Cheesy Delight: Incorporate cubed mozzarella or cheddar into your rice before shaping for a gooey surprise on the inside.
- Vegetable Boost: Mix in finely diced veggies like bell peppers or corn to the rice for added nutrients and a pop of color.
- Umami Explosion: Toss in a tablespoon of nutritional yeast or furikake seasonings for an additional umami punch that enhances flavor.
- Asian Flair: Swap soy sauce for a splash of teriyaki sauce for a sweet and tangy twist that pairs beautifully with grilled rice.
- Herb Infusion: Incorporate fresh herbs like cilantro or basil into the rice mixture for an aromatic lift that brings a burst of freshness.
- Sweet Glaze: Brush a mixture of honey and soy sauce on the rice balls before grilling for a sweet-savory flavor that’s utterly addictive.
Feel free to mix and match these variations to create your ultimate version of grilled rice balls. You can experiment with these ideas just like how I love to elevate my dishes, whether it’s adding a hint of zest to my Peruvian Chicken Rice or sprucing up my Caramelized Onion Grilled sandwiches. Enjoy the process!
How to Store and Freeze Grilled Rice Balls
Fridge: Store grilled rice balls in an airtight container for up to 3 days. Place a paper towel inside to absorb moisture and keep them crispy.
Freezer: Wrap each rice ball individually in plastic wrap, then place them in a zip lock bag. They can be stored for up to 2 months and will retain their flavor.
Reheating: Reheat directly from frozen in a skillet over medium heat, brushing with a little oil or butter for extra crispiness. Alternatively, microwave for 30-60 seconds until warmed through.
What to Serve with Grilled Rice Balls?
Warm, crunchy grilled rice balls are best enjoyed with a variety of sides that enhance their savory flavor and playful texture.
-
Savory Edamame: Freshly steamed edamame sprinkled with sea salt provides a delightful pop of flavor and texture, balancing the richness of the rice balls.
-
Crisp Pickled Vegetables: Tangy pickled cucumbers or radishes add a refreshing contrast, enhancing the umami taste while cleansing the palate.
-
Roasted Vegetables: A mix of roasted seasonal vegetables brings earthy goodness and colorful presentation, creating a perfect harmony with the grilled rice balls.
-
Miso Soup: Silken tofu and seaweed in a warm miso broth make an excellent pairing, offering a comforting Japanese complement to your meal.
-
Sushi Rolls: Light and flavorful sushi rolls, filled with fresh fish or vegetables, can elevate the dining experience, making it feel like an authentic Japanese feast.
-
Chilled Sake: For a drink pairing, chilled sake adds a smooth and slightly sweet note that beautifully counterbalances the savory bites of grilled rice.
-
Green Tea: Healthful and refreshing, a cup of green tea enhances the meal’s overall experience while adding a gentle warmth to each bite.
These delightful accompaniments elevate your grilled rice balls into a memorable meal that’s bursting with flavor and texture!
Grilled Rice Balls Recipe FAQs
What type of rice should I use for grilled rice balls?
For the best texture and flavor, I recommend using short grain rice, specifically Japonica ‘Koshihikari.’ This type of rice is known for its sticky quality, which helps the rice balls hold their shape. If you can’t find it, sushi rice is a suitable substitute.
How should I store grilled rice balls?
You can store grilled rice balls in an airtight container in the refrigerator for up to 3 days. I often place a paper towel inside to absorb moisture and keep them crispy. For longer storage, wrap each rice ball in plastic wrap and store them in a zip lock bag in the freezer; they can last up to 2 months.
Can I freeze grilled rice balls, and how do I reheat them?
Absolutely! To freeze grilled rice balls, wrap each one individually in plastic wrap, then place them in a zip lock bag. When you’re ready to enjoy them, reheat directly from frozen in a skillet over medium heat, adding a little oil or butter to reintroduce that crispy texture. Alternatively, you can microwave them for 30-60 seconds until warm.
What if my grilled rice balls fall apart while grilling?
To prevent this, it’s important to press the rice firmly together while molding them into shape. Make sure to shape the rice balls while they’re still warm, as this helps them hold together better during grilling. If they still fall apart, try adding a bit more miso mixture to help bind them!
Are grilled rice balls suitable for vegetarians?
Yes, grilled rice balls are vegetarian-friendly! The main ingredients, including short grain rice, miso, and butter, are all plant-based. You can also customize them with different seasonings or vegan alternatives if needed. They make a great healthy alternative to fast food!
Irresistible Grilled Rice Balls That Will Elevate Snack Time
Ingredients
Equipment
Method
- Rinse 1 cup of short grain rice until the water runs clear. Cook in a rice cooker with 1.5 cups of water for about 20 minutes.
- Combine 2 tablespoons of miso, 1 tablespoon of mirin, 1 tablespoon of sake, and 1 teaspoon of sugar in a bowl. Mix in 1 tablespoon of softened butter until smooth.
- Once the rice has cooled slightly, divide it into 6 portions and shape each into a triangle using cling wrap.
- Heat a cast-iron skillet over medium heat, add a tablespoon of butter, and grill the rice balls for about 1 minute on each side, brushing with the miso mixture.
- For the soy sauce variation, clean the skillet, heat a tablespoon of vegetable oil, brush the rice balls with soy sauce, and grill for about 5-6 minutes total.
- Remove from skillet, let rest for a minute, then top with butter, chives, and sesame seeds before serving warm.
Leave a Reply