
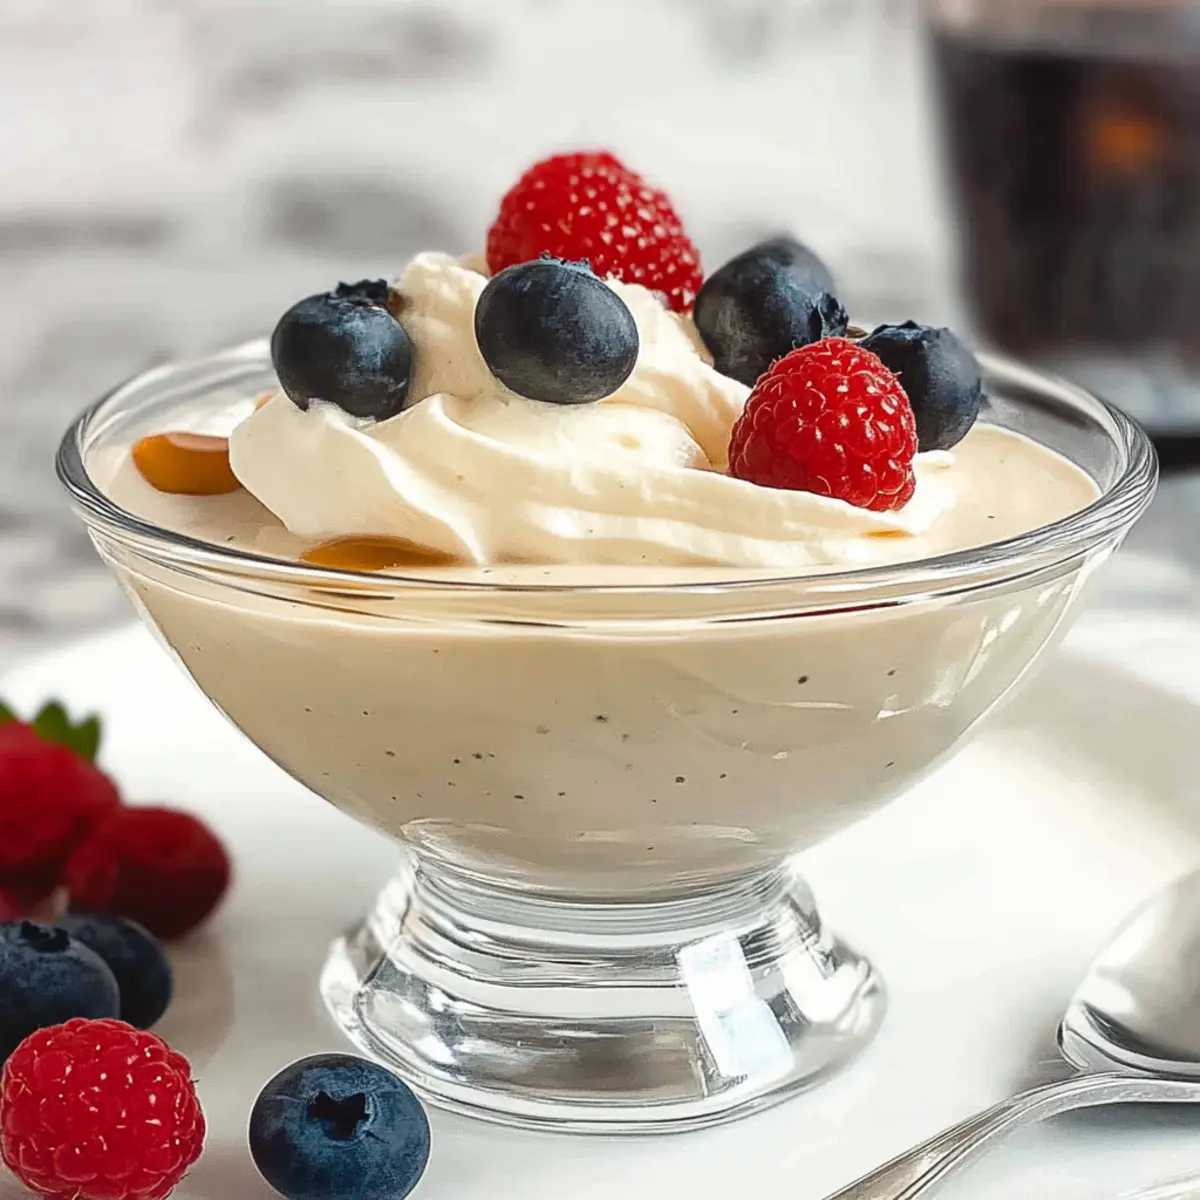
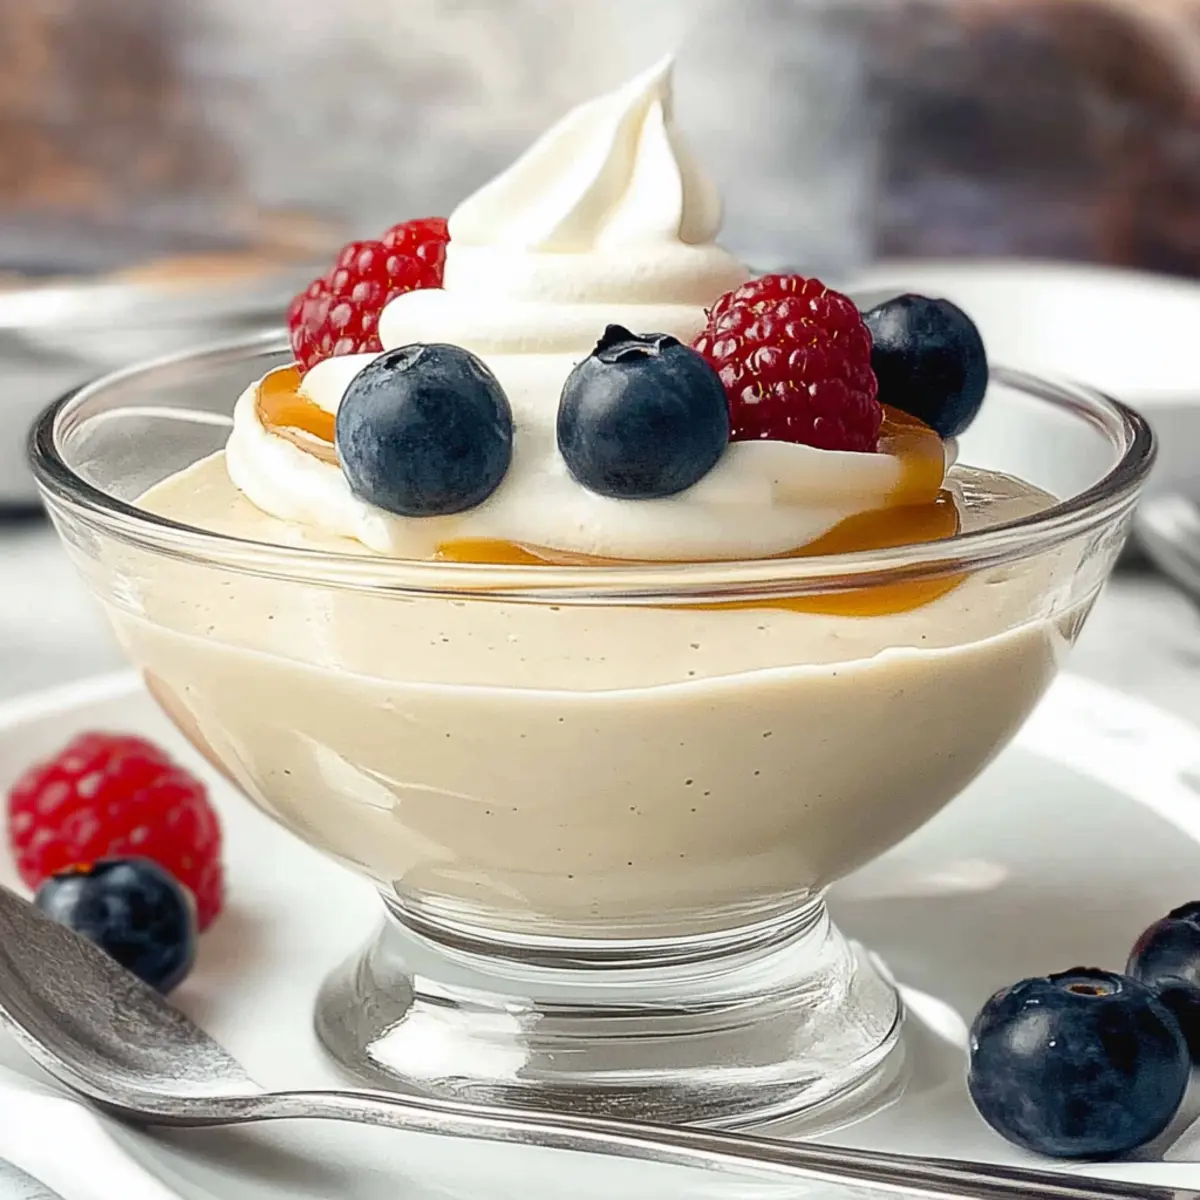
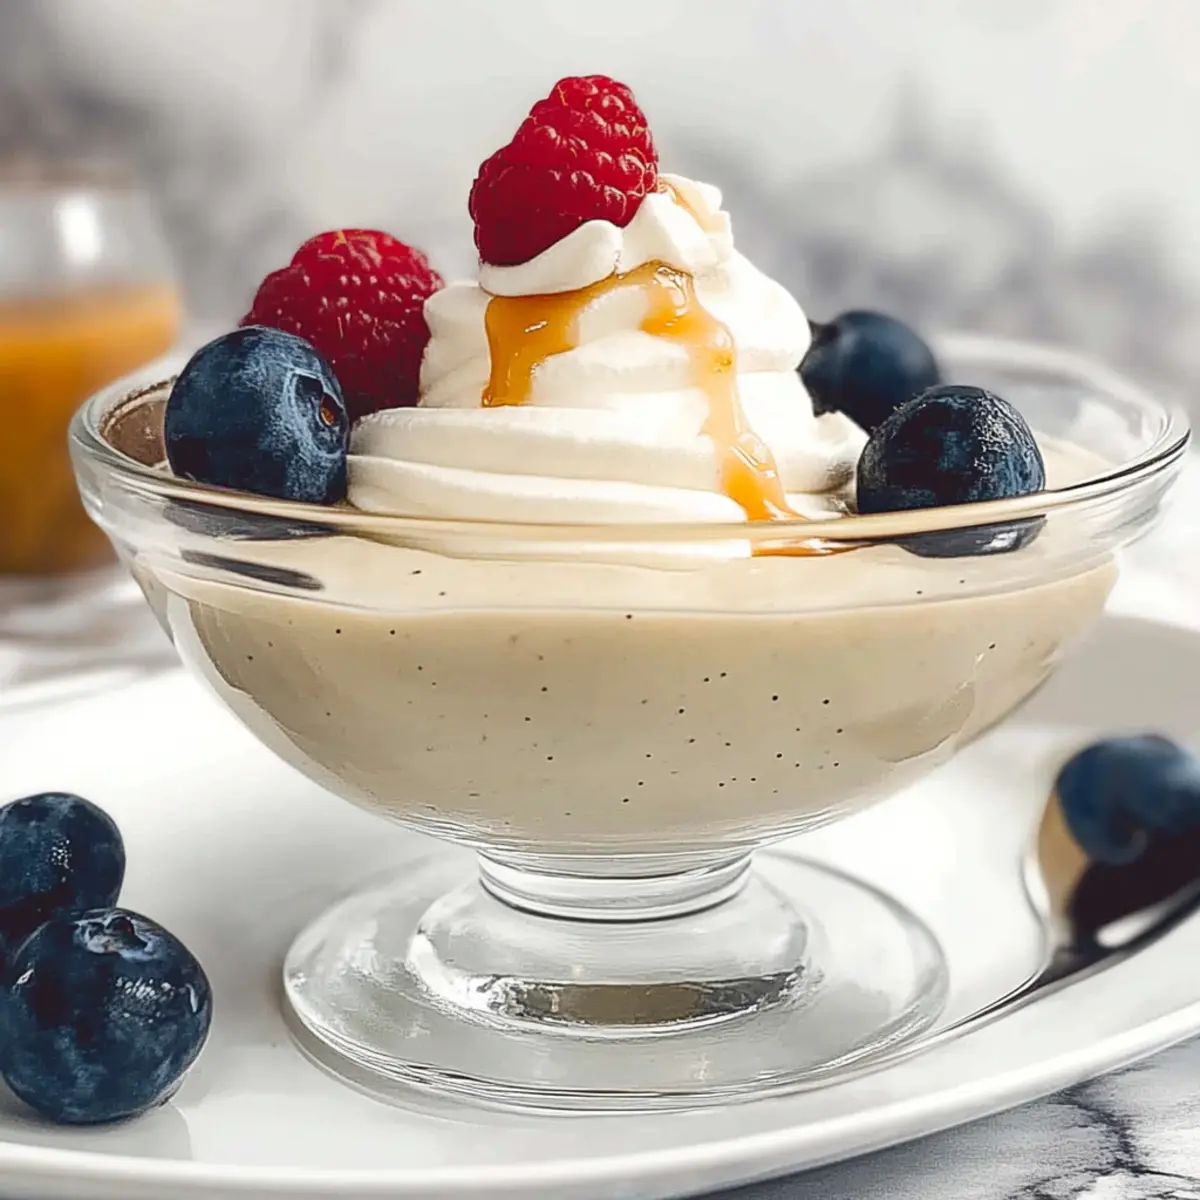
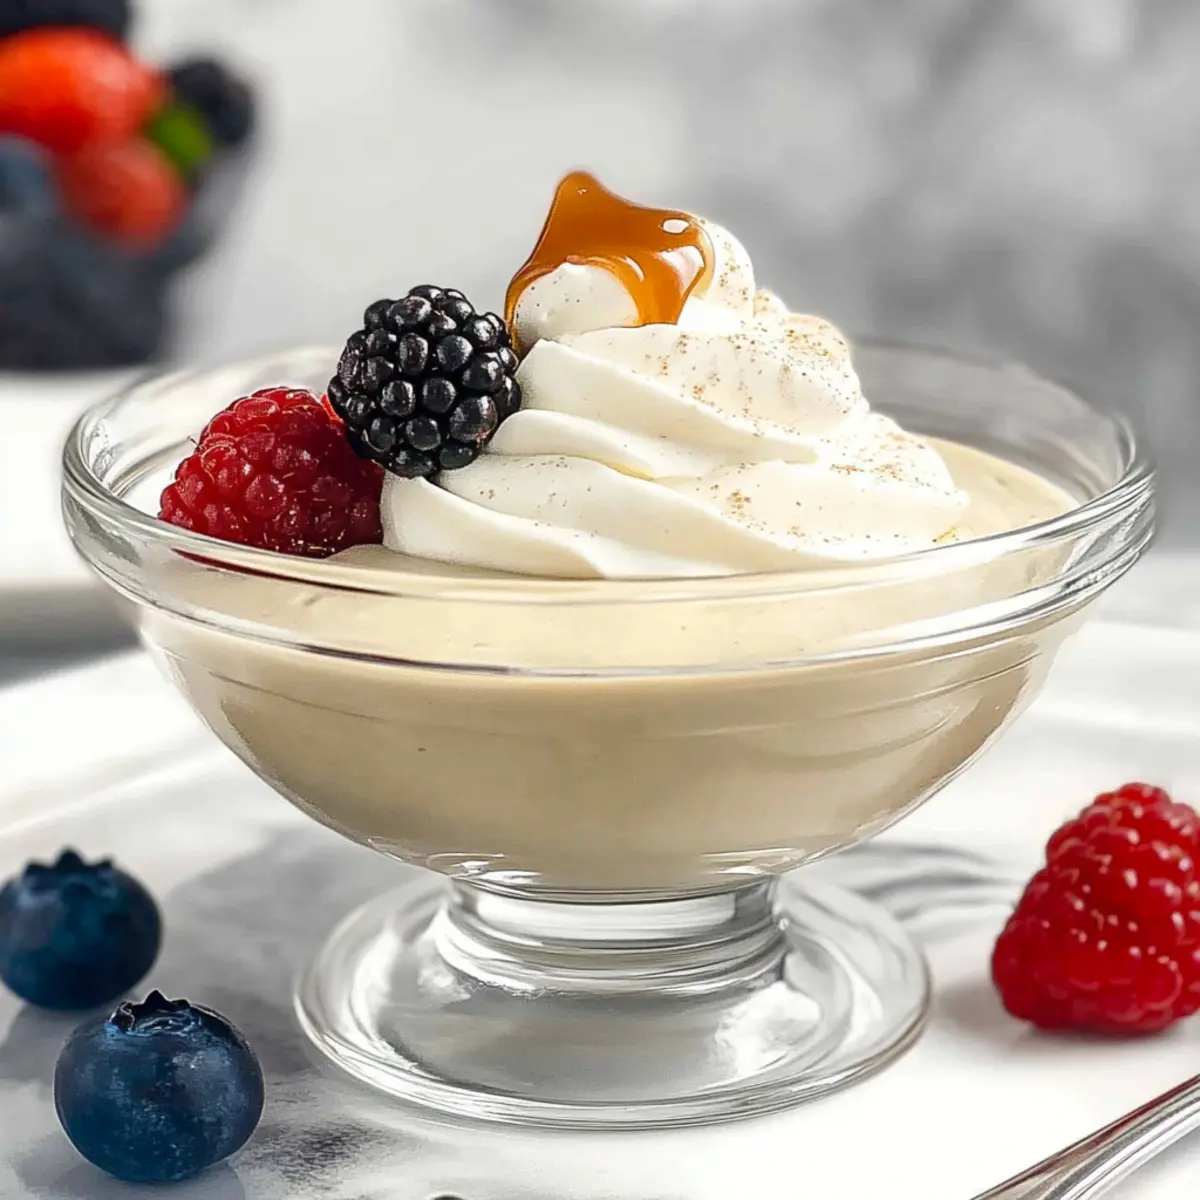
As I dipped a spoon into the silky smoothness of my latest creation, the light and creamy vanilla mousse, I could feel a wave of contentment wash over me. This delightful dessert isn’t just a treat for the taste buds; it’s a celebration of simple indulgence that can elevate any gathering. With its easy preparation, this Easy Vanilla Mousse Cups recipe lets you spend less time in the kitchen and more time enjoying your guests. Plus, it’s gluten-free, making it a thoughtful option for those with dietary restrictions. Crafted with fresh vanilla and whipped cream, it promises a cloud-like texture that melts beautifully in your mouth. Curious about how to whip up this dreamy dessert? Let’s dive in!
Why Choose Easy Vanilla Mousse Cups?
Simplicity at its finest: This recipe requires minimal ingredients and effort, making it perfect for both novice cooks and seasoned chefs.
Versatile dessert: The mousse can effortlessly transition from a casual family dinner to a sophisticated affair, impressing anyone who tastes it.
Decadent texture: Each spoonful delivers a velvety, airy experience that feels indulgent without being heavy.
Make-ahead magic: Prepare this lovely dessert a day in advance—allowing you more time to socialize and enjoy your gathering!
Crowd-pleaser: Whether garnished with a drizzle of caramel sauce or adorned with fresh berries, it appeals to every palate, just like our Mini Cheesecake Cups!
Easy Vanilla Mousse Cups Ingredients
• Your key to delightful mousse!
For the Vanilla Mousse
- Thickened Cream / Heavy Whipping Cream – Use at least 35% fat content for a rich, creamy base that ensures a luscious texture.
- Fresh Vanilla Bean Pod – The star of the show; this adds an authentic, fragrant vanilla flavor that elevates the dessert. You can also substitute with vanilla paste if needed.
- Caster Sugar – Sweetens the mousse to perfection; there’s no need for direct substitutes to achieve the right level of sweetness.
- Large Eggs – Essential for creating that light, airy structure; make sure they’re at room temperature for better emulsification.
- Cornstarch – This is your thickening agent, helping stabilize the mousse; flour or arrowroot can be used as alternatives but may slightly change the texture.
- Thickened Cream / Heavy Whipping Cream (part 2) – Whipped to soft peaks for the mousse’s airy volume; remember to stick with at least 35% fat content for the best outcome.
Get ready to whip up these Easy Vanilla Mousse Cups that promise delicious simplicity and a splendid finish to your meals!
Step‑by‑Step Instructions for Easy Vanilla Mousse Cups
Step 1: Prepare Vanilla Custard
In a medium saucepan, combine the first portion of thickened cream with the scraped seeds and pod of the fresh vanilla bean. Heat over low heat until it’s steaming but not boiling, about 5-7 minutes. Stir occasionally to prevent sticking. Remove from heat, and carefully strain the mixture to remove the vanilla pod, leaving you with a fragrant infused cream.
Step 2: Whisk Eggs and Sugar
In a separate mixing bowl, vigorously whisk together the large eggs, caster sugar, and cornstarch until well combined and slightly frothy. This should take about 2-3 minutes. Ensure all ingredients are smooth and blended to create a stable base for your Easy Vanilla Mousse Cups.
Step 3: Combine Mixtures
Gradually pour the warm vanilla-infused cream into the egg mixture, whisking continuously to temper the eggs and prevent curdling. This process usually takes 1-2 minutes. Once fully incorporated, the mixture should feel warm but not hot to the touch.
Step 4: Cook Custard
Return the combined mixture to the saucepan and cook over low heat, stirring constantly until it thickens. Use a thermometer to ensure the custard reaches between 180-183°F (82-84°C), which usually takes about 5-6 minutes. You’ll know it’s ready when it coats the back of a spoon without running off.
Step 5: Chill Custard
Transfer the thickened custard to a clean bowl and cover the surface with plastic wrap to prevent a skin from forming. Place in the refrigerator for at least 1-2 hours, or until fully cooled. This step is crucial for achieving the perfect texture for your Easy Vanilla Mousse Cups.
Step 6: Whip Remaining Cream
In a separate bowl, pour in the remaining thickened cream and whip it with an electric mixer until stiff peaks form, about 3-5 minutes. Be careful not to over-whip, as you want a light and airy volume to fold into the custard. This whipped cream will give your mousse its signature fluffy texture.
Step 7: Combine Creams
Gently fold the whipped cream into the chilled custard in 3-4 additions. Use a spatula and a gentle motion to maintain the airy texture of the whipped cream while combining. This folding technique ensures your Easy Vanilla Mousse Cups remain light and creamy.
Step 8: Set Mousse
Carefully spoon or pour the mousse mixture into serving cups, filling them about three-quarters full to allow space for any toppings. Refrigerate the cups for at least 3 hours, or overnight for the best results, until the mousses are fully set. This chilling allows the flavors to meld beautifully.
How to Store and Freeze Easy Vanilla Mousse Cups
Fridge: Store the mousse in an airtight container or cover each cup tightly with plastic wrap. Enjoy within 2 days for the best taste and texture.
Freezer: Not recommended for freezing as the creamy texture will change once thawed, affecting the quality of your Easy Vanilla Mousse Cups.
Reheating: This dessert is served cold and shouldn’t be reheated. Simply take it out of the fridge and enjoy its light, airy goodness!
Make Ahead Options
These Easy Vanilla Mousse Cups are perfect for meal prep enthusiasts! You can prepare the vanilla custard up to 24 hours in advance; simply follow the initial steps, cook the custard, and then let it chill in the refrigerator for at least 1-2 hours (or overnight) before folding in the whipped cream. Once combined, the mousse can be stored in the refrigerator for up to 3 days in tightly covered containers without compromising its airy texture. To maintain quality, ensure you cover the surface with plastic wrap to prevent a skin from forming. When you’re ready to serve, simply spoon the mousse into individual cups, refrigerate for at least 3 hours, or overnight, for the best results! Enjoy the time-saving convenience of this delightful dessert!
What to Serve with Easy Vanilla Mousse Cups?
Indulging in a creamy vanilla mousse is only the beginning of a delightful dining experience. Every bite can be beautifully complemented by an array of flavors that transform your meal into a memorable celebration.
-
Fresh Berries: Strawberries, raspberries, or blueberries add a refreshing burst of tanginess that contrasts beautifully with the sweet mousse.
-
Chocolate Ganache: A rich drizzle of chocolate ganache introduces a decadent layer, elevating your dessert with a luscious, velvety texture.
-
Caramel Sauce: Drizzling warm caramel over your mousse brings a sweet, buttery richness, tantalizing the taste buds and enhancing the mousse’s creamy nature.
-
Almond Biscotti: The crunch of almond biscotti provides a delightful contrast to the smooth mousse, making for a textural pleasure in each bite.
-
Mint Leaves: A sprinkling of fresh mint not only adds a pop of color but also infuses a bright, herbal note that cuts through the richness of the mousse.
-
Espresso: A smooth, rich cup of espresso can balance the sweetness, offering a sophisticated pairing that coffee lovers will adore.
These heavenly accompaniments will not only harmonize with the flavors of your Easy Vanilla Mousse Cups but also turn dessert into a heartfelt gathering experience. Enjoy!
Easy Vanilla Mousse Cups Variations
Feel free to take this delightful recipe and tailor it to your tastes for an even more personalized dessert experience!
- Fruit-Infused: Substitute some vanilla with pureed fruits like strawberries or mango for a refreshing twist. The vibrant colors will brighten up your presentation!
- Chocolate Delight: Fold in melted dark chocolate after your custard is cooled for a richer, decadent dessert that chocolate lovers will adore.
- Coconut Cream: Replace half of the heavy cream with coconut cream for a tropical touch. This variation will transport you to a sunny paradise with each spoonful.
- Nutty Crunch: Stir in finely chopped nuts, like toasted almonds or hazelnuts, for added texture. This will give your mousse a delightful crunch that contrasts with its smoothness.
- Coffee Kick: Add a spoonful of espresso or strong coffee to the mixture for a mocha-flavored mousse that’s perfect for coffee enthusiasts!
- Gelatin-Set: Include gelatin in the custard to create a firmer texture, great for layered desserts or mousse cakes, allowing for unique presentations.
- Spiced Wonder: Enhance the flavors further by adding a pinch of cinnamon or nutmeg to the custard; it will surprise your palate with warmth.
- Decadent Toppings: Serve with toppings like caramel sauce, fresh berries, or a sprinkle of cocoa powder to add a beautiful finish to your mousse. Consider pairing with our delicious Cinnamon Vanilla Custard for a delicious layered dessert experience!
Expert Tips for Easy Vanilla Mousse Cups
-
Use Fresh Ingredients: Opt for fresh vanilla beans and heavy cream with at least 35% fat content to enhance flavor and achieve that rich, creamy texture.
-
Avoid Scrambled Eggs: Always mix the warm vanilla cream gradually into the egg mixture while whisking vigorously to temper the eggs and prevent curdling.
-
Chill Properly: Ensure the custard cools completely before folding in the whipped cream. This step is crucial to achieve the perfect mousse consistency for your Easy Vanilla Mousse Cups.
-
Don’t Over-Whip: When whipping the remaining cream, stop once you reach stiff peaks. Over-whipping can lead to a grainy texture, which you want to avoid for a smooth mousse.
-
Patience is Key: For the best flavor, refrigerate the mousse for at least three hours, but overnight is ideal. This allows the flavors to fully develop and the texture to set beautifully.
Easy Vanilla Mousse Cups Recipe FAQs
What type of cream should I use for the mousse?
Absolutely! For the best results, use thickened cream or heavy whipping cream with a fat content of at least 35%. This richness ensures a luxurious and creamy texture that is essential for making the mousse light and airy.
How should I store the Easy Vanilla Mousse Cups?
You can store your mousse cups in the refrigerator for up to 2 days. Be sure to cover each cup tightly with plastic wrap or place them in an airtight container to prevent them from drying out. This will help maintain their silky texture and delightful flavor.
Can I freeze Easy Vanilla Mousse Cups?
Very good question! It’s not recommended to freeze the mousse, as the creamy texture will change and become grainy once thawed. If you want to make ahead, I suggest preparing the mousse and refrigerating it instead for a fresh and fluffy dessert.
What if my mousse doesn’t set properly?
If your mousse hasn’t set, it’s likely due to insufficient cooling time or not folding the whipped cream in gently enough. To troubleshoot, ensure you’ve chilled the custard completely before folding in the whipped cream. You can also place the cups back in the fridge for a few more hours to help them firm up.
Can people with gluten allergies enjoy this mousse?
Definitely! This Easy Vanilla Mousse Cups recipe is naturally gluten-free, making it a perfect dessert option for those with gluten sensitivities. Just ensure that all your ingredients, particularly the cornstarch, are labeled gluten-free for extra safety.
Indulge in Easy Vanilla Mousse Cups: Creamy & Delightful
Ingredients
Equipment
Method
- In a medium saucepan, combine the first portion of thickened cream with the scraped seeds and pod of the fresh vanilla bean. Heat over low heat until it's steaming but not boiling, about 5-7 minutes. Stir occasionally to prevent sticking. Remove from heat, and carefully strain the mixture to remove the vanilla pod, leaving you with a fragrant infused cream.
- In a separate mixing bowl, vigorously whisk together the large eggs, caster sugar, and cornstarch until well combined and slightly frothy, about 2-3 minutes.
- Gradually pour the warm vanilla-infused cream into the egg mixture, whisking continuously to temper the eggs and prevent curdling, about 1-2 minutes.
- Return the combined mixture to the saucepan and cook over low heat, stirring constantly until it thickens, aiming for between 180-183°F (82-84°C), about 5-6 minutes.
- Transfer the thickened custard to a clean bowl and cover the surface with plastic wrap to prevent a skin from forming. Place in the refrigerator for at least 1-2 hours, or until fully cooled.
- In a separate bowl, whip the remaining thickened cream until stiff peaks form, about 3-5 minutes. Be careful not to over-whip.
- Gently fold the whipped cream into the chilled custard in 3-4 additions, using a spatula and a gentle motion.
- Carefully spoon or pour the mousse mixture into serving cups, filling them about three-quarters full. Refrigerate for at least 3 hours, or overnight for best results.
Leave a Reply