
As I stood in my kitchen, the scent of coconut whisked me away to the bustling streets of Java, where Wingko Babat is as much a part of the culture as rice itself. This gluten-free Indonesian Sticky Coconut Cake captures that essence, allowing you to experience a slice of traditional dessert magic from the comfort of your own home. With a fudgy, chewy texture and an irresistible coconut flavor, it’s perfect for satisfying your sweet tooth and impressing guests. Plus, this recipe is not only easy to prepare but also accessible for those seeking delightful gluten-free options. Are you ready to create your own piece of paradise?
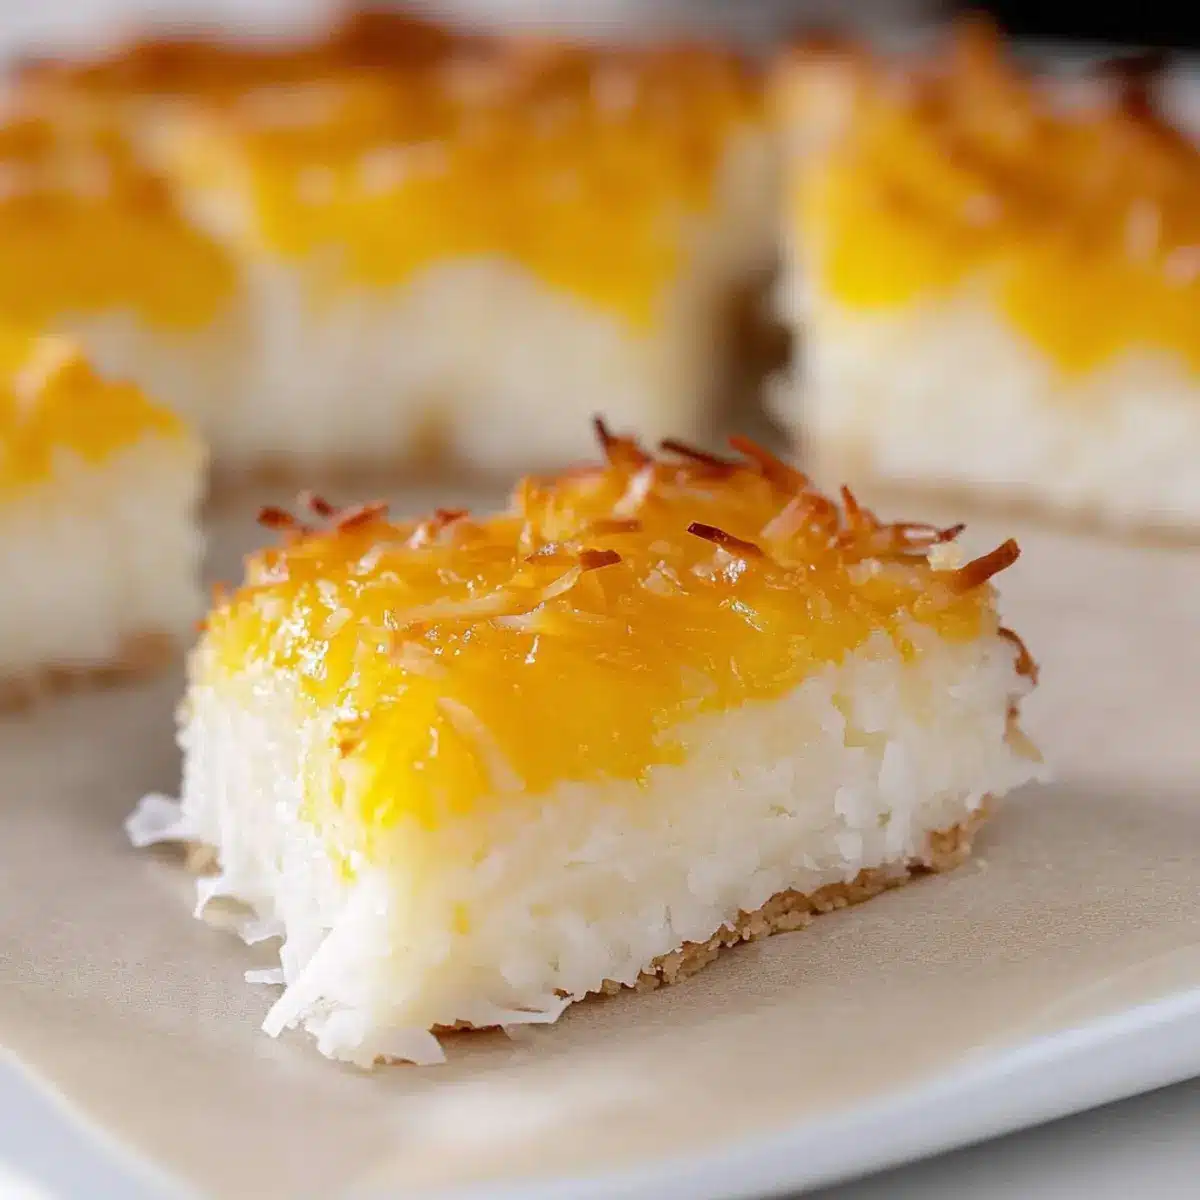
Why Is This Sticky Coconut Cake Special?
Unique Flavor Profile: This cake delivers a heavenly blend of coconut richness that transports your taste buds straight to Indonesia.
Chewy Delight: Experience the perfectly chewy texture that comes from glutinous rice flour, making every bite truly enjoyable.
Gluten-Free Goodness: Designed for everyone, this recipe is an easy gluten-free option, allowing those with dietary restrictions to indulge.
Quick Preparation: With just a handful of ingredients and a simple process, you’ll spend less time in the kitchen and more time enjoying with friends.
Crowd-Pleaser: Slice it into bite-sized pieces for your next gathering, and watch as it vanishes from the platter—it’s an instant hit!
Whether you pair your Sticky Coconut Cake with coffee or take inspiration from vibrant flavors found in dishes like Jerk Meatballs Coconut or serve it alongside a delightful Moist Pound Cake, this treat never disappoints.
Sticky Coconut Cake Ingredients
A symphony of flavors awaits with this delightful dessert!
For the Batter
- Eggs (2, separated) – Provides structure and moisture for a tender cake.
- Granulated Sugar (1 ¼ cups) – Adds the necessary sweetness and helps caramelize while baking.
- Canned Coconut Milk (2 ¼ cups, full-fat) – Contributes a rich coconut flavor and creamy texture; be sure to shake well before use.
- Shredded Sweetened Coconut (3 cups) – Gives that classic coconut taste and chewy texture; opt for sweetened for a well-balanced flavor.
- Glutinous Rice Flour (1 ½ cups) – Essential for achieving the signature chewy texture; do not substitute with regular flour; Mochiko can work as an alternative.
- Vanilla Extract (1 teaspoon) – Enhances the overall flavor and elevates this Sticky Coconut Cake to new heights.
Step‑by‑Step Instructions for Sticky Coconut Cake
Step 1: Preheat the Oven
Begin your Sticky Coconut Cake journey by preheating your oven to 350°F (175°C). This heat is crucial for achieving that perfect golden-brown crust. As the oven warms up, gather your baking equipment, including an 8×8-inch baking pan, and line it with parchment paper for easy removal later.
Step 2: Whisk Egg Whites and Sugar
In a large mixing bowl, combine the egg whites and granulated sugar. Using a whisk or an electric mixer, beat them together on medium speed until the mixture is well combined and slightly frothy, about 2-3 minutes. This step is essential for adding volume and sweetness to your sticky coconut cake.
Step 3: Mix in Coconut Milk and Ingredients
Gradually pour in the canned coconut milk, stirring to combine. Then, add the shredded sweetened coconut, glutinous rice flour, and vanilla extract. Use a spatula to fold the mixture gently, ensuring it’s smooth and lump-free. You should see a creamy batter forming, rich with coconut aroma.
Step 4: Pour and Bake the Batter
Pour the batter into your prepared baking pan, spreading it evenly with a spatula. Place the pan in the preheated oven and bake for 45 minutes, or until the top turns a beautiful golden color and a toothpick inserted in the center comes out clean. Your kitchen will soon fill with a delightful aroma!
Step 5: Broil for a Golden Finish
After baking, take the cake out of the oven and brush the top with the reserved egg yolks for a glossy finish. Set your oven to broil and return the cake to the oven. Broil for 5-10 minutes, watching carefully until the top is caramelized to a lovely golden-brown. This step adds a beautiful color and brings out the richness in flavors.
Step 6: Cool and Refrigerate
Once broiled, remove your cake from the oven and allow it to cool in the pan at room temperature until it’s completely cool. Then cover it and refrigerate for at least 8 hours or overnight. This resting period allows the cake to firm up and enhances the chewy texture that’s so beloved in traditional Sticky Coconut Cake.
Step 7: Slice and Serve
Finally, when you’re ready to enjoy your Sticky Coconut Cake, take it out of the refrigerator. Use a sharp knife to cut it into squares or triangles, depending on your preference. Serve it cold or at room temperature, and watch as your friends and family savor each delightful bite of this Indonesian delight!
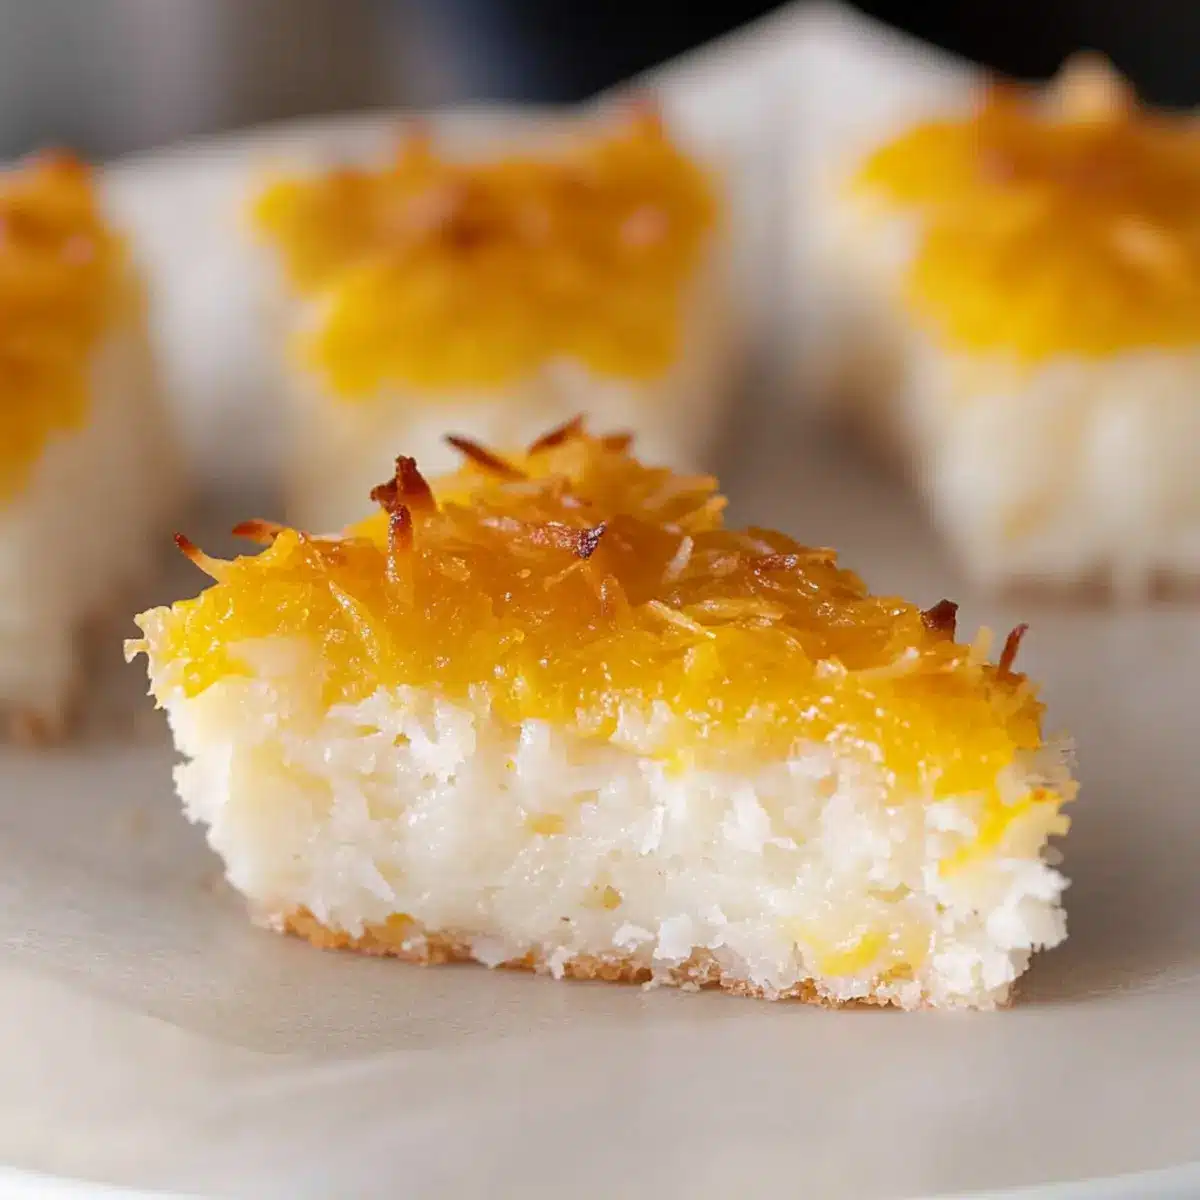
What to Serve with Sticky Coconut Cake
Elevate your dessert experience by pairing this delightful treat with complementary flavors and textures that will tantalize your taste buds.
-
Fresh Tropical Fruit: Complement the rich coconut cake with slices of ripe mango or pineapple, adding a refreshing sweetness. The juicy fruit balances the cake’s chewiness and enhances the tropical vibe.
-
Creamy Coconut Ice Cream: Serve with a scoop of coconut ice cream for a delightful contrast in temperature and texture. The cold creaminess adds a luxurious touch, making each bite of the cake even more indulgent.
-
Espresso or Coffee: Pair your sticky coconut cake with a robust espresso or hot coffee; the bitter notes beautifully offset the sweetness. A warm beverage enhances its chewiness while creating a cozy atmosphere.
-
Whipped Coconut Cream: Top with a dollop of lightly sweetened whipped coconut cream for an extra layer of flavor. This addition brings a velvety richness that beautifully complements the cake’s texture.
-
Chocolate Dipping Sauce: Drizzle dark chocolate sauce over the sticky coconut cake for a decadent twist. The bitterness of chocolate provides a rich contrast to the sweetness of the cake, elevating it into something extraordinary.
-
Pistachio Crumble: Sprinkle crushed pistachios for a crunchy element that adds contrast to the soft and chewy cake. The nutty flavor pairs wonderfully, enhancing the overall taste experience.
-
Coconut Milk Latte: Serve alongside a creamy coconut milk latte to continue the coconut theme. The smooth flavors blend together, creating a soothing beverage to sip while enjoying dessert.
-
Lime Sorbet: Refresh your palate with zesty lime sorbet. Its tanginess cuts through the richness of the cake, providing a perfect balance and finishing touch to this sweet experience.
How to Store and Freeze Sticky Coconut Cake
Fridge: Store the Sticky Coconut Cake covered in the refrigerator for up to 2 weeks. This keeps it fresh and maintains its delightful chewy texture.
Freezer: For longer storage, freeze the cake for up to 3 months. Cut it into slices before wrapping each piece tightly in plastic wrap or foil to prevent freezer burn.
Thawing: When ready to enjoy, transfer the frozen slices to the fridge for several hours or overnight to thaw. You can also let them sit at room temperature for about 30 minutes before serving.
Reheating: For a warm treat, reheat slices in the microwave for about 10-15 seconds or place them in a warm oven for a few minutes until heated through. Enjoy that irresistible coconut flavor!
Make Ahead Options
These Sticky Coconut Cakes are perfect for meal prep enthusiasts! You can prepare the batter up to 24 hours in advance by mixing the ingredients and storing them in an airtight container in the refrigerator. The cake itself can be baked and then cooled completely, allowing it to sit in the fridge for up to 3 days before serving, which enhances its chewy texture. To ensure quality, cover it tightly to prevent drying out. When you’re ready to serve, simply slice the cake, and enjoy it cold or at room temperature for a delightful dessert that saves you time and effort on busy weeknights!
Expert Tips for Sticky Coconut Cake
Texture Matters: Ensure you use glutinous rice flour for that delicious chewy texture; substituting with regular flour will yield very different results.
Keep an Eye on Broiling: When broiling, stay close and watch carefully to prevent burning—the perfect finish is a golden brown crust that enhances flavor.
Mix Well: If your coconut milk separates, give it a good shake or stir, or warm it briefly in the microwave before adding it to the batter to ensure a smooth mixture.
Chill Time: Don’t skip the refrigerating step! Cooling the cake for at least 8 hours enhances the flavors and helps achieve that perfect sticky consistency.
Slice Smart: For best results when slicing, use a sharp knife and clean each cut between slices to maintain neat, beautiful pieces of your Sticky Coconut Cake.
Sticky Coconut Cake Variations
Feel free to put your twist on this delightful dessert and make it uniquely yours!
-
Egg-Free: Replace eggs with aquafaba for a fluffy, egg-free version that maintains the cake’s lovely texture.
-
Coconut Richness: Swap full-fat coconut milk for coconut cream to achieve an even denser, creamier cake.
-
Sweetness Control: Use unsweetened shredded coconut for a less sweet option that still boasts rich coconut flavor.
-
Flavor Infusion: Add 1 teaspoon of almond extract for a nutty twist that complements the coconut perfectly.
-
Nutty Delight: Toss in ½ cup of chopped nuts, like macadamias or almonds, for extra crunch and flavor contrast.
-
Spicy Touch: Mix in a pinch of cayenne or chili powder to introduce a surprising pop of heat for those who love a fiery zest.
-
Tropical Twist: Enhance coconut flavor by folding in fresh pineapple chunks or mango pieces for a fruity, tropical cake experience.
-
Dessert for Any Occasion: Slice it into bite-sized pieces and serve alongside a scoop of ice cream or whipped cream for a decadent dessert, perfect for gatherings.
With these easy variations, your Sticky Coconut Cake can go from traditional to adventurous, making it perfect for any occasion! You might also enjoy trying it alongside a rich slice of Heaven Earth Cake or as dessert after a flavorful dish like Chicken Curry Coconut. Happy baking!
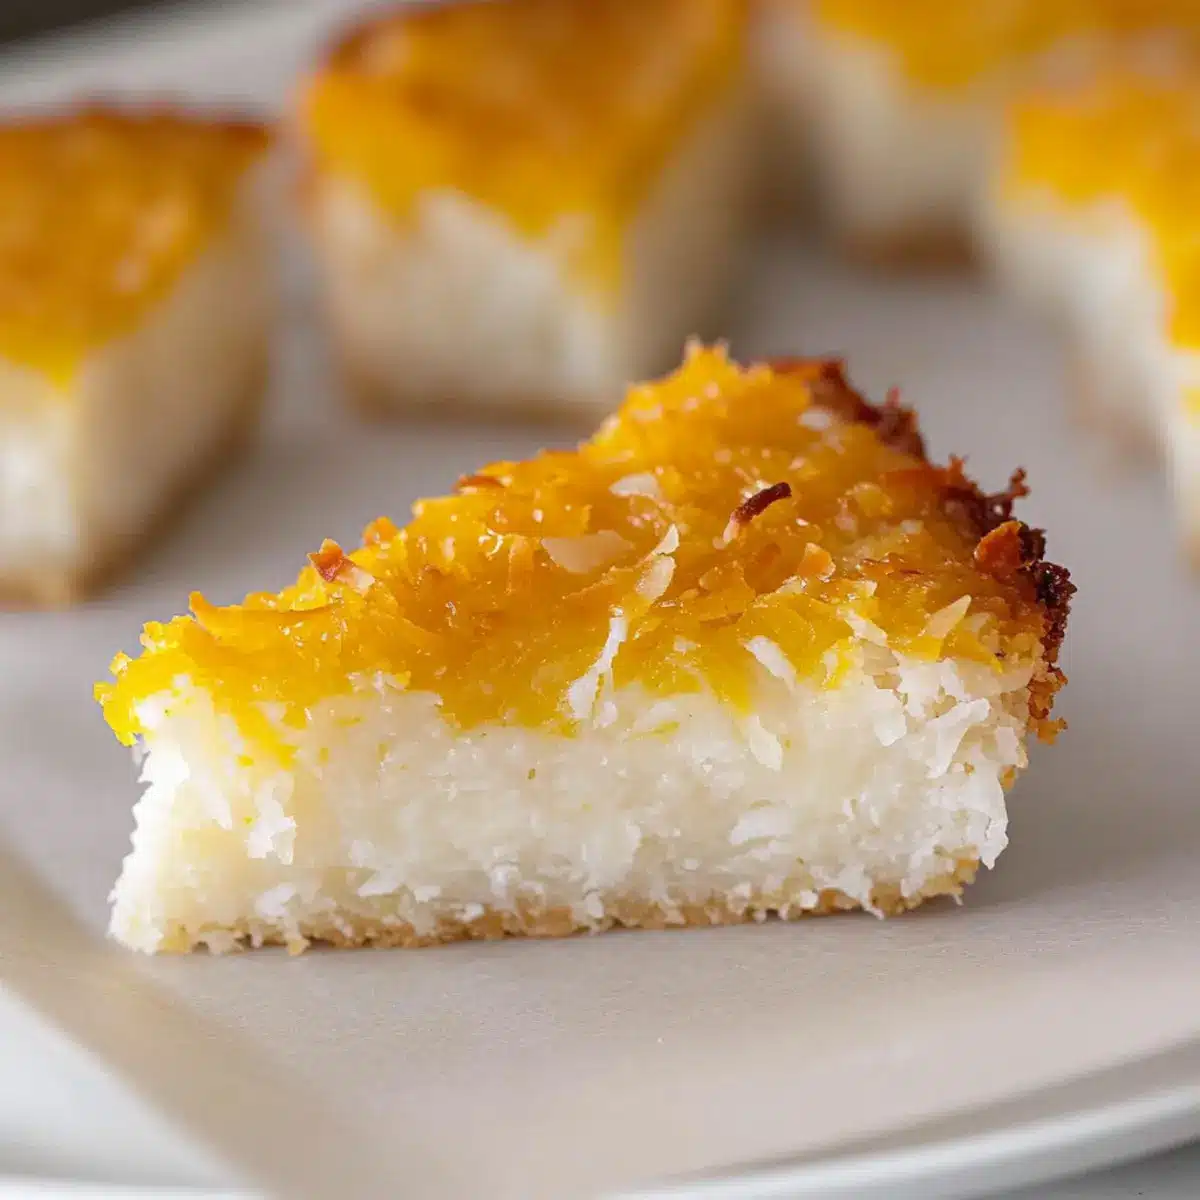
Sticky Coconut Cake Recipe FAQs
What kind of coconut milk should I use?
For the best flavor and texture, opt for full-fat canned coconut milk. Be sure to shake the can well or stir the contents before using to combine any separation that may occur, ensuring a rich and creamy batter.
How should I store the Sticky Coconut Cake?
Store the Sticky Coconut Cake covered in the refrigerator for up to 2 weeks. This keeps it fresh and maintains its delightful chewy texture, making it perfect for snacking or dessert.
Can I freeze the Sticky Coconut Cake?
Absolutely! You can freeze the cake for up to 3 months. To do this, cut it into slices first, then wrap each piece tightly in plastic wrap or foil. This prevents freezer burn and makes it easy to enjoy a slice whenever the craving hits.
What if my cake doesn’t seem chewy enough?
If you find that your Sticky Coconut Cake isn’t as chewy as expected, check that you used glutinous rice flour instead of regular all-purpose flour. The glutinous rice flour is crucial for that characteristic texture. Ensure that you also let the cake cool in the fridge for at least 8 hours to achieve the perfect consistency.
Is this cake suitable for dairy-free diets?
Yes! Since the Sticky Coconut Cake uses coconut milk instead of dairy milk, it is naturally dairy-free. Just be mindful of any added ingredients, like the egg yolks used for brushing, if you’re looking for a completely vegan option; you can use aquafaba as an egg substitute instead.
How can I tell when the cake is done baking?
The cake is done when the top is a lovely golden brown and a toothpick inserted into the center comes out clean. Keep an eye on the broiling process, as it can quickly go from golden to burnt if left unattended for too long. Enjoy your baking!
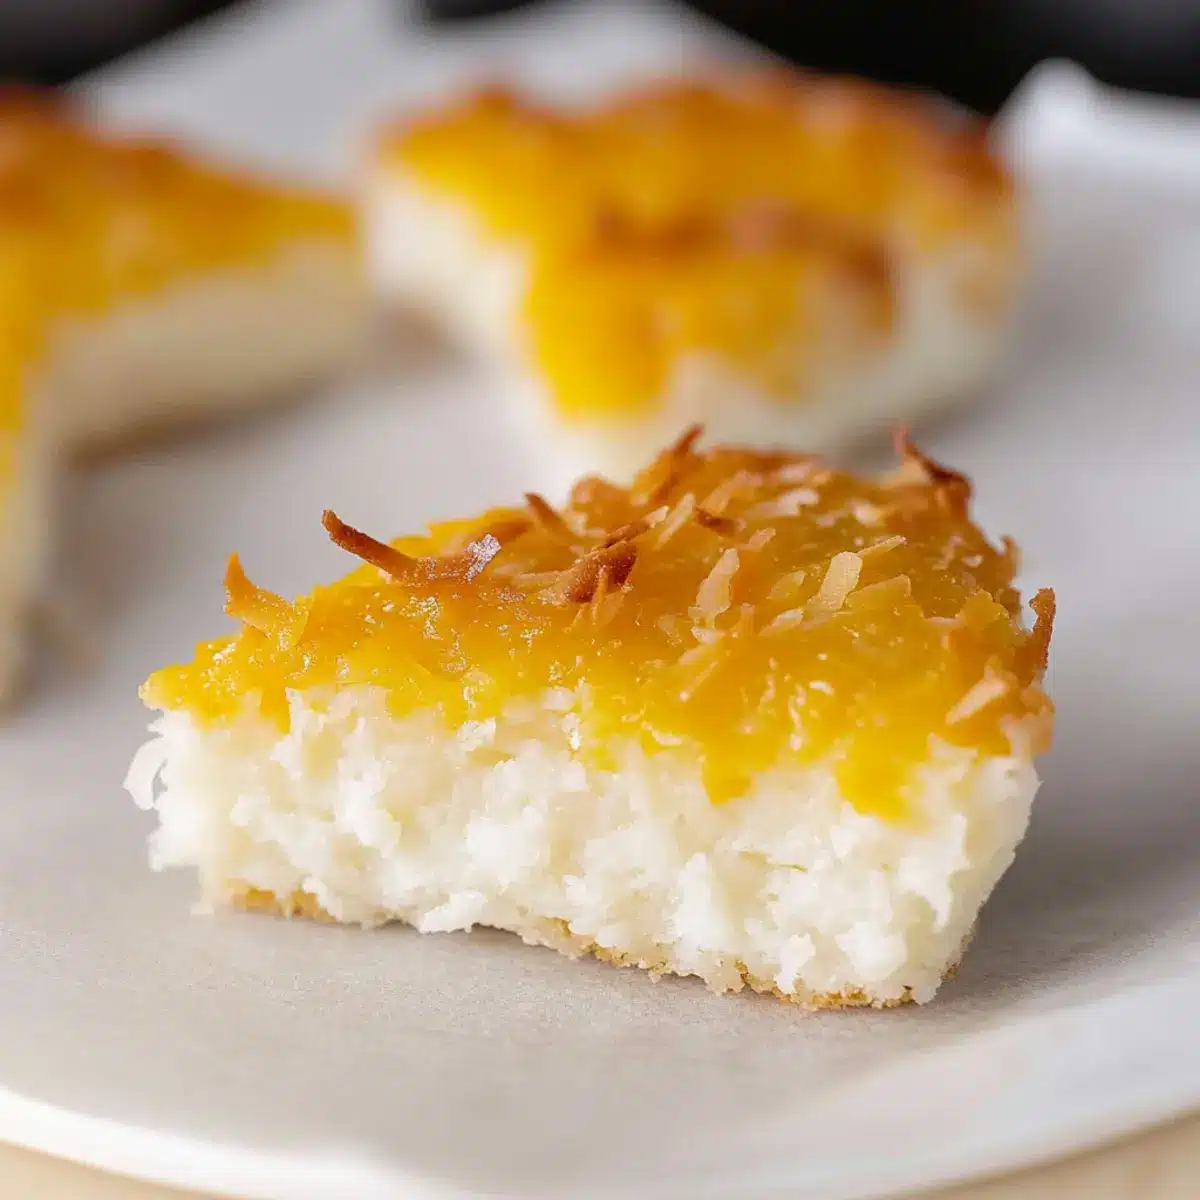
Irresistible Sticky Coconut Cake Recipe You’ll Love!
Ingredients
Equipment
Method
- Preheat your oven to 350°F (175°C). Line an 8x8-inch baking pan with parchment paper.
- In a large mixing bowl, whisk together the egg whites and granulated sugar until frothy, about 2-3 minutes.
- Gradually stir in the coconut milk, then fold in the shredded coconut, rice flour, and vanilla until smooth.
- Pour the batter into the prepared pan and bake for 45 minutes or until golden and a toothpick comes out clean.
- Brush the top with reserved egg yolks, then broil for 5-10 minutes until caramelized and golden brown.
- Allow the cake to cool in the pan, then cover and refrigerate for at least 8 hours before serving.
- Slice and serve cold or at room temperature, enjoying the chewy texture and rich coconut flavor.
Leave a Reply