
As I stood in my kitchen, craving something sweet yet wholesome, a lightbulb moment struck. What if I could recreate those indulgent Buster Bars from Dairy Queen, but in a healthier way? Enter my Healthy Peanut Butter Buster Bars! These treats are not only a guilt-free twist on a classic favorite, but they also pack a protein punch with just three simple ingredients. With creamy yogurt and rich peanut butter blended to perfection, then coated in luscious chocolate, they deliver that nostalgic flavor without the heavy calories. Whether you’re looking for a quick dessert or a protein-packed snack after a workout, these bars have got you covered. Ready to discover how to whip up this delectable frozen delight at home? Let’s get started!
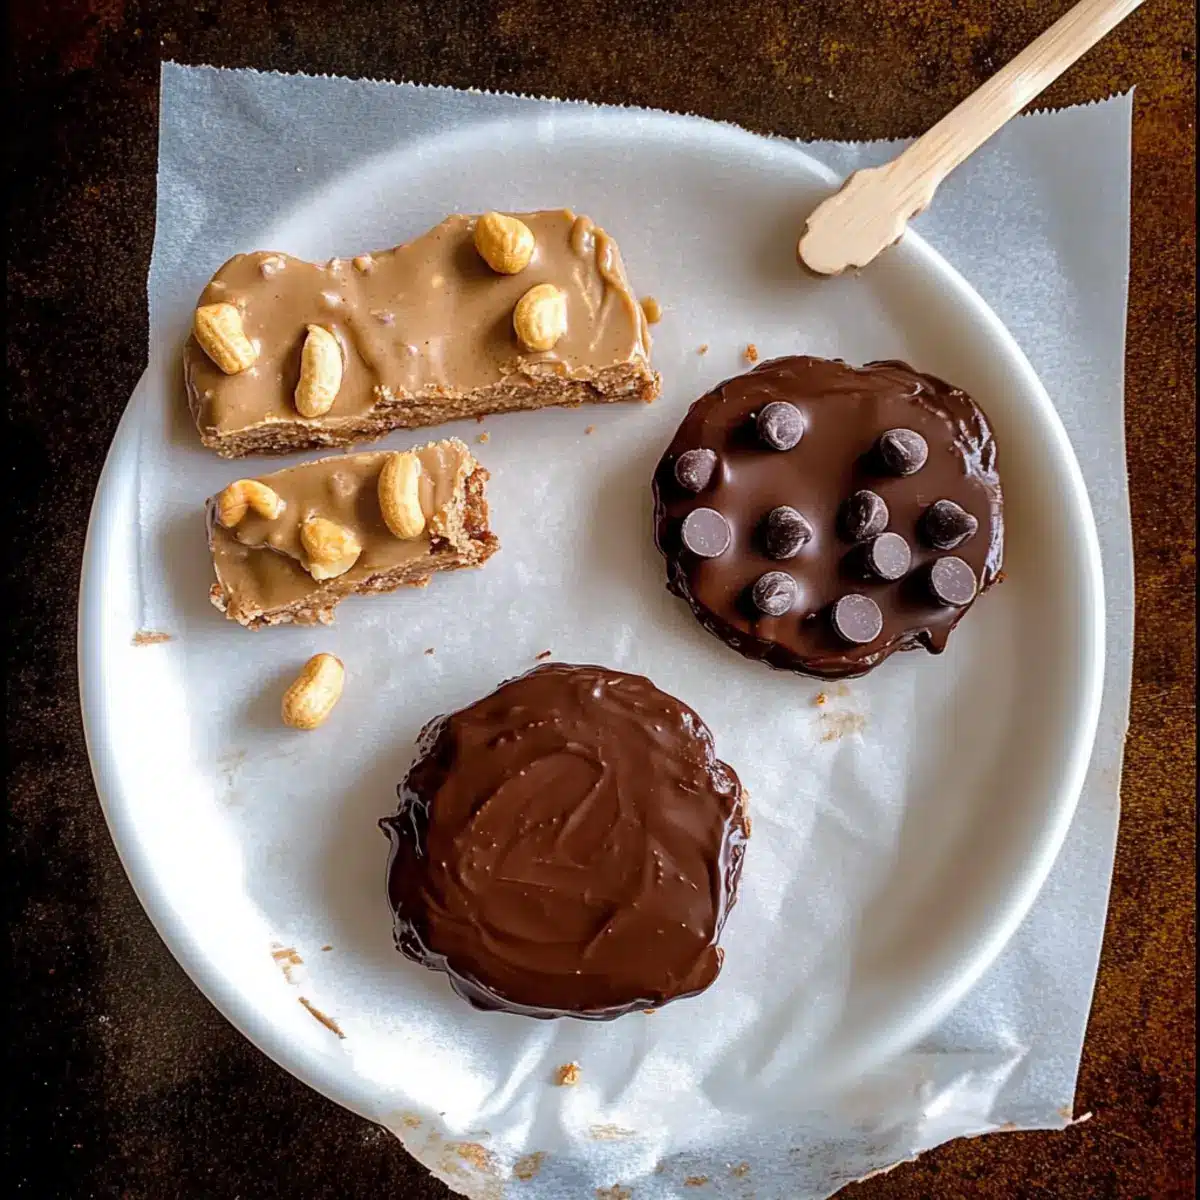
Why are Buster Bars so satisfying?
Creamy, these Healthy Peanut Butter Buster Bars offer a delightful mouthfeel that will satisfy your sweet tooth without the guilt. Customizable, with simple variations, they can suit any dietary need, whether you’re vegan, keto, or just looking for a healthier snack. Quick and easy, you can whip these up in no time—ideal for those busy days when cravings hit! Plus, protein-packed, each bar serves as an energy-boosting treat, making them perfect for post-workout recovery. Lastly, kid-approved, they make a fun dessert that even the little ones will adore! Try these bars and enjoy a guilt-free indulgence that truly hits the spot.
Buster Bars Ingredients
Get ready to satisfy your cravings!
For the Base
- Yogurt – Provides creaminess and forms the base for the bars; swap for vegan yogurt for a dairy-free option.
- Peanut Butter – Adds flavor and protein; consider almond or cashew butter as great alternatives for nut allergies.
- Sweetener – Enhances flavor; if your yogurt is sweetened, you can omit this ingredient.
For the Coating
- Chocolate Chips – Creates a rich outer shell; opt for dairy-free chocolate chips for vegan-friendly Buster Bars.
- Coconut Oil – Keeps the chocolate coating smooth; this is optional but recommended for a glossy finish.
For the Crunch (Optional)
- Peanuts – Adds texture and flavor; you can leave these out for a nut-free version.
These ingredients come together to create the perfect Buster Bars that you’re going to love!
Step‑by‑Step Instructions for Healthy Peanut Butter Buster Bars
Step 1: Prepare Mixture
In a mixing bowl, combine yogurt, peanut butter, and your choice of sweetener. Use a whisk or spatula to blend the ingredients until the mixture is incredibly smooth and creamy. This should take about 2-3 minutes. If you’d like a touch of extra sweetness, consider folding in some mini chocolate chips for added flavor before moving to the next step.
Step 2: Shape Bars
Drop generous blobs of the peanut butter mixture onto a parchment-lined tray, spacing them evenly. Aim for about 2 tablespoons for each blob to create uniform bars. Gently insert a popsicle stick into each blob, anchoring it down, while using a spatula or another spoon to smooth the tops for a more polished look. This shaping step should take around 5-10 minutes.
Step 3: Add Crunch (Optional)
If you’re using peanuts, now’s the time to sprinkle some finely chopped peanuts on top of each shaped bar. This step adds the perfect crunch to your Healthy Peanut Butter Buster Bars. Press the peanuts gently into the mixture to ensure they stick well. Once completed, set the tray aside for the next step, taking a moment to admire your handiwork!
Step 4: Freeze
Place the tray in the freezer and allow the bars to firm up for at least 1-2 hours, or until they are completely solid. You’ll know they are ready when they feel firm to the touch. This freezing step is essential as it helps achieve the delightful texture that makes these bars so satisfying, perfect for a hot day or as a quick snack.
Step 5: Melt Chocolate
While your bars freeze, melt the chocolate chips using either the microwave or a double boiler. If using the microwave, heat the chocolate in 30-second intervals, stirring frequently until smooth—this should not take more than 2 minutes. For added silkiness, stir in two teaspoons of coconut oil until fully blended.
Step 6: Coat Bars
Once your bars are fully frozen, dip each one into the melted chocolate, making sure to coat it evenly on all sides. Allow excess chocolate to drip off before placing the coated bars back on the parchment-lined tray. This step creates that coveted rich chocolate shell and should be repeated until all bars are coated beautifully.
Step 7: Final Freeze
Return the coated bars to the freezer and allow them to chill until the chocolate shell is set, which will take another 1-2 hours. Check for firmness by gently pressing on the chocolate. Once hardened, you’ll have delicious Healthy Peanut Butter Buster Bars that are ready to be devoured!
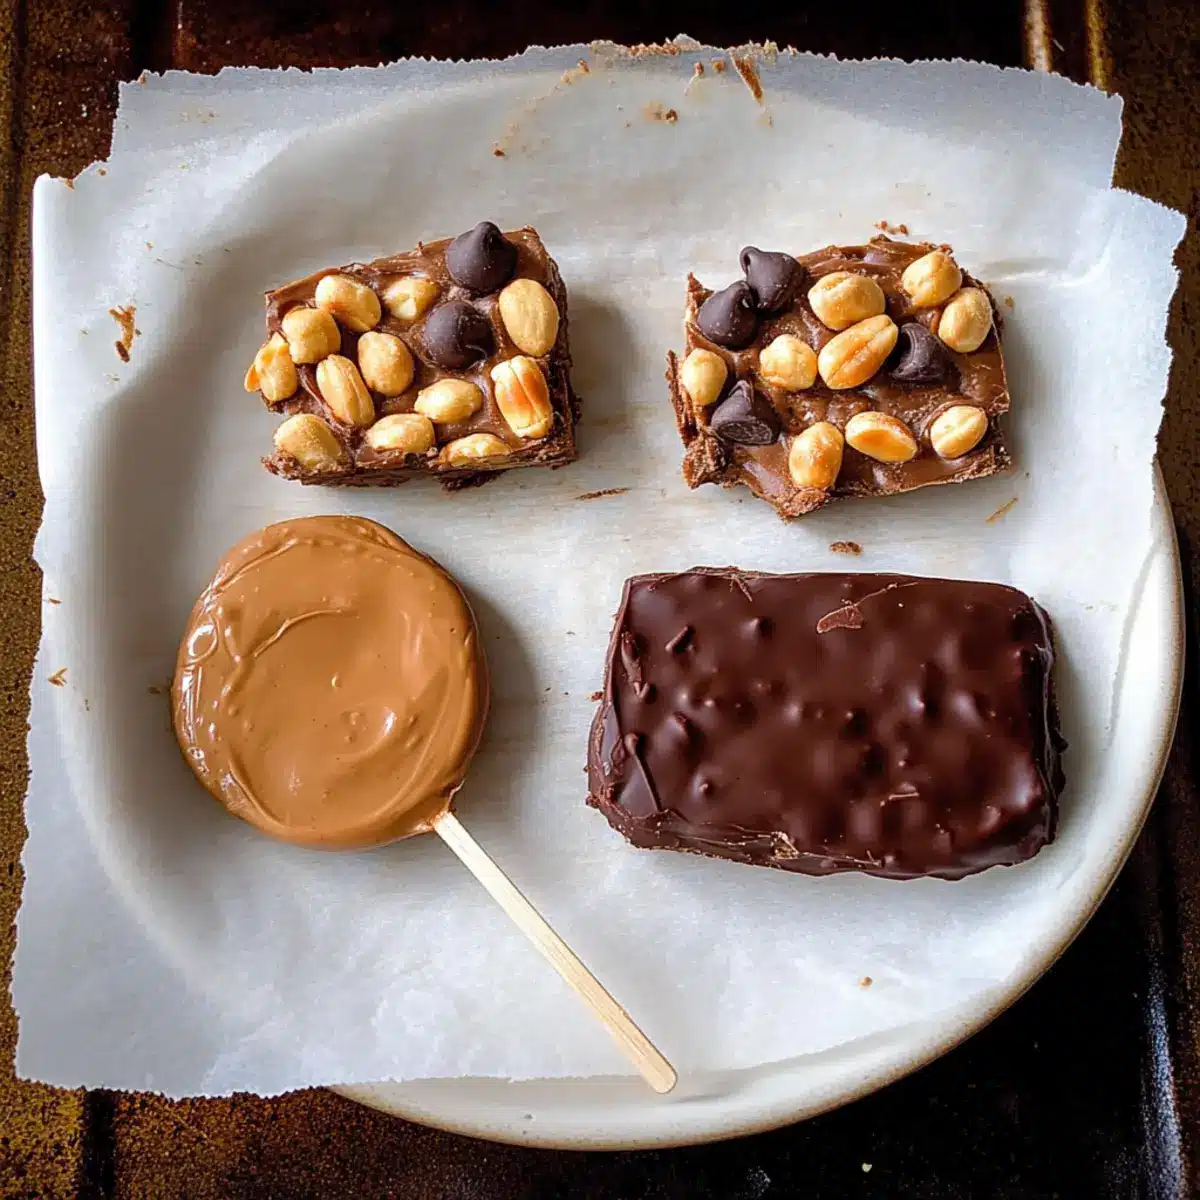
Expert Tips for Guilt-Free Buster Bars
- Smooth Mixture: Make sure to blend the yogurt and peanut butter thoroughly until completely smooth; this prevents lumps in your Buster Bars.
- Even Size: Use a cookie scoop for uniformity; this ensures all bars freeze evenly and have a consistent texture.
- Optional Coconut Oil: Adding coconut oil to your melted chocolate helps achieve a glossy finish and prevents it from cracking when biting into the bars.
- Careful Melting: Melt your chocolate at lower power settings; overheating can cause it to seize, making it difficult to coat the bars effectively.
- Storage Tip: Keep leftover bars in a freezer-safe container to maintain freshness and freeze for up to a month—ideal for anytime cravings!
Make Ahead Options
These Healthy Peanut Butter Buster Bars are wonderful for meal prep enthusiasts! You can prepare the peanut butter mixture up to 24 hours in advance, keeping it fresh in the refrigerator. Simply whip together yogurt, peanut butter, and sweetener, then store it in an airtight container. Additionally, you can shape the bars and freeze them for up to 3 days before coating them in chocolate. When you’re ready to serve, just dip the frozen bars in melted chocolate and refreeze until set. This process not only saves you time but ensures that your Buster Bars remain just as delicious and satisfying for those busy weeknights!
What to Serve with Healthy Peanut Butter Buster Bars
Indulging in these creamy treats invites the perfect opportunity to create a full meal that balances flavors, textures, and nutrition.
-
Fresh Fruit Salad: A mix of seasonal fruits adds brightness and sweetness, perfectly complementing the chocolatey bars. The refreshing juiciness provides a delightful contrast to the creamy texture of the Buster Bars.
-
Nutty Granola: The crunchy, slightly sweet granola enhances the bars’ nutty flavor. Scatter it on top of yogurt for an energized breakfast or a satisfying snack.
-
Chocolate Almond Milk: This drink pairs splendidly with the bars, delivering an extra bit of chocolatey goodness. Aim for one that uses real cocoa to keep it indulgent yet health-conscious.
-
Coconut Whipped Cream: Light and fluffy, this dairy-free topping brings a tropical twist to your dessert experience. Dollop it on the side for a creamy enhancement that everyone will enjoy.
-
Homemade Trail Mix: Combining nuts, seeds, and dried fruits creates a savory and sweet snack mix. It’s perfect for munching alongside the bars, with an added protein boost.
-
Green Smoothie: A vibrant, nutrient-packed drink filled with spinach, avocado, and a splash of banana offers a refreshing balance to the sweetness of the Buster Bars.
-
Mini Marshmallow Treats: These delightful little bites add a fun texture and can be made healthier with reduced-sugar marshmallows. They’re whimsical and appealing for both kids and adults.
-
Sparkling Water with Lime: A zesty, refreshing drink, sparkling water adds a bubbly touch to your dessert experience. The citrus note can uplift the sweetness of the bars perfectly.
Buster Bars Variations & Substitutions
Feel free to let your creativity shine by customizing these delicious bars to suit your taste and dietary needs!
-
Nut Butter Swap: Try almond, cashew, or sunflower seed butter for a different flavor or if you have nut allergies.
Each nut butter brings its own unique essence, adding a subtle twist to your bars—imagine the creamy richness of almond butter! -
Yogurt Variations: Use flavored yogurt or Greek yogurt for an extra protein boost and a delightful taste twist.
Consider using banana-flavored yogurt for a tropical vibe or strawberry for a berry delight—the options are endless! -
Sweetener Options: Switch out the sweetener for maple syrup, honey, or coconut sugar for varying sweetness and flavor.
Each sweetener lends a unique touch; maple syrup brings a warm, rich taste that’s simply irresistible! -
Chocolate Type: Go for dark chocolate, milk chocolate, or sugar-free chocolate chips based on your cravings or dietary preferences.
Dark chocolate introduces a slight bitterness that balances out the sweetness—truly a chocolate lover’s dream! -
Add-ins for Crunch: Sprinkle in mini marshmallows or dried fruits alongside the peanuts for a flavor extravaganza.
Mixing in dried cranberries or coconut flakes adds a tropical touch that brings these bars to life! -
Spice Up the Flavor: Add a dash of cinnamon or a hint of vanilla extract to elevate the flavor profile of your treats.
Just a little sprinkle of cinnamon creates a warm, comforting aroma—perfect for cozy evenings! -
Lower Calorie Option: Use non-fat yogurt and sugar-free sweeteners to create an even lighter version of these bars.
This way, you can indulge freely without worrying about your calorie count—it’s a win-win!
Feeling inspired? These variations will help you craft the perfect Buster Bars suited to your preferences and dietary needs! And don’t forget to check out our nut butter guide for more delicious swaps or yogurt ideas for endless flavor possibilities!
How to Store and Freeze Buster Bars
Fridge: Store leftover Buster Bars in an airtight container for up to 3 days. This keeps them fresh while maintaining their creamy interior.
Freezer: For longer storage, freeze Buster Bars in a freezer-safe container for up to a month. Layer parchment paper between bars to prevent sticking.
Reheating: Enjoy directly from the freezer, or let them sit at room temperature for a few minutes for easier biting. Avoid microwaving, as it can alter the texture.
Wrap Properly: For best results, wrap each bar individually in plastic wrap before freezing to preserve freshness and prevent freezer burn.
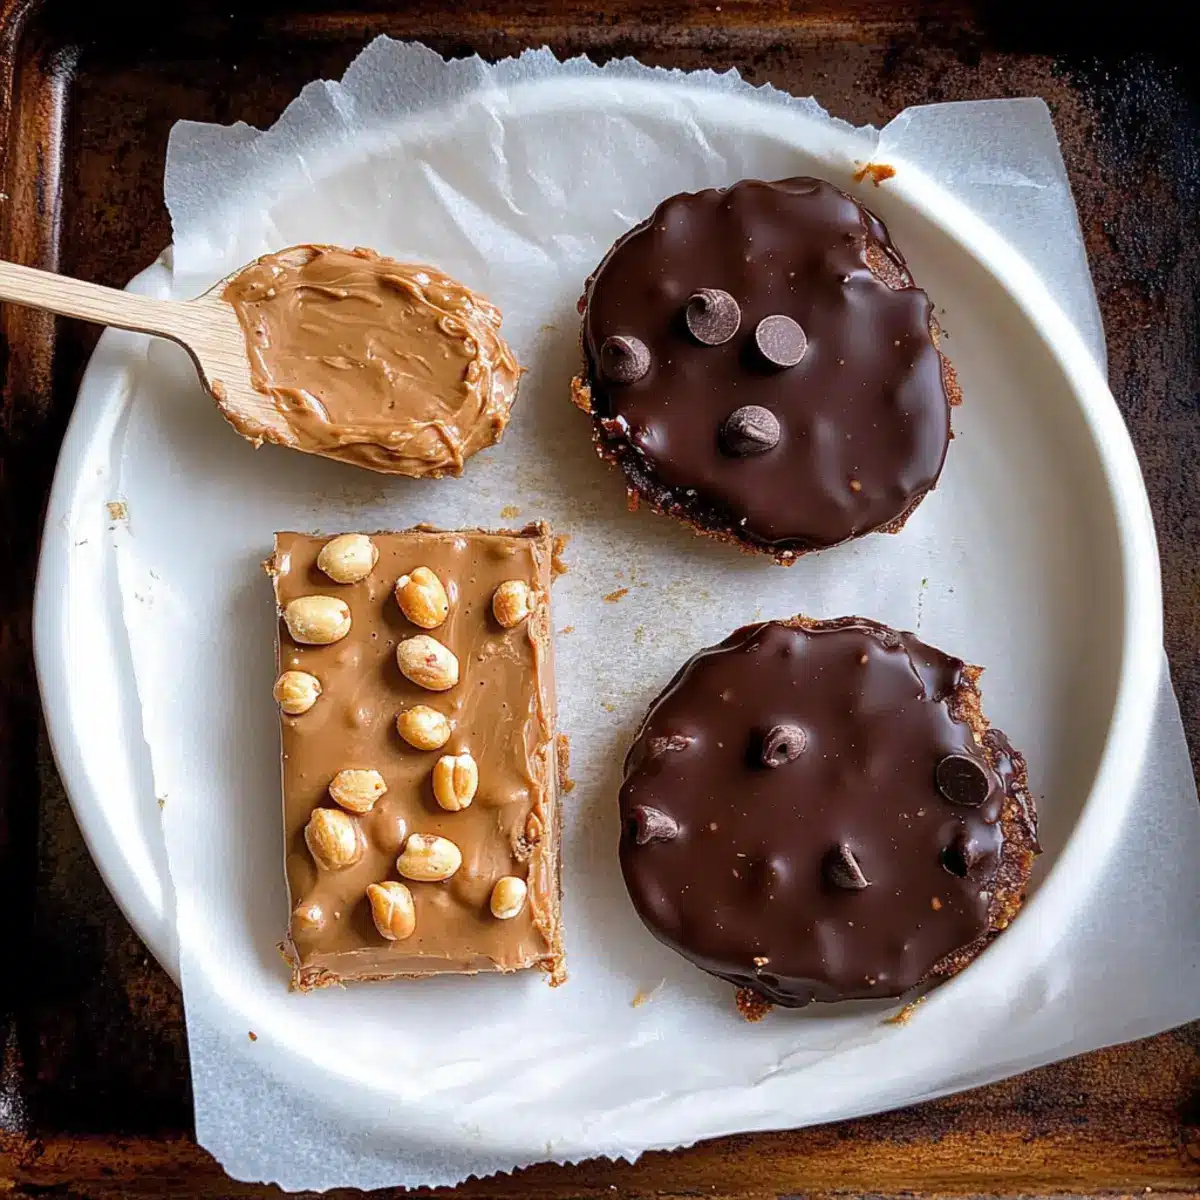
Buster Bars Recipe FAQs
What kind of yogurt should I use for the bars?
You can use any yogurt you prefer! For a creamy texture, regular Greek yogurt works wonderfully. If you’re looking for a dairy-free option, try using coconut yogurt or almond yogurt, both of which provide a smooth base for your bars. Just ensure it has a neutral or pleasant flavor to enhance the overall taste.
How should I store leftover Buster Bars?
Store your leftover Buster Bars in an airtight container in the fridge for up to 3 days. If you want to keep them for longer, freeze them in a freezer-safe container for up to a month. I often layer parchment paper between bars before freezing to prevent them from sticking together.
Can I substitute peanut butter for another nut butter?
Absolutely! If you or someone in your household has a nut allergy, you can easily swap peanut butter for sunflower seed butter, which mimics the texture and provides a similar creamy flavor. Almond and cashew butter are also fantastic alternatives if you’re looking for something different.
What should I do if my chocolate seizes while melting?
If your chocolate seizes up and becomes grainy, don’t worry! Just add a teaspoon of coconut oil or vegetable shortening and continue to melt it gently. This should help bring it back to a smooth consistency. Remember to melt at lower power settings and stir frequently to prevent this from happening.
How can I make these Buster Bars vegan-friendly?
To make these bars vegan, simply use a dairy-free yogurt, opt for vegan chocolate chips, and select a vegan-friendly sweetener like maple syrup or agave. These simple swaps will allow you to indulge in the same creamy and crunchy goodness while sticking to your dietary preferences!
How do I freeze the Buster Bars properly?
To freeze your Buster Bars effectively, first, let them set in the fridge for at least 1-2 hours until firm. Then, wrap each bar individually with plastic wrap or place parchment paper in between stacks to prevent sticking. Finally, store them in a freezer-safe container. When stored this way, they can last for up to a month. Enjoy your delicious creations anytime!
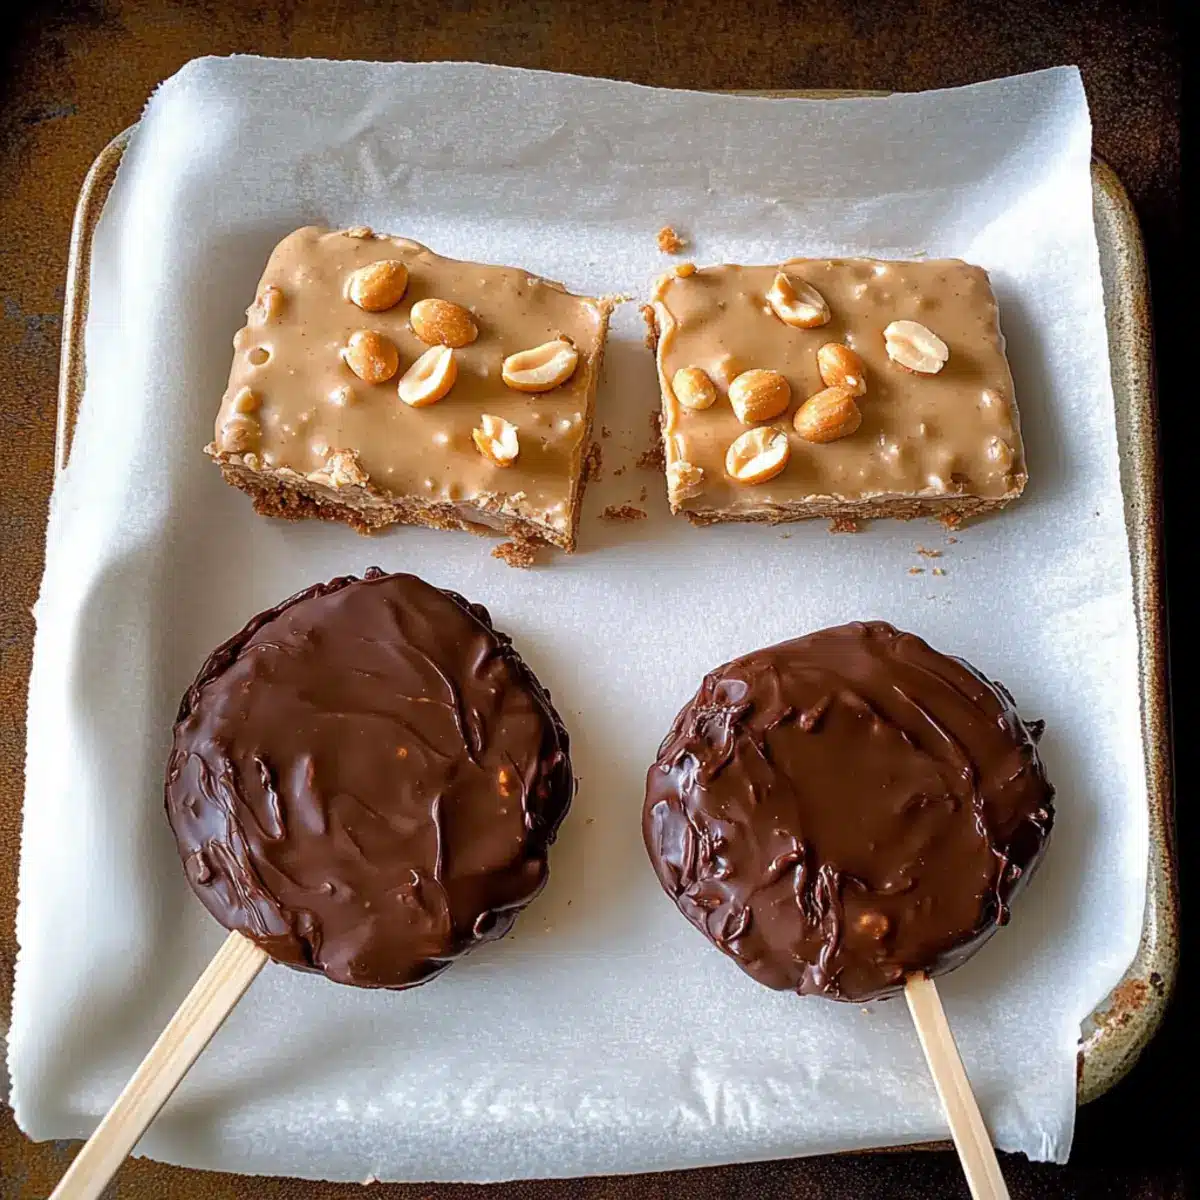
Guilt-Free Buster Bars: Creamy, Crunchy & Totally Irresistible
Ingredients
Equipment
Method
- In a mixing bowl, combine yogurt, peanut butter, and your choice of sweetener. Blend until smooth and creamy for about 2-3 minutes.
- Drop generous blobs of the mixture onto a parchment-lined tray, about 2 tablespoons each. Insert a popsicle stick into each blob and smooth the tops.
- If using peanuts, sprinkle finely chopped peanuts on top and press gently to stick.
- Place the tray in the freezer for at least 1-2 hours until the bars are solid.
- Melt the chocolate chips in the microwave or double boiler. Stir in coconut oil until smooth.
- Once frozen, dip each bar into the melted chocolate, coating evenly. Allow excess to drip off.
- Return the coated bars to the freezer until the chocolate sets, about another 1-2 hours.
Leave a Reply