
As I stood in my kitchen, a craving for something cool and indulgent swept over me, like the first gentle breeze of summer. That’s when the idea of Homemade Biscoff Ice Cream hit me—an exquisite blend of smooth vanilla, crumbled Biscoff cookies, and luscious swirls of cookie butter. With just a handful of simple ingredients and no machine required, this recipe is the perfect answer for those balmy days when fast food just won’t cut it. Not only is it a breeze to whip up, but it also turns any gathering into a celebration of creamy delight. Are you ready to elevate your dessert game and impress your loved ones with this dreamy, no-churn creation? Let’s dive in and make some magic happen!
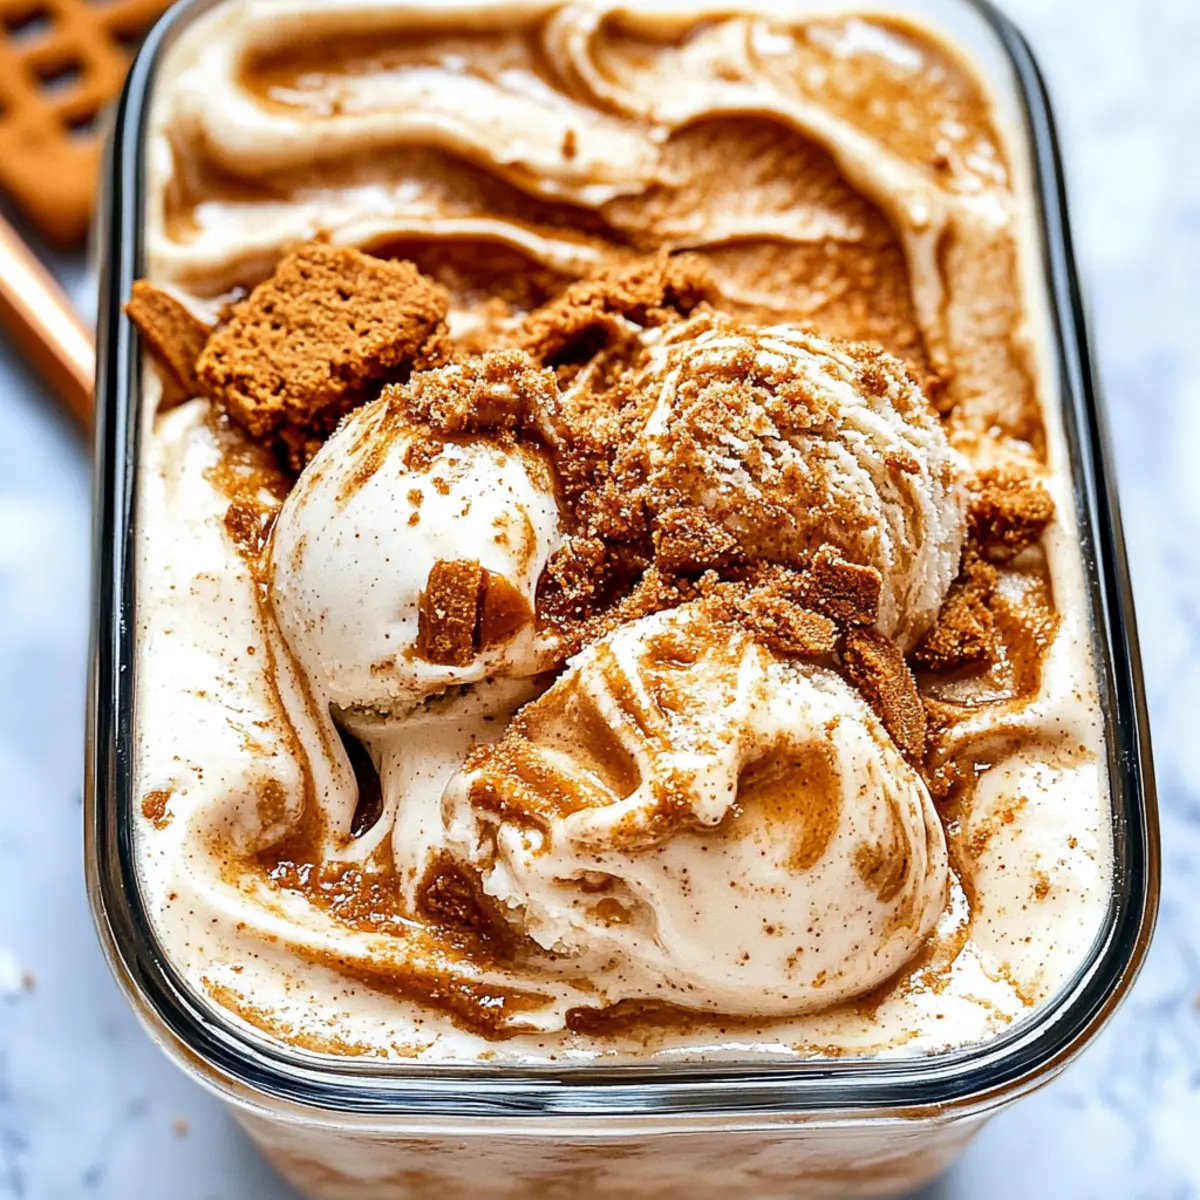
Why is Homemade Biscoff Ice Cream a Must-Try?
Irresistible Creaminess: This homemade Biscoff ice cream boasts a luxuriously creamy texture that melts in your mouth, making it a delightful treat on hot summer days.
No-Churn Convenience: Who needs an ice cream maker? This easy recipe can be made with simple kitchen tools, bringing comfort without the fuss.
Unique Flavor Fusion: The combination of rich vanilla ice cream, spiced Biscoff cookie butter, and crunchy cookie bits creates an unforgettable taste experience that elevates your dessert game.
Crowd-Pleasing Sweetness: Perfect for gatherings, this ice cream is sure to impress friends and family, just like my Creamy Chicken Pot Pie Pasta does for winter dinners.
Versatile Customization: Experiment with flavors by adding other cookie types or mix-ins—try it with Oreos or chocolate chips for a new twist!
Quick Preparation: With just a few minutes of active time, you can have this delectable dessert ready to freeze, making it ideal for impromptu summer get-togethers.
Homemade Biscoff Ice Cream Ingredients
For the Ice Cream Base
• Sweetened Condensed Milk – Provides creaminess and sweetness, ensuring a smooth texture.
• Biscoff Cookie Butter – Adds a unique spiced flavor and creamy texture; you can substitute with other cookie butters if you wish.
• Heavy Whipping Cream – Creates a rich, airy texture; opt for light cream for a lower fat version.
• Vanilla Extract – Enhances flavor depth; using pure vanilla extract gives the best results.
For the Crunch
• Chopped Biscoff Cookies – Adds delightful texture and crunch; feel free to swap with other types of cookies if desired.
Don’t miss out on making this homemade Biscoff ice cream and enjoy a creamy treat that’s perfect for warm days!
Step‑by‑Step Instructions for Homemade Biscoff Ice Cream
Step 1: Mix the Base
In a large mixing bowl, whisk together one can of sweetened condensed milk and ½ cup of Biscoff cookie butter until smooth and creamy, about 2-3 minutes. This creates a rich base for your homemade Biscoff ice cream. Make sure there are no lumps and the mixture is well combined, giving it a beautiful, uniform appearance.
Step 2: Melt Additional Cookie Butter
To enhance the flavor and ease of mixing, microwave the remaining Biscoff cookie butter for about 15-20 seconds until slightly melted and pourable. Stir it well to achieve a pourable consistency, which will make integrating it into the ice cream mixture smoother and more delightful.
Step 3: Whip the Cream
In a separate bowl, use an electric mixer to beat 2 cups of heavy whipping cream and 1 teaspoon of pure vanilla extract on medium speed until stiff peaks form, roughly 3-5 minutes. This whipped cream will provide the light, airy texture to your ice cream, so ensure it’s whipped to the perfect peaks that hold their shape beautifully.
Step 4: Combine Mixtures
Gently fold the whipped cream into your cookie butter and sweetened condensed milk mixture using a rubber spatula. Be careful not to deflate the whipped cream; you want to keep that airy lightness, creating a luscious, creamy base for your homemade Biscoff ice cream that’s both rich and fluffy.
Step 5: Add Cookie Crumbles
Once combined, fold in the chopped Biscoff cookies, ensuring they are evenly distributed throughout the mixture. This will add delightful chunks of texture and the iconic spiced flavor that makes this ice cream irresistibly good.
Step 6: Layer in Loaf Pan
Spoon the ice cream mixture into a loaf pan in layers, drizzling with melted cookie butter between each layer for an extra burst of flavor. Using a spatula, spread it evenly to avoid air pockets, creating a luscious, swirled effect throughout your homemade Biscoff ice cream.
Step 7: Swirl and Garnish
Using a knife, gently swirl the remaining melted cookie butter into the top of the ice cream layer, creating a beautiful marbled effect. For an added touch, sprinkle additional chopped Biscoff cookies on top, enhancing both the texture and visual appeal of your delightful creation.
Step 8: Freeze the Mixture
Cover the loaf pan tightly with plastic wrap or a lid and place it in the freezer. Allow it to freeze for at least 8 hours, or until firm, ensuring your homemade Biscoff ice cream sets to that perfect scoopable consistency.
Step 9: Serve Your Creation
Once frozen, let the ice cream sit at room temperature for a few minutes before scooping. This step helps soften the ice cream slightly for easier serving. Dish it into bowls, garnishing with extra cookie pieces or a drizzle of cookie butter to enhance the experience of enjoying your delicious homemade treat!
Make Ahead Options
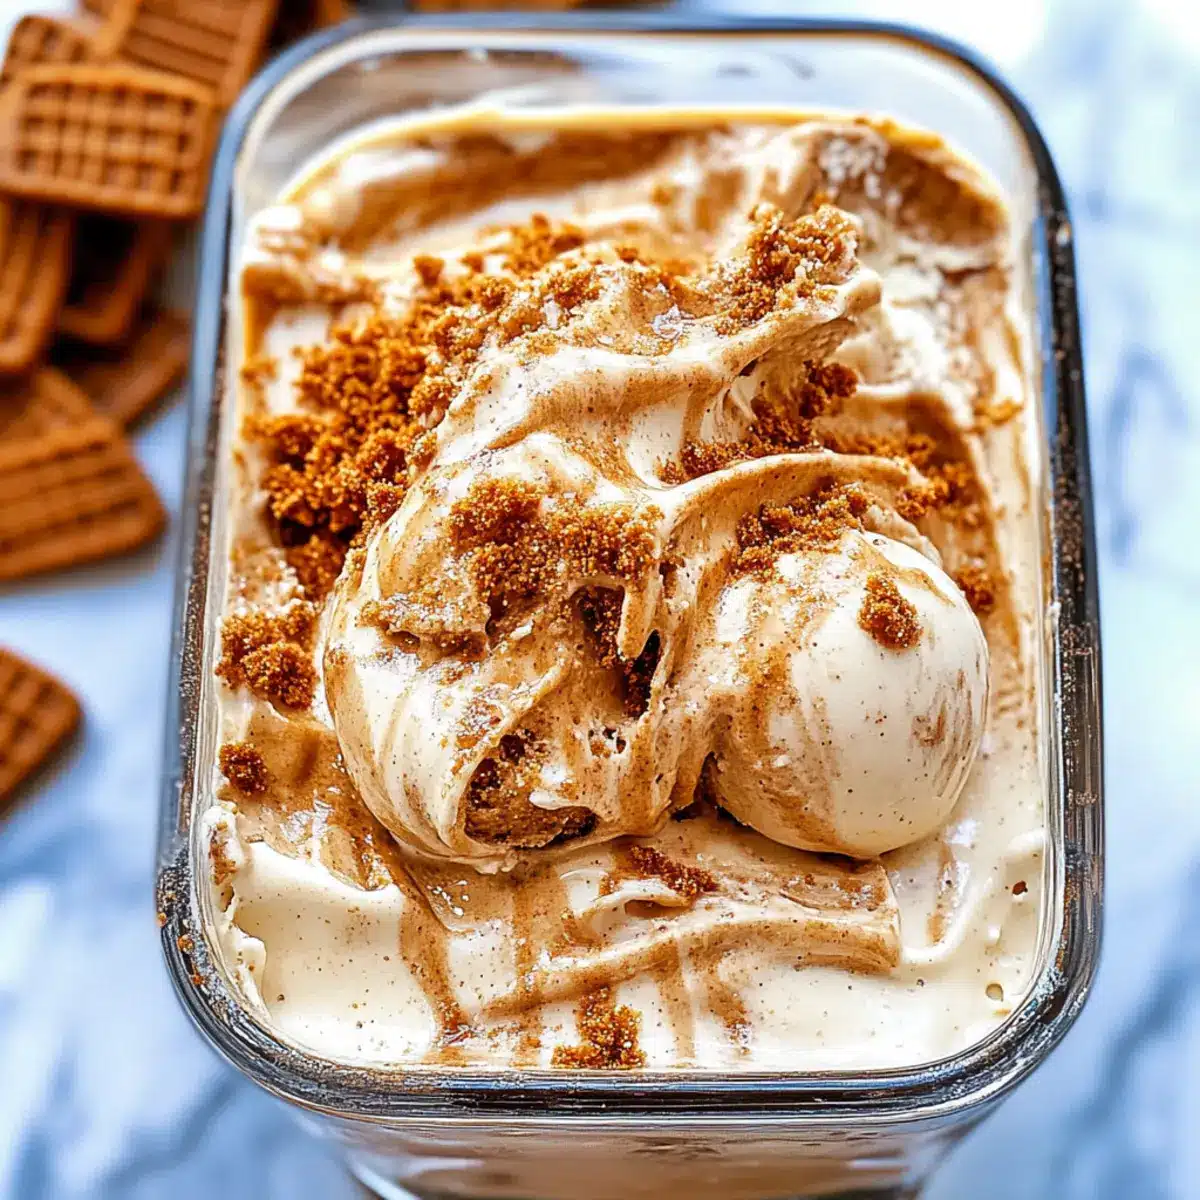
Homemade Biscoff Ice Cream is perfect for meal prep, allowing you to indulge in this creamy delight without last-minute fuss! You can prepare the ice cream base and store it in the freezer for up to 3 days before serving. To maintain its velvety texture and flavor, ensure the mixture is tightly covered with plastic wrap or a lid to prevent freezer burn. When you’re ready to serve, simply let the ice cream sit at room temperature for about 5-10 minutes before scooping. This simple step will ensure your Homemade Biscoff Ice Cream remains just as delicious as when you first made it, making it an ideal treat for busy weeknights or summer gatherings!
What to Serve with Homemade Biscoff Ice Cream?
Indulging in a scoop of this heavenly ice cream is an experience best complemented by a few delightful sides and treats.
- Chocolate Sauce: A drizzle of warm chocolate sauce adds a rich sweetness that balances the spiced flavor of the Biscoff ice cream beautifully.
- Fresh Berries: Light and juicy strawberries or raspberries provide a refreshing contrast to the creamy dessert, cutting through its richness.
- Waffle Cones: Serve your ice cream in crispy waffle cones for an added crunch and fun texture, making each bite irresistible.
- Caramel Drizzle: A smooth caramel topping enhances the luxurious experience, creating a decadent treat that’s simply mouthwatering.
- Coffee: Enjoy a cup of freshly brewed coffee alongside your ice cream. The robust flavor perfectly complements the caramel notes in Biscoff butter.
- Shortbread Cookies: These buttery cookies are a perfect pairing, offering a crunchy texture that harmonizes with the creamy ice cream without overwhelming it.
- Mint Leaves: A simple garnish of fresh mint leaves adds a pop of color and a refreshing touch, making your dessert feel extra special.
Elevate your dessert experience by pairing these delightful treats with your homemade Biscoff ice cream!
Homemade Biscoff Ice Cream Variations
Feel like remixing your ice cream experience? Dive into these delightful twists that will elevate your homemade creation even further!
- Different Cookie Butter: Swap Biscoff cookie butter for other flavored nut butters, like almond or hazelnut, for a unique taste. It adds a nutty flair that’s just as decadent and delightful.
- Chocolate Indulgence: Mix in chocolate chips or chunks for additional richness. Pairing chocolate with Biscoff creates a beloved flavor combination, reminiscent of gourmet ice cream shops.
- Crunchy Surprise: Incorporate crushed Oreos or graham crackers alongside your chopped Biscoff cookies for a multi-textured treat. This twist gives a playful crunch and elevates the overall dessert experience.
- Fruity Addition: Add fresh fruits like diced strawberries or raspberries for a refreshing contrast. The fruity bursts balance the richness of the ice cream, making each spoonful blissful.
- Spicy Kick: Include a pinch of cinnamon or a splash of caramel extract for an enticing flavor depth. This enhances the warm spices in the Biscoff, leaving a cozy aftertaste.
- Dairy-Free Delight: Use coconut whipped cream and dairy-free condensed milk for a vegan version of this ice cream. It’s a creamy alternative that doesn’t skimp on flavor or joy.
- Swirl Heaven: Create a swirl of your favorite sauces, such as caramel or fudge, alongside the cookie butter layers. These delicious ribbons not only enhance taste but also make for a stunning presentation!
- Sundae Style: Serve your ice cream with nut toppings, chocolate syrup, and cherries on top, transforming it into a sundae that’s perfect for special gatherings. It’s a nostalgic way to enjoy a classic dessert.
With these variations, your homemade Biscoff ice cream may just become the centerpiece of every get-together! Don’t forget to try it alongside my Garlic Sauce Potatoes for a delightful meal pairing that keeps the flavors interesting!
Expert Tips for Homemade Biscoff Ice Cream
• Whip It Right: Ensure the heavy cream is whipped to stiff peaks, which helps maintain the structure and creaminess of your homemade Biscoff ice cream.
• Melt for Ease: Microwaving the remaining cookie butter makes it easier to incorporate, ensuring a smooth mixture and richer flavor throughout your ice cream.
• Layer with Care: When layering the ice cream mixture in the loaf pan, drizzle melted cookie butter between the layers to create beautiful swirls and enhance each scoop’s taste.
• Soften Before Serving: Allow the ice cream to sit at room temperature for a few minutes before scooping. This little trick makes it easier to serve and enhances the flavor experience.
• Storage Savvy: Store leftovers in an airtight container in the freezer for up to two weeks, but best enjoyed fresh for that rich, creamy texture!
How to Store and Freeze Homemade Biscoff Ice Cream
Airtight Container: Store your homemade Biscoff ice cream in an airtight container to prevent ice crystals from forming and keep it fresh for up to 2 weeks.
Layer with Plastic Wrap: For added protection, press a layer of plastic wrap directly onto the surface of the ice cream before sealing the container. This helps maintain its creamy texture.
Freezing Tips: To ensure the ice cream freezes evenly, let it sit in the freezer undisturbed for at least 8 hours. This will give it time to reach that perfect firm consistency.
Reheating: If the ice cream becomes too hard, leave it out for a few minutes at room temperature before scooping. This will soften it slightly, making it easy to serve.
Homemade Biscoff Ice Cream Recipe FAQs
What type of Biscoff cookies should I use for this recipe?
You should use the classic Biscoff cookies, as they have the perfect spiced flavor that complements the ice cream beautifully. Their crunchiness adds delightful texture to the creamy base. If you can’t find Biscoff cookies, any similar spiced cookie will work as a substitute, but the unique taste of Biscoff is truly special.
How should I store leftover Homemade Biscoff Ice Cream?
For the best quality, store your homemade Biscoff ice cream in an airtight container in the freezer. It will remain fresh for up to 2 weeks. To extend its texture and flavor, press a piece of plastic wrap directly on the surface of the ice cream before sealing the container. This helps to prevent ice crystals from forming.
Can I freeze Homemade Biscoff Ice Cream for longer?
Yes, you can freeze your homemade Biscoff ice cream for up to 3 months. Just ensure it’s stored in an airtight container to retain its flavor and texture. When you’re ready to eat it, let it sit at room temperature for about 10 minutes to soften before scooping for the best serving experience.
Why is my ice cream not setting properly?
If your ice cream isn’t setting as it should, it could be due to several factors. Ensure that your heavy cream was whipped to stiff peaks before folding it into the mixture, as this provides the necessary airiness. Also, check if it was left in the freezer for the full 8 hours. If it still seems too soft, try placing it back in the freezer for an additional hour or two.
Can I make this recipe nut-free?
Absolutely! This recipe is naturally nut-free since it uses Biscoff cookie butter, which is made from cookies rather than nuts. However, if you choose to substitute Biscoff cookie butter with another spread, be sure to select a nut-free option to maintain this recipe’s allergen-friendly status.
Is Homemade Biscoff Ice Cream suitable for pets?
It’s best to keep this homemade Biscoff ice cream away from pets. The sugar content in sweetened condensed milk along with the spices in Biscoff cookies may not be safe for them. For pets, consider making a dog-friendly ice cream using pureed bananas and plain yogurt instead!
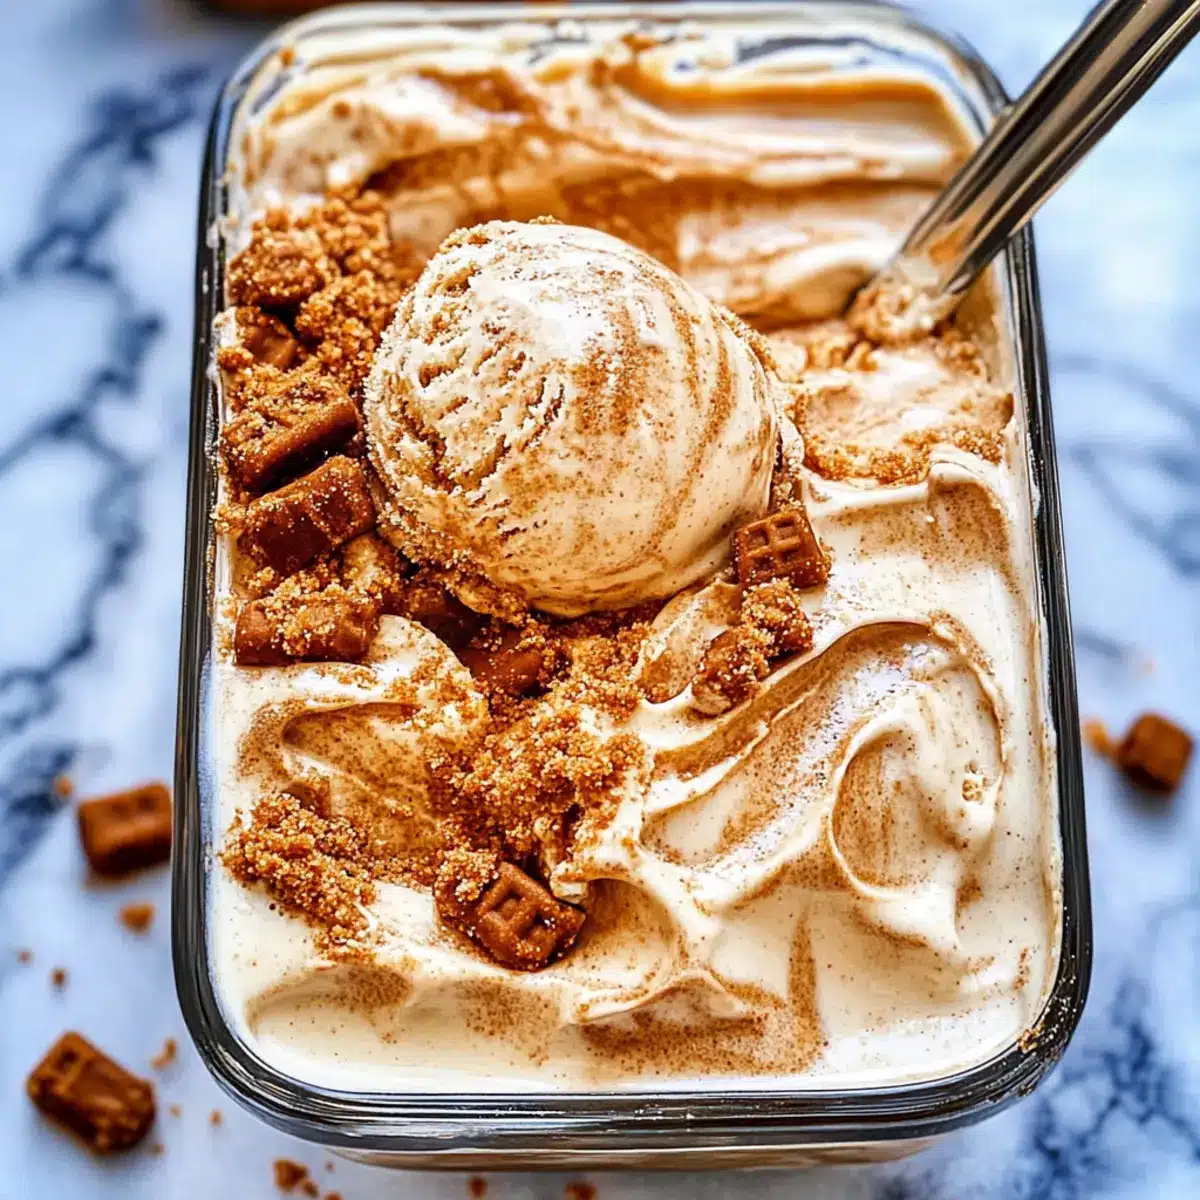
Creamy Homemade Biscoff Ice Cream You'll Love This Summer
Ingredients
Equipment
Method
- In a large mixing bowl, whisk together one can of sweetened condensed milk and ½ cup of Biscoff cookie butter until smooth and creamy, about 2-3 minutes.
- Microwave the remaining Biscoff cookie butter for about 15-20 seconds until slightly melted and pourable.
- In a separate bowl, beat 2 cups of heavy whipping cream and 1 teaspoon of pure vanilla extract on medium speed until stiff peaks form, roughly 3-5 minutes.
- Gently fold the whipped cream into your cookie butter and sweetened condensed milk mixture using a rubber spatula.
- Fold in the chopped Biscoff cookies, ensuring they are evenly distributed throughout the mixture.
- Spoon the ice cream mixture into a loaf pan in layers, drizzling with melted cookie butter between each layer.
- Using a knife, gently swirl the remaining melted cookie butter into the top of the ice cream layer.
- Cover the loaf pan tightly with plastic wrap or a lid and place it in the freezer for at least 8 hours.
- Once frozen, let the ice cream sit at room temperature for a few minutes before scooping.
Leave a Reply