
As I rummaged through my fridge for a quick snack, I stumbled upon a tub of cottage cheese and thought, why not take a healthy twist on a classic? My Creamy Gluten-Free Cottage Cheese Queso Dip was born from that moment, transforming a humble ingredient into a delightful high-protein dip that everyone can enjoy. This recipe not only brings that cheesy comfort food vibe everyone craves but also skips the guilt with fewer calories. Perfect for entertaining or simply enjoying on a cozy night in, this dip is embarrassingly easy to whip up and is destined to impress. Curious how this wholesome twist on queso can elevate your next gathering? Let’s dive in!

Why Choose Cottage Cheese Queso?
Healthy and Delicious: This creamy dip satisfies cravings without the guilt, making it a perfect snack for health-conscious eaters.
High-Protein Boost: Packed with cottage cheese, each serving fuels you with protein, keeping you fuller longer compared to traditional dips.
Kid-Friendly Flavor: Even the pickiest eaters will love its cheesy, savory taste, making it ideal for family gatherings or casual get-togethers.
Versatile Use: Whether you’re in the mood for a dip with veggies or a topping for tacos, this dip adapts effortlessly to your needs. Pair it with some of our favorites like Baked Mac Cheese for a quick meal!
Easy to Make: With just a few simple steps and minimal prep time, this recipe ensures deliciousness without the fuss. Say goodbye to store-bought dips and hello to your new go-to!
Cottage Cheese Queso Ingredients
For the Base
• Cottage Cheese – The star ingredient that provides creaminess; use full-fat for richness or low-fat for a lighter dip.
• Diced Tomatoes with Green Chilies – Adds flavor and a gentle kick; remember to drain them well to keep the dip from becoming watery.
• Taco Seasoning – This spice blend brings depth and zest; feel free to adjust the amount according to your spice tolerance.
• Nutritional Yeast – Offers a cheesy flavor without dairy, essential for that comforting queso taste you crave.
For Serving
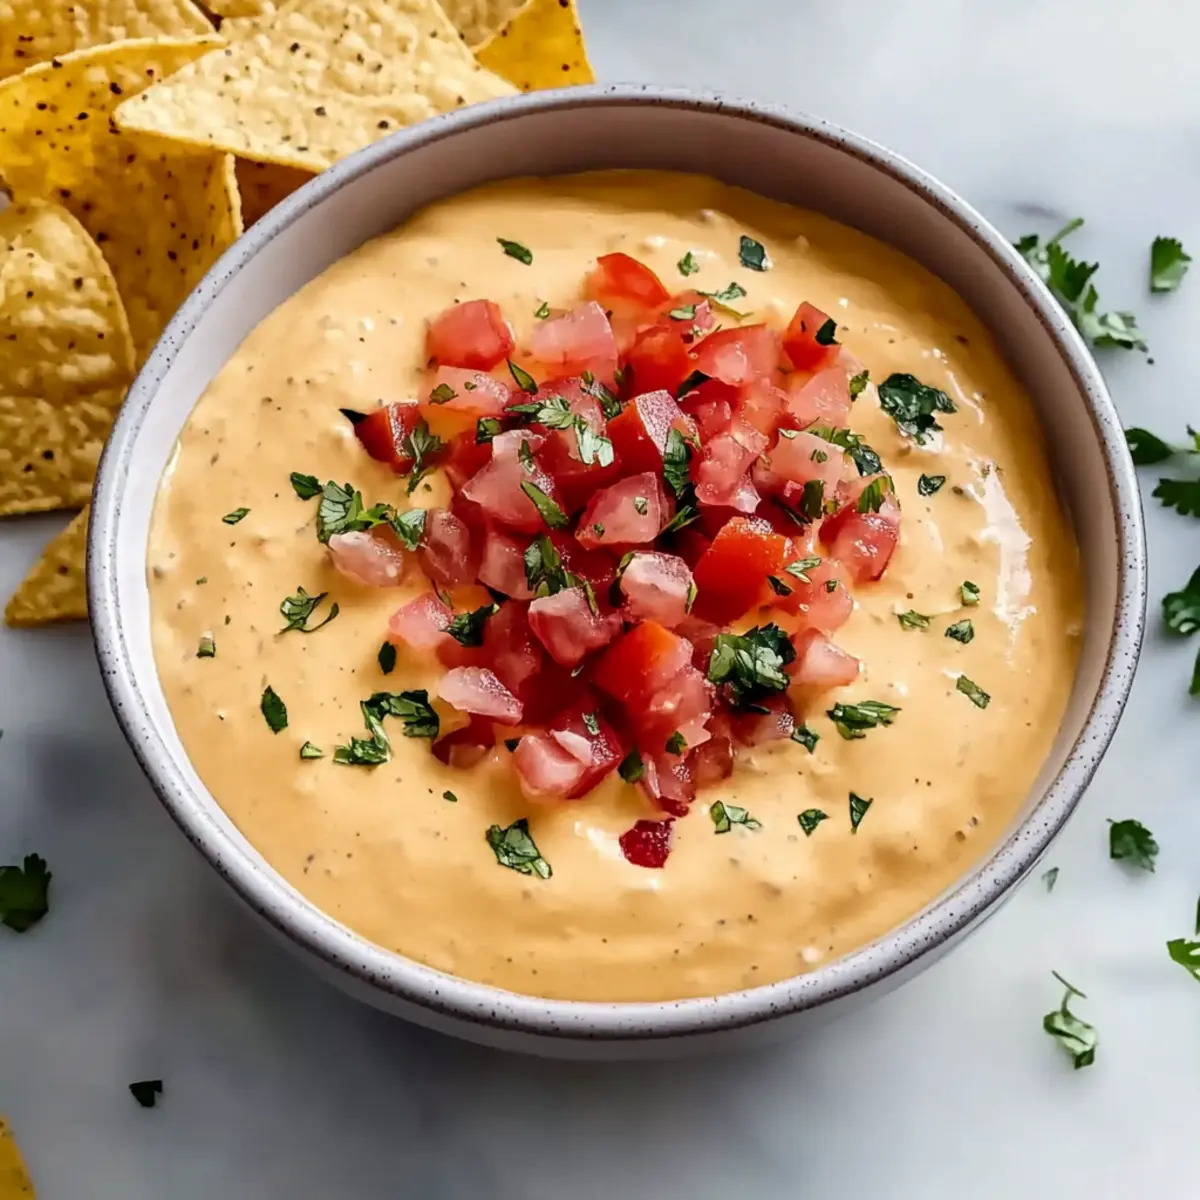
• Fresh Herbs (like Cilantro or Parsley) – A sprinkle on top adds freshness and color; it’s an easy way to elevate presentation.
• Chopped Jalapeños – If you like a bit of heat, these are a great optional kick to mix in or top off your dip.
• Veggie Sticks or Tortilla Chips – Perfect for scooping; they bring that crunchy contrast every great dip deserves!
This Cottage Cheese Queso with Nutritional Yeast not only promises a delectable snack but also fits perfectly into your healthy eating habits. Enjoy!
Step‑by‑Step Instructions for Cottage Cheese Queso with Nutritional Yeast
Step 1: Drain the Tomatoes
Begin by draining the diced tomatoes with green chilies thoroughly. Place them in a fine-mesh strainer over a bowl to catch any excess liquid, letting them sit for about 10 minutes. This step is crucial for achieving the perfect texture in your Cottage Cheese Queso, preventing it from becoming too watery.
Step 2: Prepare Your Ingredients
While the tomatoes are draining, gather and measure out all the remaining ingredients: cottage cheese, taco seasoning, and nutritional yeast. Having everything ready to go makes blending a breeze, ensuring a smooth and delightful preparation. Setting your workspace will help keep the cooking process organized and enjoyable.
Step 3: Blend the Base
In a high-powered blender, combine the cottage cheese, drained tomatoes, taco seasoning, and nutritional yeast. Secure the lid and blend on high for 1-2 minutes, stopping to scrape down the sides halfway through. The goal is a smooth, creamy consistency without any lumps, creating that rich base for your Cottage Cheese Queso.
Step 4: Transfer to a Serving Bowl
Once blended to perfection, carefully pour the creamy mixture into a serving bowl. Use a spatula to scrape every bit of deliciousness from the blender. This dip is versatile and can be served straight away or warmed up, depending on your preference for enjoying this flavorful Cottage Cheese Queso.
Step 5: Heat for Warmth (Optional)
If you prefer a warm queso dip, microwave the bowl in 30-second intervals, stirring gently after each segment. It usually takes about 1-2 minutes to heat through. Be careful not to overheat; you want it warm but not bubbling, ensuring it maintains its beautifully creamy texture.
Step 6: Garnish and Serve
To finish your Cottage Cheese Queso, consider garnishing with fresh herbs like cilantro or parsley for a burst of color and flavor. Serve it alongside crunchy veggie sticks or tortilla chips for dipping. Your high-protein, healthy dip is now ready to enhance any gathering or cozy night in.
What to Serve with Creamy Gluten-Free Cottage Cheese Queso?
Turn your gathering into a feast as you explore delightful pairings that elevate this creamy dip to new heights.
-
Veggie Sticks: A vibrant assortment of crisp celery, carrots, and bell peppers perfectly balances the creamy texture of the queso, making for a fresh and healthy snack option.
-
Tortilla Chips: Crunchy, salty tortilla chips provide the ideal cradle for this queso, creating that satisfying dip experience you crave at every gathering.
-
Side Salad: A light, zesty salad with citrus dressing can cut through the richness of the dip, offering a refreshing contrast that brightens your meal.
-
Grilled Shrimp Tacos: The bold flavors of shrimp tacos bring a delightful twist—add the queso on top for a deliciously creamy finish that ties the plate together.
-
Baked Potato Wedges: These crispy, seasoned wedges provide a hearty base to scoop up the queso, offering a fun and filling twist to your snacking experience.
-
Craft Beer: A chilled, hoppy craft beer complements the flavors in the queso beautifully, making it a great drink choice for game night or casual get-togethers.
-
Chocolate Brownies: For dessert, pair the savory queso with fudgy chocolate brownies. The sweet, rich chocolate balances out the dip’s savory flavor, making for a delightful end to your meal.
Cottage Cheese Queso Variations
Feel free to make this comforting dip your own, mixing in flavors and ingredients that excite your palate!
-
Spicy Kick: Add diced jalapeños to the mixture for a fiery burst. Adjust the amount based on your heat tolerance to keep everyone happy.
-
Herbal Twist: Experiment with fresh herbs like cilantro or basil mixed in before blending for an aromatic experience.
-
Creamy Dream: Swap half of the cottage cheese for cream cheese to get an even richer, more decadent dip.
-
Additional Protein: Mix in black beans or shredded chicken for a heartier version. This will also make it even more satisfying for gatherings.
-
Flavor Explosion: Substitute traditional taco seasoning with smoked paprika for a unique smoky flavor that elevates your queso further.
-
Cheesy Delight: For an extra cheesy taste, sprinkle some grated cheddar cheese on top before serving. Each bite will be a delicious treasure!
-
Chill It Out: Serve it cold by mixing in some fresh diced vegetables for a refreshing alternative at parties. This twist makes it perfect for summer picnics!
We all love homemade snacks, so why not explore different options? You might also want to try pairing this dip alongside our Savory Herb Cheese for a delightful experience. Enjoy crafting your Cottage Cheese Queso with Nutritional Yeast, and let each variation bring new joys to the table!
How to Store and Freeze Cottage Cheese Queso
Fridge: Store your Cottage Cheese Queso in an airtight container for up to 4 days. It’s best when made a day ahead to allow flavors to meld beautifully.
Freezer: If you have leftovers, you can freeze the dip for up to 2 months. Portion it into small containers for easy use later, just defrost in the fridge overnight before serving.
Reheating: When ready to enjoy, reheat the queso gently in the microwave in 30-second intervals. Add a splash of milk or water if it thickens too much during reheating.
Room Temperature: Avoid leaving the dip out for more than 2 hours at room temperature to ensure food safety and maintain optimal flavor.
Expert Tips for Cottage Cheese Queso
Smooth Consistency: Blend for 60-90 seconds: To ensure a luxuriously creamy texture in your Cottage Cheese Queso, don’t rush the blending process.
Avoid Excess Moisture: Drain tomatoes well: Properly drain your diced tomatoes with green chilies to prevent watery dip, keeping it thick and flavorful.
Let Flavors Meld: Rest before serving: Allow your finished dip to sit for 5-10 minutes after blending. This resting period helps flavors deepen, enhancing your enjoyment.
Reheating Perfection: Add moisture as needed: If your dip thickens too much when reheating, stir in a splash of milk or water to restore its creamy consistency.
Customize to Taste: Adjust seasoning: Don’t hesitate to tweak taco seasoning amounts or try adding jalapeños for extra heat, tailoring your Cottage Cheese Queso to fit your personal preference.
Make Ahead Options
These creamy Cottage Cheese Queso with Nutritional Yeast are perfect for busy home cooks looking to save time! You can prepare the dip up to 24 hours in advance by blending all the ingredients and then storing it in an airtight container in the refrigerator. To maintain its smooth texture, ensure that the tomatoes are thoroughly drained before blending, as excess moisture can make the dip watery. When it’s time to serve, simply reheat the queso in the microwave for 1-2 minutes in 30-second intervals, stirring until warm. This way, you’ll enjoy a deliciously cheesy dip that’s just as flavorful as when you first made it!

Cottage Cheese Queso with Nutritional Yeast Recipe FAQs
How do I choose the right cottage cheese for my queso?
Absolutely! For the best flavor and texture, I recommend using fresh, high-quality cottage cheese. You can opt for full-fat for a richer dip or go for low-fat if you’re looking for a lighter option. Just make sure it’s free of excess liquid and has no dark spots, as these can affect both flavor and consistency.
How should I store leftover cottage cheese queso?
Very simple! Just transfer any leftovers into an airtight container and store in the fridge for up to 4 days. This dip actually tastes better after sitting for a day, as the flavors meld beautifully. Just remember to stir it well before serving!
Can I freeze cottage cheese queso?
Absolutely! If you’re looking to save some for later, you can freeze your Cottage Cheese Queso in small, airtight portions for up to 2 months. To do this, scoop the dip into freezer-safe containers, leaving some space for expansion. When you’re ready to enjoy, just thaw it in the refrigerator overnight and give it a quick stir before serving.
What if my dip turns out too watery?
Don’t worry! If your queso ends up runny, it typically means that the tomatoes weren’t drained thoroughly. To fix this, once blended, you can try adding a bit more nutritional yeast which can help thicken the dip, or consider blending in a small amount of cream cheese. This can create a super creamy consistency!
Is this cottage cheese queso safe for kids and those with dairy allergies?
While cottage cheese is a dairy product, this recipe is perfect for kids because it has a familiar cheesy flavor without being overly heavy. However, for those with lactose intolerance or dairy allergies, consider substituting the cottage cheese with a plant-based alternative like almond or cashew cream that can achieve a similar creamy texture. Enjoying a healthy dip that fits your dietary needs is totally possible with a little creativity!

Creamy Cottage Cheese Queso with Nutritional Yeast Delight
Ingredients
Equipment
Method
- Drain the diced tomatoes with green chilies thoroughly and let them sit for about 10 minutes.
- Gather and measure out all remaining ingredients: cottage cheese, taco seasoning, and nutritional yeast.
- In a high-powered blender, combine the cottage cheese, drained tomatoes, taco seasoning, and nutritional yeast. Blend on high for 1-2 minutes until smooth.
- Pour the creamy mixture into a serving bowl using a spatula to scrape every bit.
- Optional: Microwave the bowl at 30-second intervals, stirring after each segment, until warm.
- Garnish with fresh herbs and serve with veggie sticks or tortilla chips.
Leave a Reply