
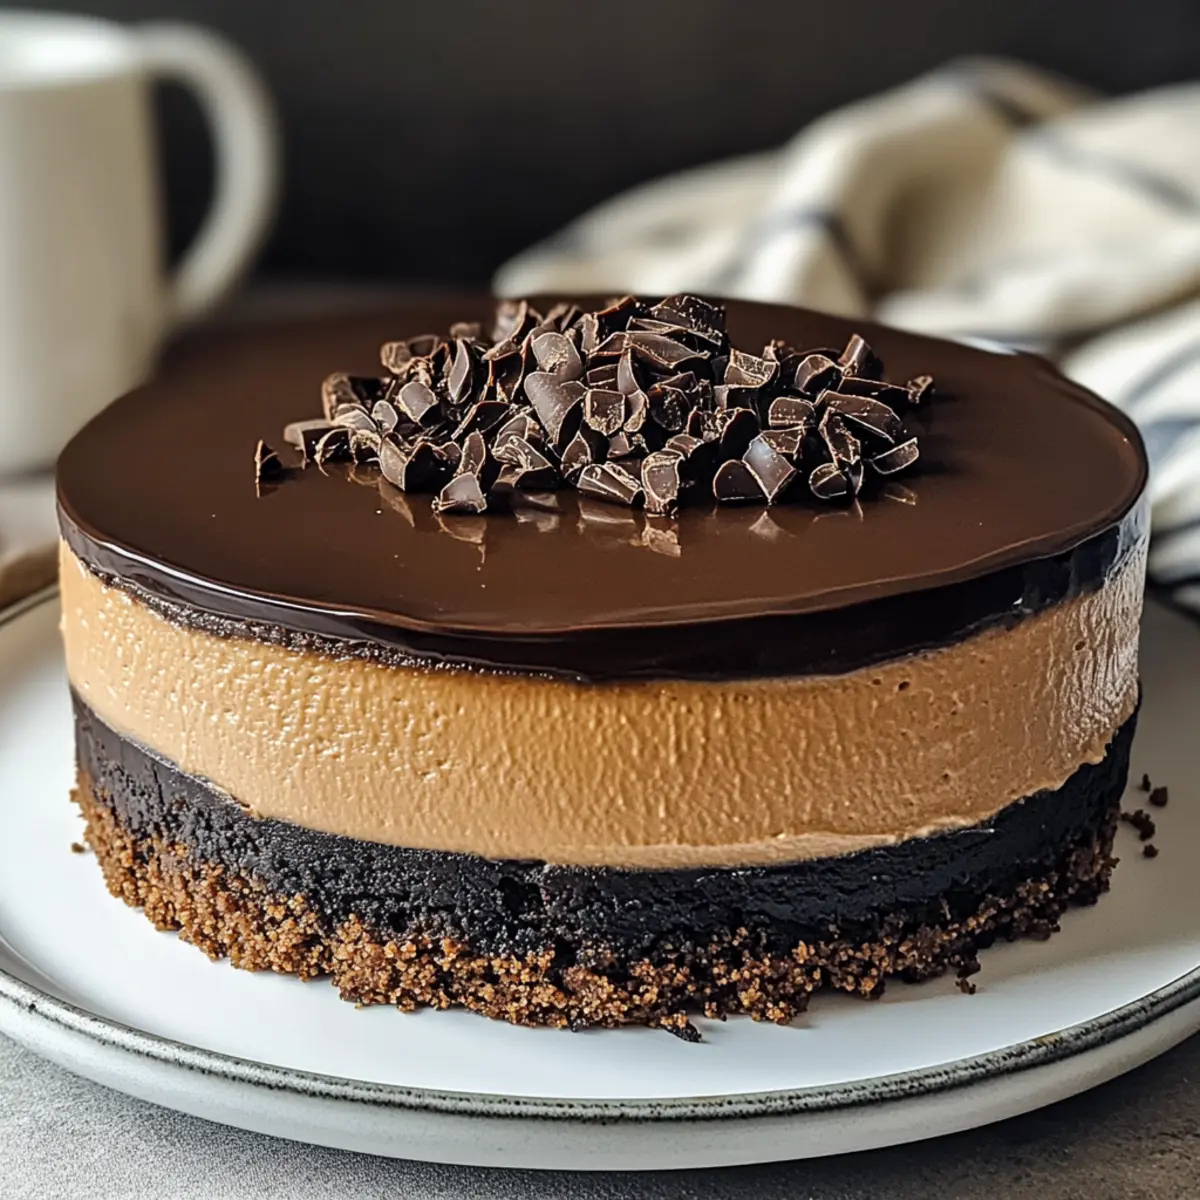
As I poured the rich, dark espresso into my mixing bowl, I couldn’t help but feel a sense of excitement wash over me—today, I’m creating the ultimate coffee lover’s dream: Espresso Coffee Cheesecake. This make-ahead dessert brings together the luxurious creaminess of traditional cheesecake with the bold essence of espresso, making it a perfect choice for gatherings or cozy nights in. The best part? It’s fully customizable with delicious toppings, and you can easily whip it up in advance, freeing you from last-minute kitchen stress. Ready to elevate your dessert game? Let’s dive into this decadent recipe that’s sure to impress! What unique twist will you add to make it your own?
Why Is This Cheesecake So Irresistible?
Indulgent Flavors: The perfect blend of rich espresso and smooth cream cheese creates a dessert that’s truly unforgettable.
Make-Ahead Convenient: This cheesecake is ideal for busy hosts—prepare it a day ahead and relax!
Customizable Toppings: Feeling adventurous? Top it with warm caramel or chocolate ganache, or try something different like a sprinkle of sea salt for a gourmet touch.
Diet-Friendly Options: With variations available, like gluten-free using specific cookies, anyone can enjoy this delightful treat!
Crowd-Pleaser: Serve it at gatherings, alongside a cup of coffee or dessert wine—your guests will rave about it, just like they do for my Fried Strawberry Cheesecake and Mini Cheesecake Cups.
This Espresso Coffee Cheesecake promises to be a hit wherever you serve it!
Espresso Coffee Cheesecake Ingredients
For the Crust
- Crushed Chocolate Cookies – Foundation of the crust; use Oreos or digestive biscuits, or for a gluten-free variation, opt for gluten-free cookies.
- Unsalted Butter – Binds the crust ingredients; melt before mixing with cookie crumbs.
For the Filling
- Cream Cheese – Creates a creamy texture; ensure it’s at room temperature for easy mixing.
- Granulated Sugar – Sweetens the filling; can be substituted with a sweetener for a low-sugar version.
- Eggs – Provides structure; always use room temperature eggs to avoid lumps.
- Vanilla Extract – Adds warmth and depth; opt for pure extract for the best flavor.
- Sour Cream – Adds tanginess and moisture; Greek yogurt can be a lighter substitute.
- Strong Brewed Espresso – Infuses bold coffee flavor throughout; instant coffee dissolved in hot water works as a substitute.
- All-Purpose Flour – Stabilizes the filling; omit for a gluten-free option.
For the Ganache Topping
- Semi-Sweet Chocolate Chips – Provides smooth chocolate flavor; dark chocolate chips can offer a richer taste.
- Heavy Cream – Creates a smooth ganache texture; can substitute with coconut cream for a dairy-free version.
Step‑by‑Step Instructions for Espresso Coffee Cheesecake
Step 1: Prepare the Crust
Preheat your oven to 325°F (160°C). In a mixing bowl, combine the crushed chocolate cookies with melted unsalted butter until evenly mixed. Press this mixture firmly into the bottom of a greased 9-inch springform pan, creating an even layer. Bake for 8–10 minutes, until slightly firm, then remove from the oven and let it cool completely.
Step 2: Make Cheesecake Filling
In a large mixing bowl, beat the room-temperature cream cheese until it’s smooth and creamy. Gradually add granulated sugar, mixing until combined, then incorporate the eggs one at a time, ensuring each is fully blended before adding the next. Mix in the vanilla extract, sour cream, and cooled strongly brewed espresso. Finally, sift in the all-purpose flour, mixing gently until just incorporated.
Step 3: Bake Cheesecake
Wrap the springform pan tightly in aluminum foil to prevent water from leaking in. Place the pan in a larger roasting pan and fill it with hot water to create a water bath. Bake the Espresso Coffee Cheesecake in the preheated oven for 60–70 minutes or until the edges are set, and the center is slightly jiggly. After baking, turn off the oven and leave the cheesecake inside for 1 hour to cool gradually.
Step 4: Prepare Ganache
In a small saucepan, heat the heavy cream over medium heat until it begins to simmer. Remove it from the heat and pour it over the semi-sweet chocolate chips in a bowl. Let this sit for a few minutes until the chocolate softens, then stir until you achieve a smooth ganache. Mix in a tablespoon of cooled espresso for an extra coffee kick.
Step 5: Chill and Serve
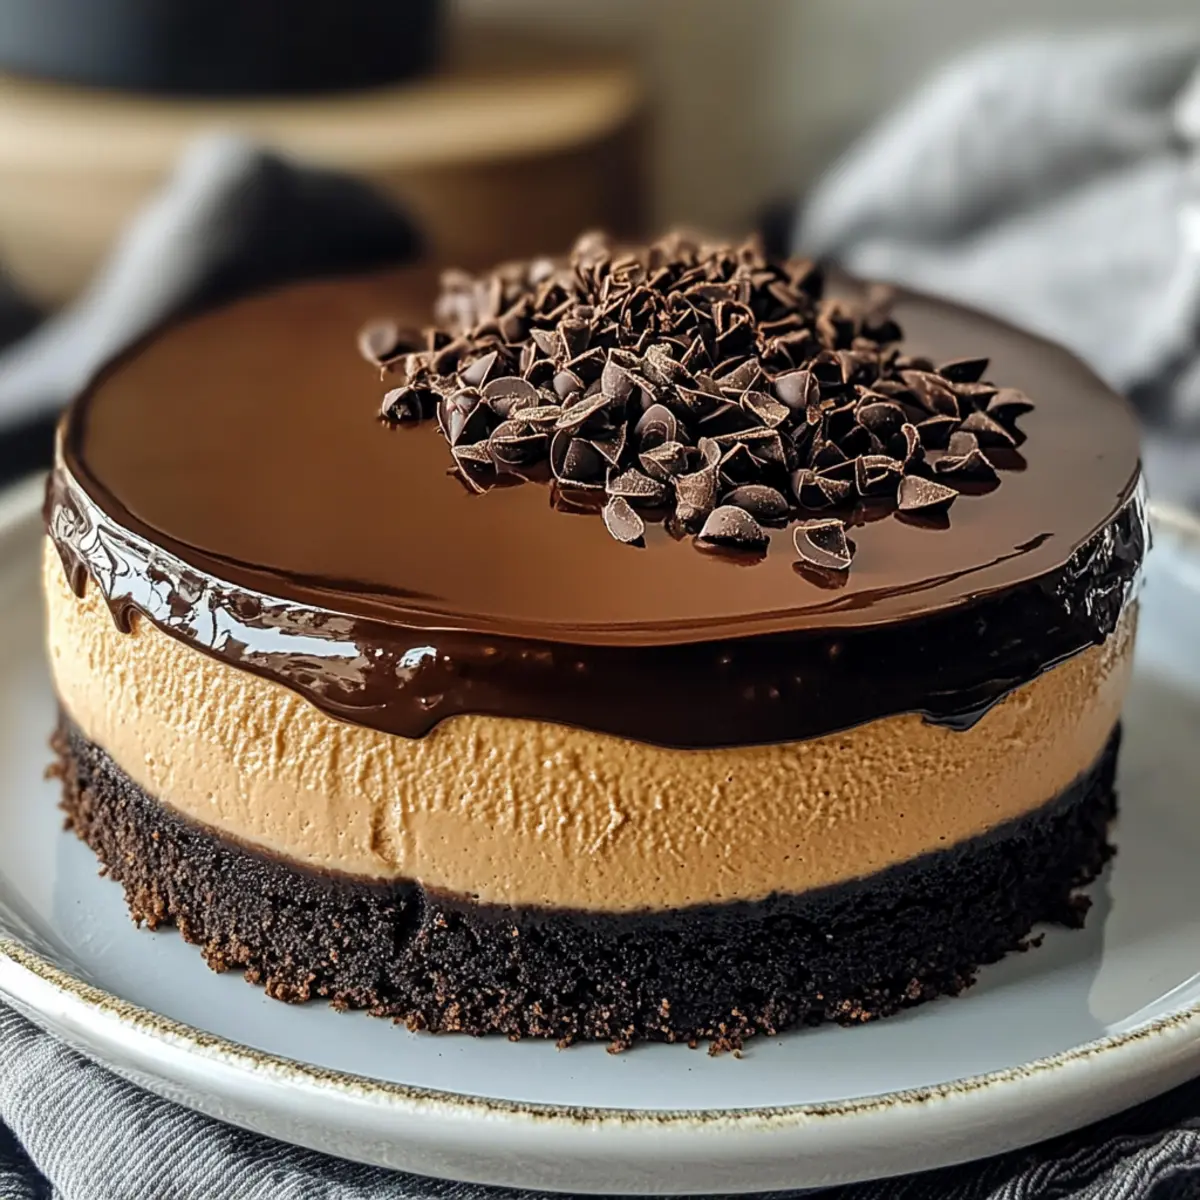
Once the cheesecake has cooled completely in the oven, remove it from the water bath and chill it in the refrigerator for at least 4–6 hours or overnight for the best flavor and texture. Before serving, pour the ganache over the top of the chilled cheesecake, letting it drizzle down the sides. Garnish and slice the Espresso Coffee Cheesecake, serving it chilled and enjoy the rich flavors.
What to Serve with Espresso Coffee Cheesecake
Delight your senses as you craft a full meal with the exquisite flavors of this creamy dessert.
-
Creamy Mashed Potatoes: Their buttery texture balances the richness of the cheesecake beautifully, creating a comforting contrast.
-
Fresh Garden Salad: Crisp greens tossed in a light vinaigrette provide a refreshing palette cleanser before indulging in the cheesecake’s dense flavors.
-
Chocolate Espresso Martini: Pair this decadent drink to enhance the coffee notes in your cheesecake and add a chic touch to your dessert experience.
-
Roasted Vegetables: Earthy veggies like carrots and zucchini bring a delightful savory element, elevating the meal to new heights.
-
Vanilla Ice Cream: A scoop of creamy vanilla ice cream complements the cheesecake’s richness while inviting playful textures that elevate each bite.
-
Berry Compote: A tangy raspberry or mixed berry compote brightens up the cheesecake with a burst of freshness and a hint of acidity.
-
Affogato: This simple dessert—vanilla ice cream topped with hot espresso—captures the essence of coffee in a delightful way that echoes your decadent cheesecake.
-
Espresso Shot: For true coffee lovers, serve a small shot of espresso on the side to intensify the coffee experience and finish your meal on a high note.
Make Ahead Options
With the Espresso Coffee Cheesecake, you can not only impress your guests but also save precious time! You can prepare the crust and cheesecake filling up to 24 hours in advance. Simply follow the first two steps of the recipe, allow the cheesecake to cool, then wrap it tightly in plastic wrap and refrigerate. The cheesecake will remain just as delicious and creamy when you’re ready to bake it! When it’s time to complete the dessert, simply bake it as directed, then prepare the ganache and chill the completed cheesecake for at least 4–6 hours or overnight before serving. This little bit of planning means more time for you to relax and enjoy your occasion!
Expert Tips for Espresso Coffee Cheesecake
-
Room Temperature Ingredients: Ensure all ingredients, especially cream cheese and eggs, are at room temperature for a smooth batter without lumps.
-
Water Bath Method: Wrap the springform pan in foil and bake in a water bath to prevent cracks and ensure even baking, helping your cheesecake maintain its delicate texture.
-
Avoid Overmixing: Mix the filling gently to keep the cheesecake dense and creamy. Overmixing can introduce excess air, which might cause it to crack while baking.
-
Chill Properly: Refrigerate the cheesecake for at least 4–6 hours or overnight to achieve the best flavor and texture; don’t rush this step!
-
Customize with Care: When adding toppings to your Espresso Coffee Cheesecake, keep them simple and balanced—avoid overpowering the rich coffee flavors with overly sweet options.
How to Store and Freeze Espresso Coffee Cheesecake
Fridge: Store wrapped slices in the refrigerator for up to 5 days to maintain freshness. Keep it in an airtight container to prevent drying out.
Freezer: For longer storage, wrap the whole cheesecake tightly in plastic wrap and then aluminum foil. It can be frozen for up to 2 months without losing flavor or texture.
Thawing: To enjoy your frozen Espresso Coffee Cheesecake, place it in the refrigerator overnight before serving to ensure it thaws evenly and maintains its creamy consistency.
Reheating: This cheesecake is best served chilled, but if desired, allow it to come to room temperature for about 30 minutes before serving to enhance the flavor.
Espresso Coffee Cheesecake Variations
Discover the delicious ways to customize your Espresso Coffee Cheesecake and elevate your dessert experience!
-
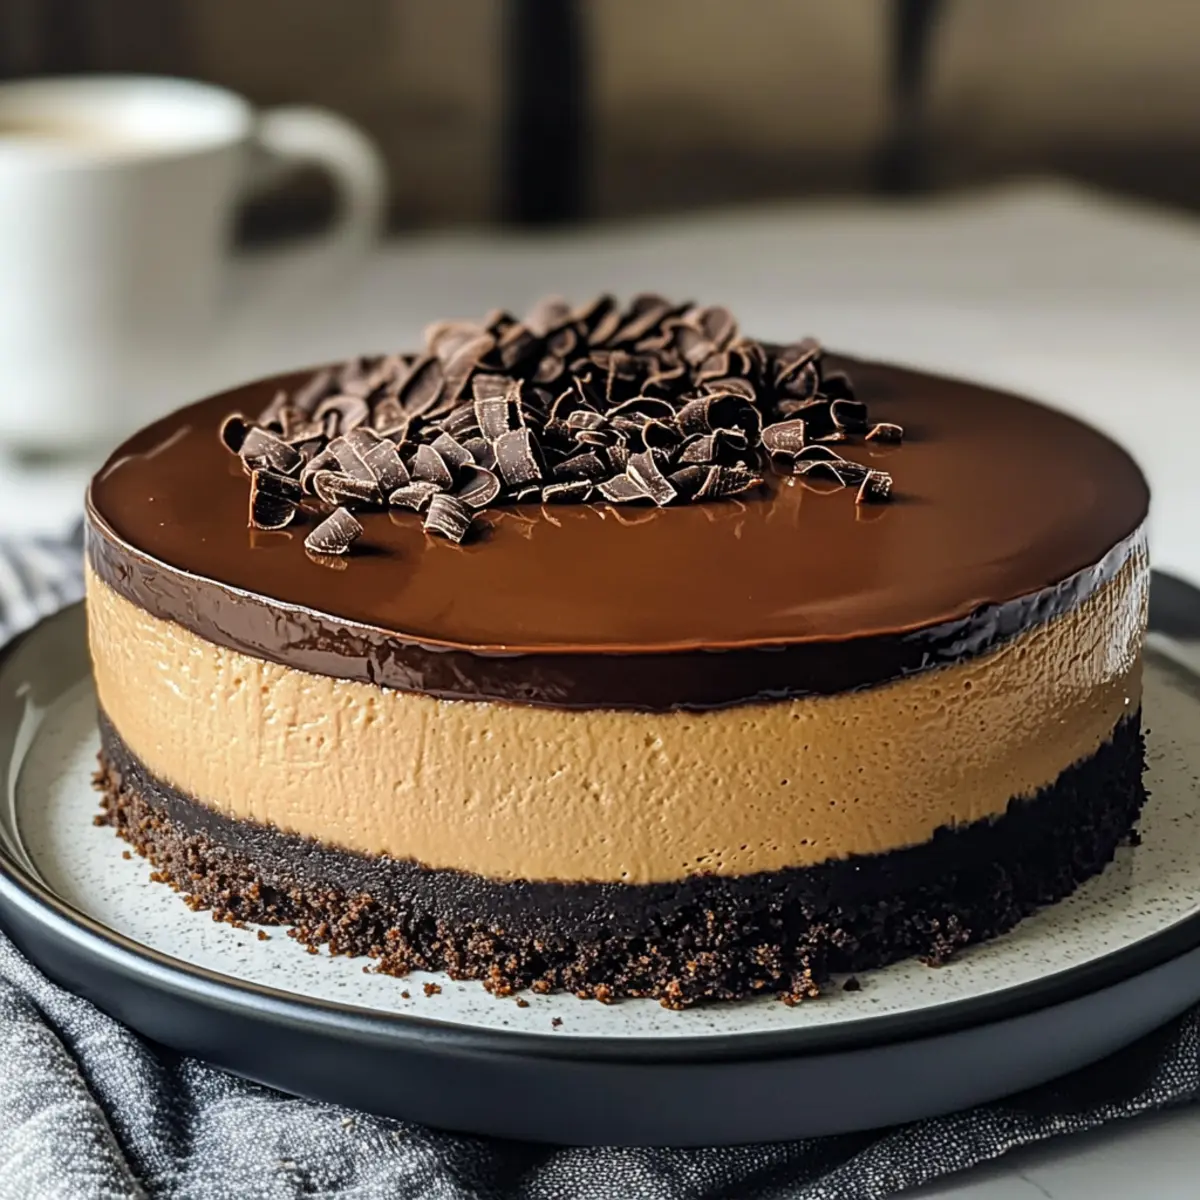
Mocha Cheesecake: Add 2 tablespoons of cocoa powder to the filling for that rich coffee-chocolate combo. Top with chocolate shavings for a stunning finish!
-
Vanilla Latte Cheesecake: Swap espresso for strong brewed coffee and mix in a touch of vanilla bean paste for a sweet, aromatic twist. It’s like your favorite café drink in cheesecake form!
-
Caramel Espresso Cheesecake: Drizzle warm caramel sauce over the top, and consider a sprinkle of sea salt to balance the sweetness and enhance flavors. That sweet and salty contrast will keep everyone coming back for more.
-
Dairy-Free Cheesecake: Replace cream cheese with a vegan cream cheese alternative and substitute heavy cream with coconut cream in your ganache. You won’t miss the dairy with this luscious version!
-
Frozen Cheesecake Bars: Pour the cheesecake batter into a lined baking dish, freeze until solid, and cut into bars. Perfect for a delightful summer treat served alongside an iced coffee!
-
Nutty Crust Variation: Use finely chopped nuts like almonds or walnuts in place of part of the chocolate cookie crust for added crunch and flavor. It creates an extra layer of texture that’s simply irresistible.
-
Spicy Espresso Twist: Add a pinch of cayenne pepper to the filling for a surprising kick. The heat subtly enhances the coffee flavor, making for a delightful conversation starter at your dinner table.
-
Chocolate Ganache Upgrade: Swap semi-sweet chocolate chips for dark chocolate in the ganache for a bolder flavor; it pairs beautifully with the coffee taste in your cheesecake! Serve with fresh berries for a burst of freshness, similar to my scrumptious Cherry Pistachio Cheesecake.
Let your creativity shine and make this Espresso Coffee Cheesecake uniquely yours!
Espresso Coffee Cheesecake Recipe FAQs
How do I choose the right coffee for my cheesecake?
Absolutely! For the best flavor, use strong brewed espresso, as it provides the bold coffee notes that make the Espresso Coffee Cheesecake stand out. If espresso isn’t available, instant coffee dissolved in hot water works as a great substitute, although the flavor may be slightly less intense.
How long can I store leftover cheesecake in the fridge?
You can store the Espresso Coffee Cheesecake securely wrapped in the refrigerator for up to 5 days. Make sure to use an airtight container to keep it moist and prevent it from absorbing other odors in your fridge.
Can I freeze the cheesecake? If so, how?
Very! For freezing, wrap the entire cheesecake tightly in plastic wrap, and then cover it with aluminum foil to protect it from freezer burn. It can be frozen for up to 2 months. When you’re ready to enjoy it, simply transfer it to the refrigerator to thaw overnight before serving.
What should I do if my cheesecake cracks during baking?
If your cheesecake experiences cracks while baking, fear not! They often occur due to excess air in the batter or temperature fluctuations. To avoid this, mix your filling gently and use a water bath while baking. If cracks do appear, you can always cover them with ganache or a dusting of cocoa powder to hide them beautifully.
Is there a way to make the cheesecake gluten-free?
Certainly! To create a gluten-free Espresso Coffee Cheesecake, simply use gluten-free chocolate cookies for the crust and omit the all-purpose flour from the filling. This way, everyone at your gathering can indulge in this delicious dessert without worry.
How should I garnish my cheesecake for a special occasion?
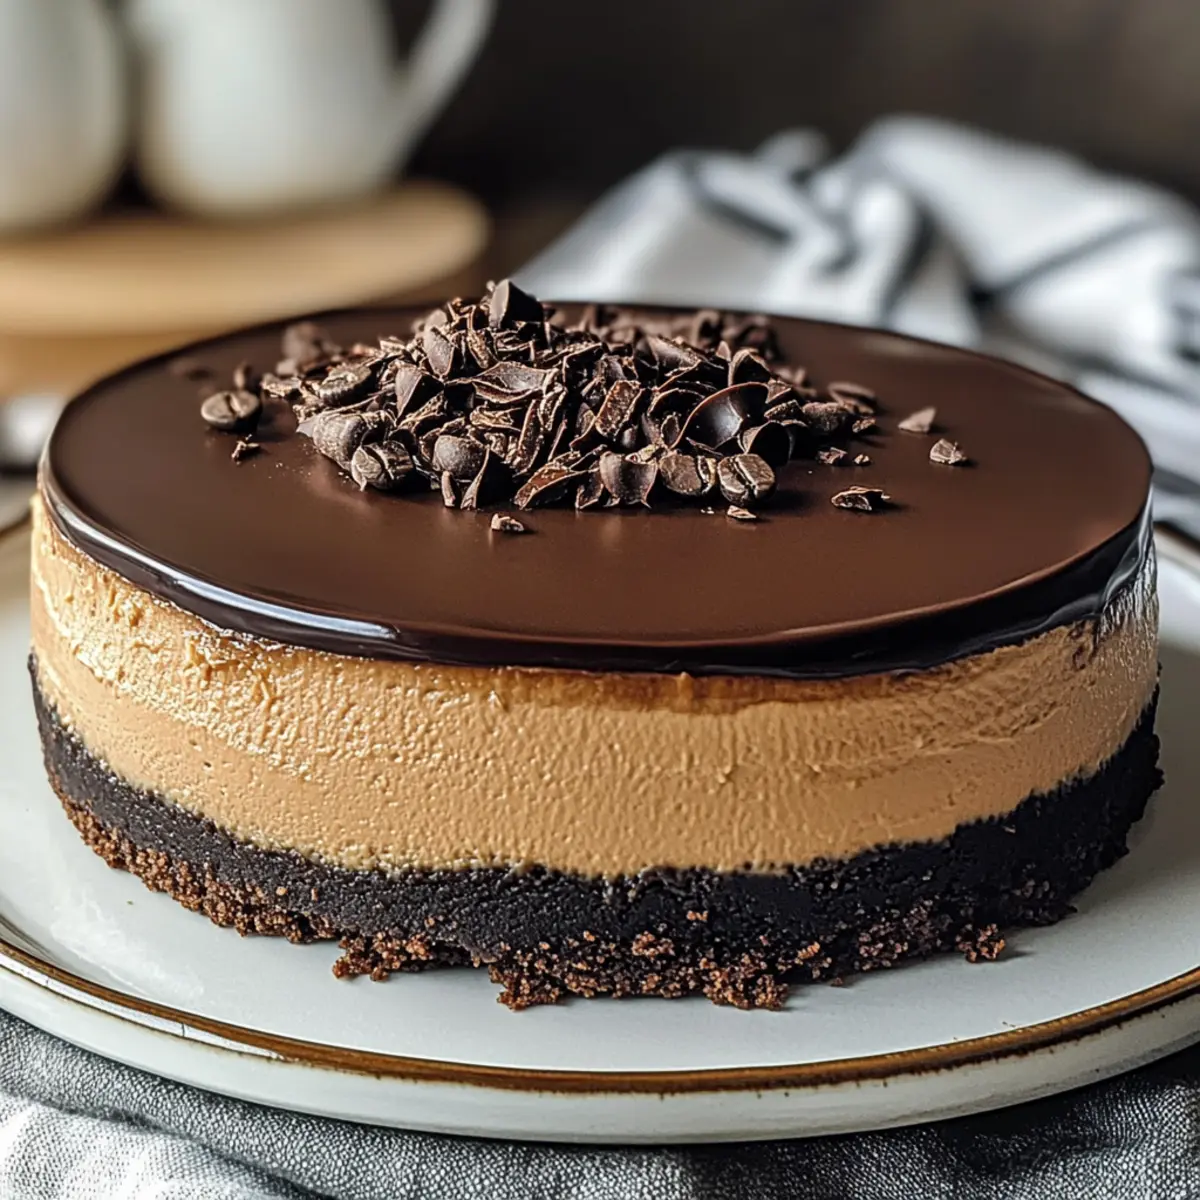
When it comes to garnishing your Espresso Coffee Cheesecake, keep it simple yet elegant! A drizzle of warm caramel or chocolate ganache can add a luxurious touch, while a sprinkle of sea salt or a few coffee beans on top can enhance its sophisticated look.
Irresistible Espresso Coffee Cheesecake Everyone Will Love
Ingredients
Equipment
Method
- Preheat your oven to 325°F (160°C). In a mixing bowl, combine the crushed chocolate cookies with melted unsalted butter until evenly mixed. Press this mixture firmly into the bottom of a greased 9-inch springform pan, creating an even layer. Bake for 8–10 minutes, until slightly firm, then remove from the oven and let it cool completely.
- In a large mixing bowl, beat the room-temperature cream cheese until it’s smooth and creamy. Gradually add granulated sugar, mixing until combined, then incorporate the eggs one at a time. Mix in the vanilla extract, sour cream, and cooled strongly brewed espresso. Finally, sift in the all-purpose flour, mixing gently until just incorporated.
- Wrap the springform pan tightly in aluminum foil to prevent water from leaking in. Place the pan in a larger roasting pan and fill it with hot water to create a water bath. Bake the Espresso Coffee Cheesecake in the preheated oven for 60–70 minutes or until the edges are set and the center is slightly jiggly. After baking, turn off the oven and leave the cheesecake inside for 1 hour to cool gradually.
- In a small saucepan, heat the heavy cream over medium heat until it begins to simmer. Remove it from the heat and pour it over the semi-sweet chocolate chips in a bowl. Let this sit for a few minutes until the chocolate softens, then stir until you achieve a smooth ganache. Mix in a tablespoon of cooled espresso for an extra coffee kick.
- Once the cheesecake has cooled completely in the oven, remove it from the water bath and chill it in the refrigerator for at least 4–6 hours or overnight for the best flavor and texture. Before serving, pour the ganache over the top of the chilled cheesecake, letting it drizzle down the sides.
Leave a Reply