
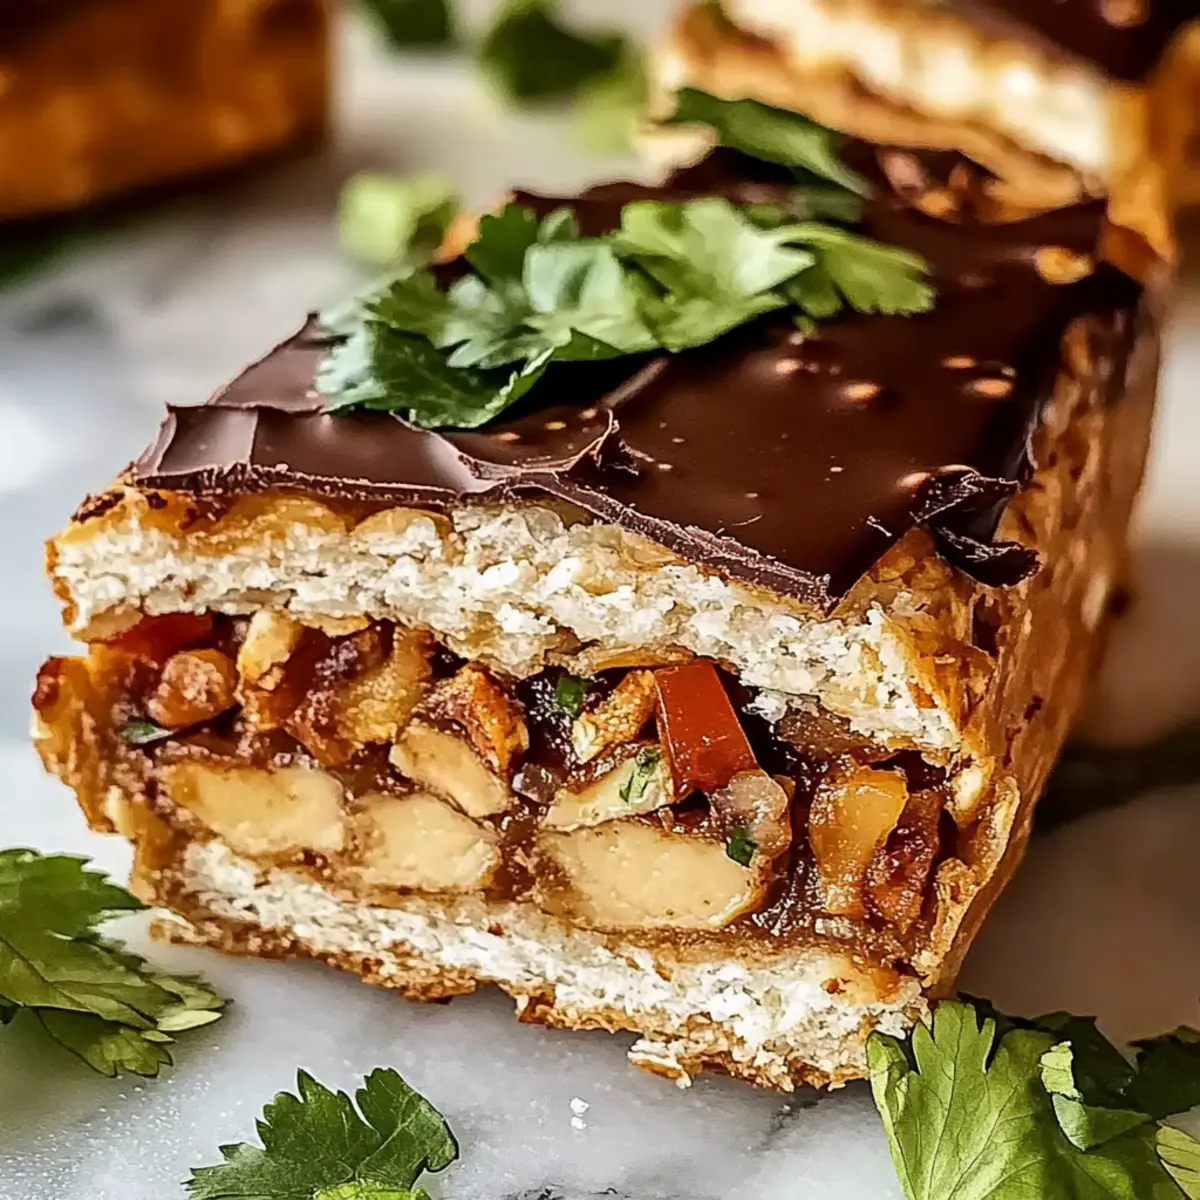
The moment I took my first bite, I was transported back to sun-soaked afternoons spent devouring treat after treat at my grandma’s kitchen table. These No-Bake Chocolate Peanut Butter Bars encapsulate that nostalgia, featuring a creamy, rich filling combined with the delightful crunch of oats. What I love most about this recipe isn’t just its unbeatable flavor but also its simplicity. Perfect for those days when you want a sweet indulgence without the fuss—this quick dessert comes together in minutes! Plus, with a few easy swaps, you can make them gluten-free or tailor them to your taste preferences. Are you ready to create a delightful treat that will impress your family and friends? Let’s dive in!
Why Choose No-Bake Chocolate Peanut Butter Bars?
Simplicity at Its Best: These bars are a no-bake wonder, making them ideal for those busy days when you want a quick treat!
Rich, Delectable Flavor: The creamy peanut butter combined with luscious chocolate creates a mouthwatering combination that satisfies every sweet tooth.
Customizable Delight: Feel free to swap peanut butter for almond butter or toss in some dried fruits for an exciting twist.
Crowd-Pleaser: Whether it’s a family gathering or a late-night snack, these bars will have everyone reaching for seconds!
Time-Saving Treat: Whip them up in minutes and refrigerate—it’s that easy! Enjoy with a slice of Creamy Chicken Pot Pie Pasta for a complete meal experience.
Indulge in this straightforward yet irresistible dessert that’s sure to become a family favorite!
No-Bake Chocolate Peanut Butter Bar Ingredients
• This section lists everything you’ll need for your flavor-packed chocolate treat!
For the Base
- Rolled Oats – Provides structure and a wholesome base; you can use almond flour for a gluten-free option.
- Peanut Butter – Adds creaminess and flavor; substitute with almond or sunflower seed butter for allergies.
- Honey or Maple Syrup – Acts as a natural sweetener to bind ingredients; you can use agave syrup for a vegan alternative.
- Cocoa Powder – Delivers rich chocolate flavor; try carob powder for a different taste.
For the Topping
- Chocolate Chips – Adds sweetness and a melty texture on top; consider using dark chocolate for a less sweet option.
Step‑by‑Step Instructions for No-Bake Chocolate Peanut Butter Bars
Step 1: Mix the Base Ingredients
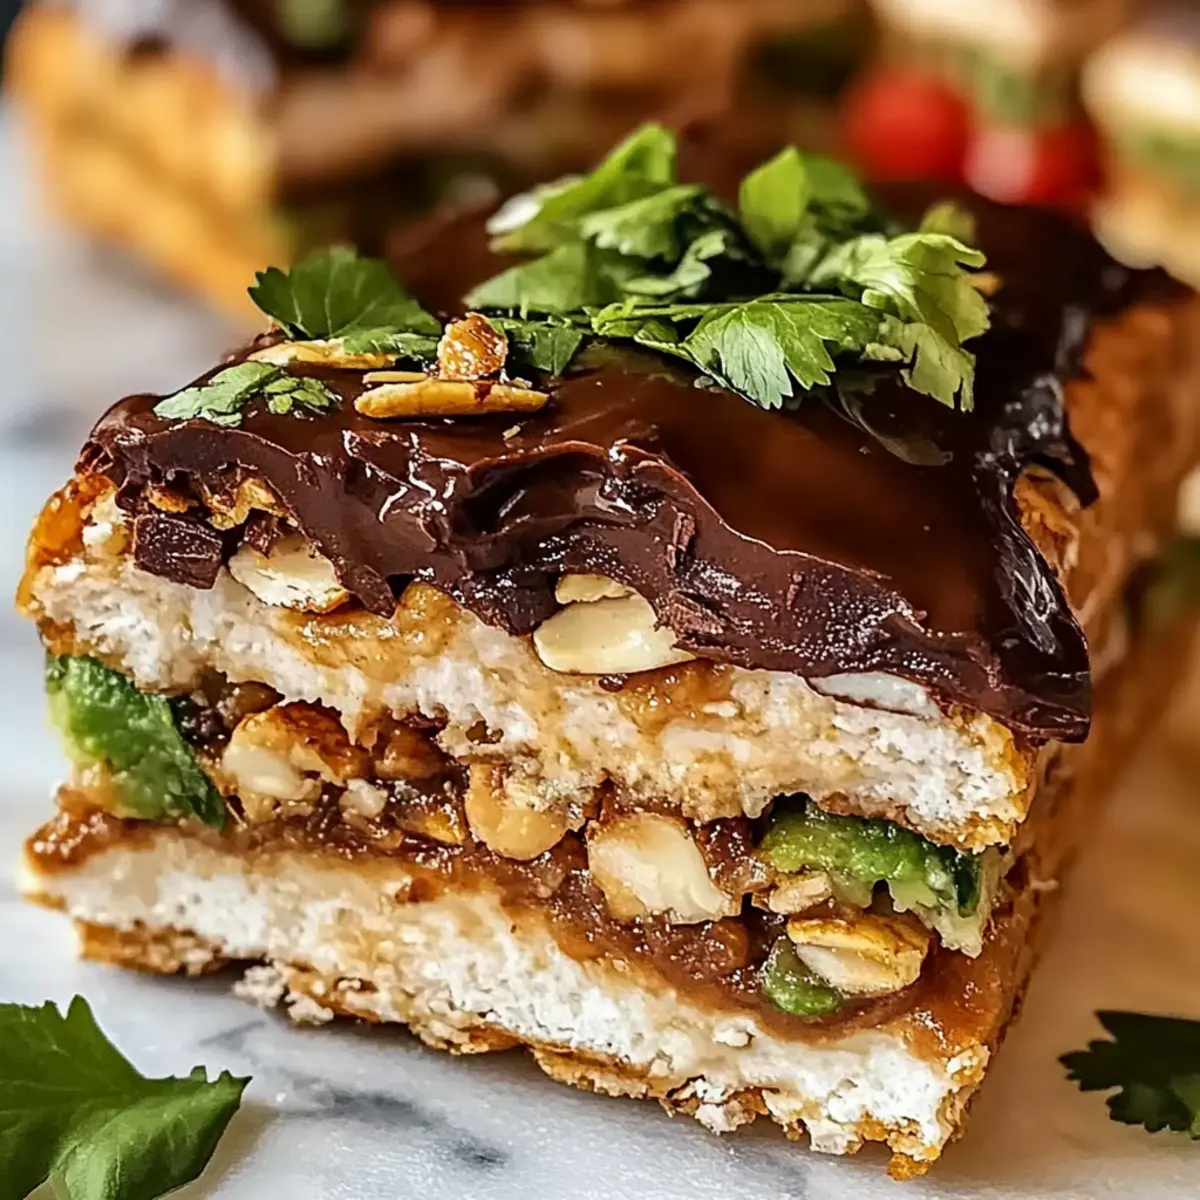
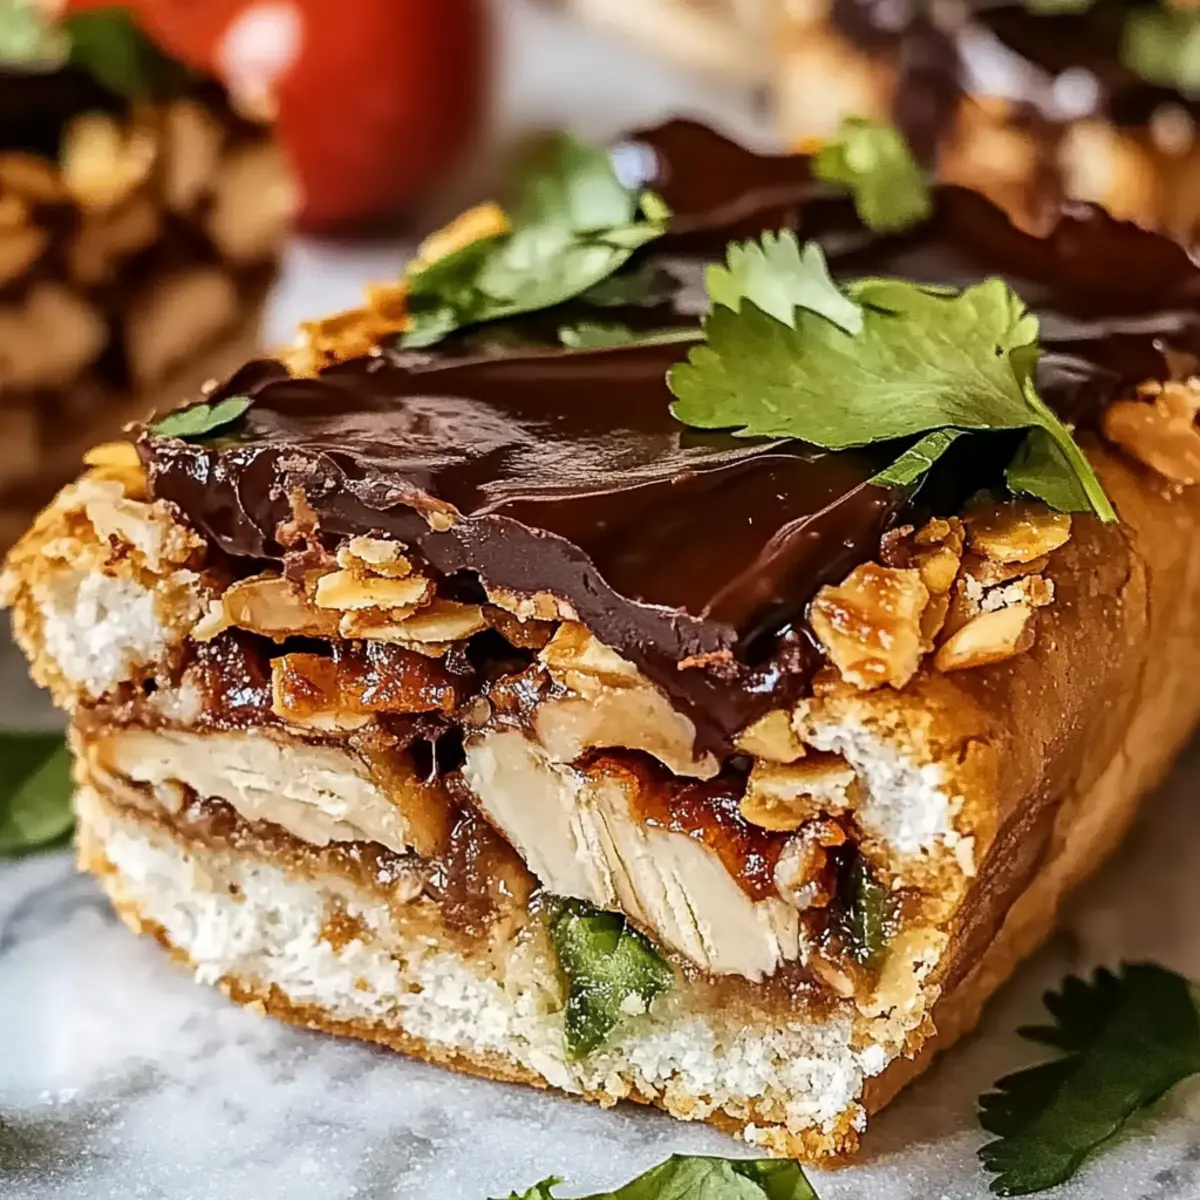
In a large mixing bowl, combine rolled oats, peanut butter, honey, and cocoa powder. Use a spatula or your hands to mix thoroughly until everything is well incorporated into a thick, cohesive mixture. This step should take about 3–5 minutes. The mixture will be sticky and have a rich chocolate hue, ensuring a delicious base for your no-bake chocolate peanut butter bars.
Step 2: Prepare the Baking Dish
Line an 8-inch square baking dish with parchment paper, leaving some overhang for easy removal later. Transfer the oat and peanut butter mixture into the prepared dish. Press it down firmly with the back of a spatula or your hands, making sure the mixture is compacted evenly. This compacting is crucial for the bars not to crumble when cut. Aim for a height of about 1 inch.
Step 3: Melt the Chocolate Topping
In a microwave-safe bowl, add the chocolate chips and heat in 30-second increments, stirring between each session until completely melted and smooth—this should take about 1–2 minutes total. Alternatively, you can melt the chips using a double boiler on the stovetop. Once melted, pour the chocolate over the pressed oat mixture in the baking dish, using a spatula to spread it evenly.
Step 4: Refrigerate to Set
Cover the baking dish with plastic wrap or aluminum foil and place it in the refrigerator. Allow the mixture to chill for at least 2 hours, or until the chocolate topping has set and the bars are firm. You’ll know they’re ready when the top is solid but slightly shiny, making it easy to slice into bars later.
Step 5: Slice and Serve
Once chilled, remove the bars from the dish using the overhanging parchment paper. Place them on a cutting board and slice them into your desired size—either small squares or larger bars, whichever you prefer. The no-bake chocolate peanut butter bars should be dense and chewy with a glossy chocolate topping, ready to be enjoyed as a quick dessert or snack.
Variations & Substitutions for No-Bake Chocolate Peanut Butter Bars
Explore delightful twists on these no-bake chocolate peanut butter bars, inviting you to create your own masterpiece!
-
Gluten-Free: Substitute rolled oats with almond flour for a gluten-free treat without sacrificing flavor. The texture will remain deliciously dense.
-
Nut-Free: Swap peanut butter for sunflower seed butter to accommodate nut allergies. This option keeps the creaminess while adding a unique taste.
-
Vegan Delight: Replace honey with agave syrup for a fully vegan version. The sweetness will still shine through, making them irresistible!
-
Carob Twang: For a different twist, use carob powder instead of cocoa. This alternative introduces a mildly sweet, earthy flavor you might find surprisingly delightful.
-
Add Crunch: Toss in some chopped nuts or seeds into the base mix for added texture and a satisfying crunch. Almonds or walnuts work wonderfully!
-
Dried Fruit Boost: Incorporate dried cranberries or raisins into the bars for a fruity kick. This variation adds a burst of natural sweetness and a chewier texture.
-
Coconut Flakes: For a tropical flair, mix in shredded coconut before pressing the mixture into the baking dish. Coconut pairs perfectly with chocolate, enhancing the flavor.
-
Chocolate Lovers’ Dream: Drizzle extra melted chocolate on top before setting to create a richer layer of chocolate goodness. Indulge in double the chocolate for true decadence!
With these ideas, your no-bake creation can be both personal and delicious! If you’re looking for more savory options, consider pairing with a delicious Mushroom Chicken Cozy for a well-rounded meal!
Storage Tips for No-Bake Chocolate Peanut Butter Bars
Fridge: Store your bars in an airtight container in the refrigerator for up to 1 week. This keeps them fresh and maintains their chewy texture.
Freezer: If you want to keep them longer, freeze the bars for up to 1 month. Wrap them tightly in plastic wrap and then place them in a freezer-safe container.
Thawing: When you’re ready to enjoy a frozen bar, simply transfer it to the fridge for a few hours or leave it out at room temperature for about 30 minutes to thaw.
Serving: Enjoy these bars cold for a refreshing treat, or you can slightly warm them in the microwave for a more indulgent dessert experience.
What to Serve with No-Bake Chocolate Peanut Butter Bars?
Indulging in these rich chocolate peanut butter bars is just the beginning of your sweet adventure! Let’s elevate your treat game with some delightful additions.
- Fresh Berries: Juicy strawberries or raspberries add a burst of freshness that beautifully contrasts the rich bars, making every bite interesting.
- Vanilla Ice Cream: Creamy vanilla ice cream melts perfectly over a warm bar, creating a luscious combination that feels indulgent yet balanced.
- Greek Yogurt Parfait: Layering these bars with Greek yogurt and granola creates a satisfying texture contrast and adds a healthy touch to your dessert.
- Nutty Trail Mix: Serve alongside a handful of nutty trail mix to enhance the crunchy texture while staying true to the wholesome vibe of the bars.
- Iced Chai Latte: This aromatic drink perfectly complements the sweet and nutty flavors while offering a refreshing option to wash it all down.
- Espresso or Coffee: A strong brew of espresso or a rich coffee serves as a delightful counterpoint, intensifying the chocolate flavor while providing a little caffeine kick.
- Caramel Drizzle: A drizzle of homemade caramel sauce takes these bars to the next level, adding a decadent finish that will leave everyone wanting more.
- Coconut Whipped Cream: Light and airy coconut whipped cream introduces a tropical twist, making for a light yet satisfying dessert.
Whichever pairing you choose, these no-bake chocolate peanut butter bars will shine even brighter, turning your delightful snack into a full-fledged dessert experience!
Make Ahead Options
These No-Bake Chocolate Peanut Butter Bars are a fantastic choice for meal prep enthusiasts! You can prepare the base mixture up to 24 hours in advance by mixing the rolled oats, peanut butter, honey, and cocoa powder, and pressing it into the baking dish. Cover it tightly with plastic wrap to maintain freshness. Additionally, you can melt the chocolate topping ahead of time as well, ensuring it’s ready to drizzle when you’re set to finish the bars. When you’re ready to serve, simply pour the chocolate over the base, chill for a minimum of 2 hours, and slice into delicious bars that are just as delectable as when freshly made. Enjoy the convenience of having these treats ready for whenever a sweet craving strikes!
Expert Tips for No-Bake Chocolate Peanut Butter Bars
-
Room Temperature Peanut Butter: Ensure your peanut butter is at room temperature for easier blending; this prevents lumps in your mixture.
-
Press Firmly: Compact the base mixture well into the baking dish to avoid crumbling when slicing the bars; a sturdy base makes all the difference.
-
Choose Quality Chocolate: Use high-quality chocolate chips for the topping; they melt smoothly and enhance the overall flavor of your no-bake bars.
-
Cooling Time Matters: Be patient and let the bars chill for at least 2 hours; this ensures they set properly and hold their shape when cut.
-
Layer with Care: When pouring the melted chocolate, spread it gently to avoid mixing it with the base underneath; this keeps the layers distinct and visually appealing.
No-Bake Chocolate Peanut Butter Bars Recipe FAQs
How do I choose ripe or fresh ingredients?
Absolutely! For the best flavor in your no-bake chocolate peanut butter bars, make sure your peanut butter is fresh—look for natural varieties with no added sugars or preservatives. Also, check that your honey or maple syrup is pure and free from any dark spots or discoloration, as they may indicate age.
How should I store my bars for freshness?
I recommend storing your no-bake chocolate peanut butter bars in an airtight container in the refrigerator for up to 1 week. This helps maintain their chewy texture and prevents them from drying out. If you’re not planning to eat them right away, you can also freeze the bars for up to 1 month.
Can I freeze these bars, and how do I do it?
Yes, you can absolutely freeze these bars! To freeze, wrap each bar individually in plastic wrap to avoid freezer burn, and then place them in a freezer-safe container. When ready to enjoy, thaw them by transferring to the fridge for a few hours or at room temperature for about 30 minutes. This way, they’ll be ready when those cravings hit!
What should I do if my bars crumble when cutting?
Very! If your bars crumble, it could be due to not compacting the mixture enough before chilling. Always press firmly into the baking dish to ensure the base sticks together, creating a sturdy structure. If they still crumple, make sure to let them chill for the full 2 hours; this helps with firming up the texture.
Can I make these bars allergy-friendly?
You certainly can! For nut allergies, substitute peanut butter with sunflower seed butter for a nut-free option. To make this recipe vegan, use agave syrup instead of honey and ensure you use dairy-free chocolate chips. These swaps keep the delicious flavor while accommodating various dietary needs.
What are some common variations I can try?
The more the merrier! You can swap the peanut butter with almond or cashew butter for a different taste experience. Additionally, consider adding some chopped nuts or dried fruits like cranberries or raisins for added texture and nutrition. These variations not only enhance the flavor but add a personal twist to your no-bake chocolate peanut butter bars!

Flavor-Packed Chicken Torta Sandwich for Ultimate Satisfaction
Ingredients
Equipment
Method
- In a large mixing bowl, combine rolled oats, peanut butter, honey, and cocoa powder. Mix thoroughly until everything is well incorporated into a thick mixture.
- Line an 8-inch square baking dish with parchment paper and transfer the oat mixture into the dish, pressing down firmly.
- In a microwave-safe bowl, add chocolate chips and heat in 30-second increments, stirring until melted. Pour the chocolate over the pressed oat mixture.
- Cover the dish with plastic wrap and refrigerate for at least 2 hours until the topping has set.
- Once chilled, remove bars using the parchment overhang and slice into desired sizes.
Leave a Reply