
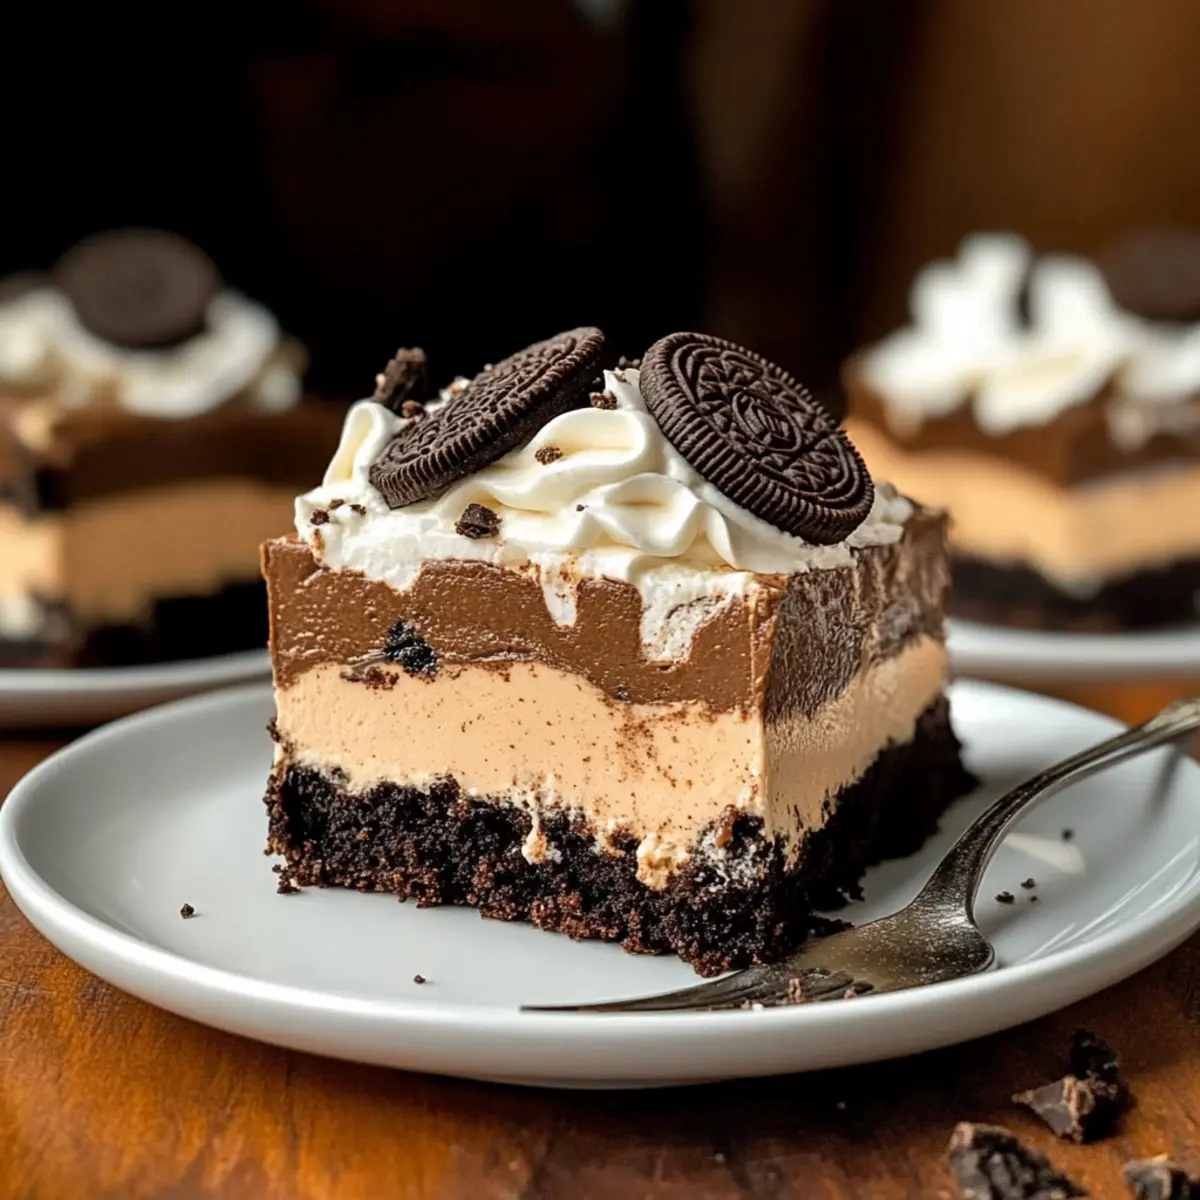
As the sun set after a long day, the kitchen quickly transformed into my little sanctuary. In less than no time, I had a No Bake Chocolate Peanut Butter Oreo Dessert cooling in the fridge, promising a sweet end to the evening. This delectable treat is a game-changer for anyone craving the rich combination of chocolate and peanut butter—without turning on the oven! Not only is it a breeze to prepare, but it’s also a crowd-pleaser that will have guests begging for the recipe. With its layers of creamy goodness and a crunchy Oreo base, this easy dessert makes entertaining effortless. Ready to dive into a delicious world of no-bake wonders? Let’s scoop out those ingredients and create something extraordinary together!
Why is No Bake Chocolate Peanut Butter Bliss Special?
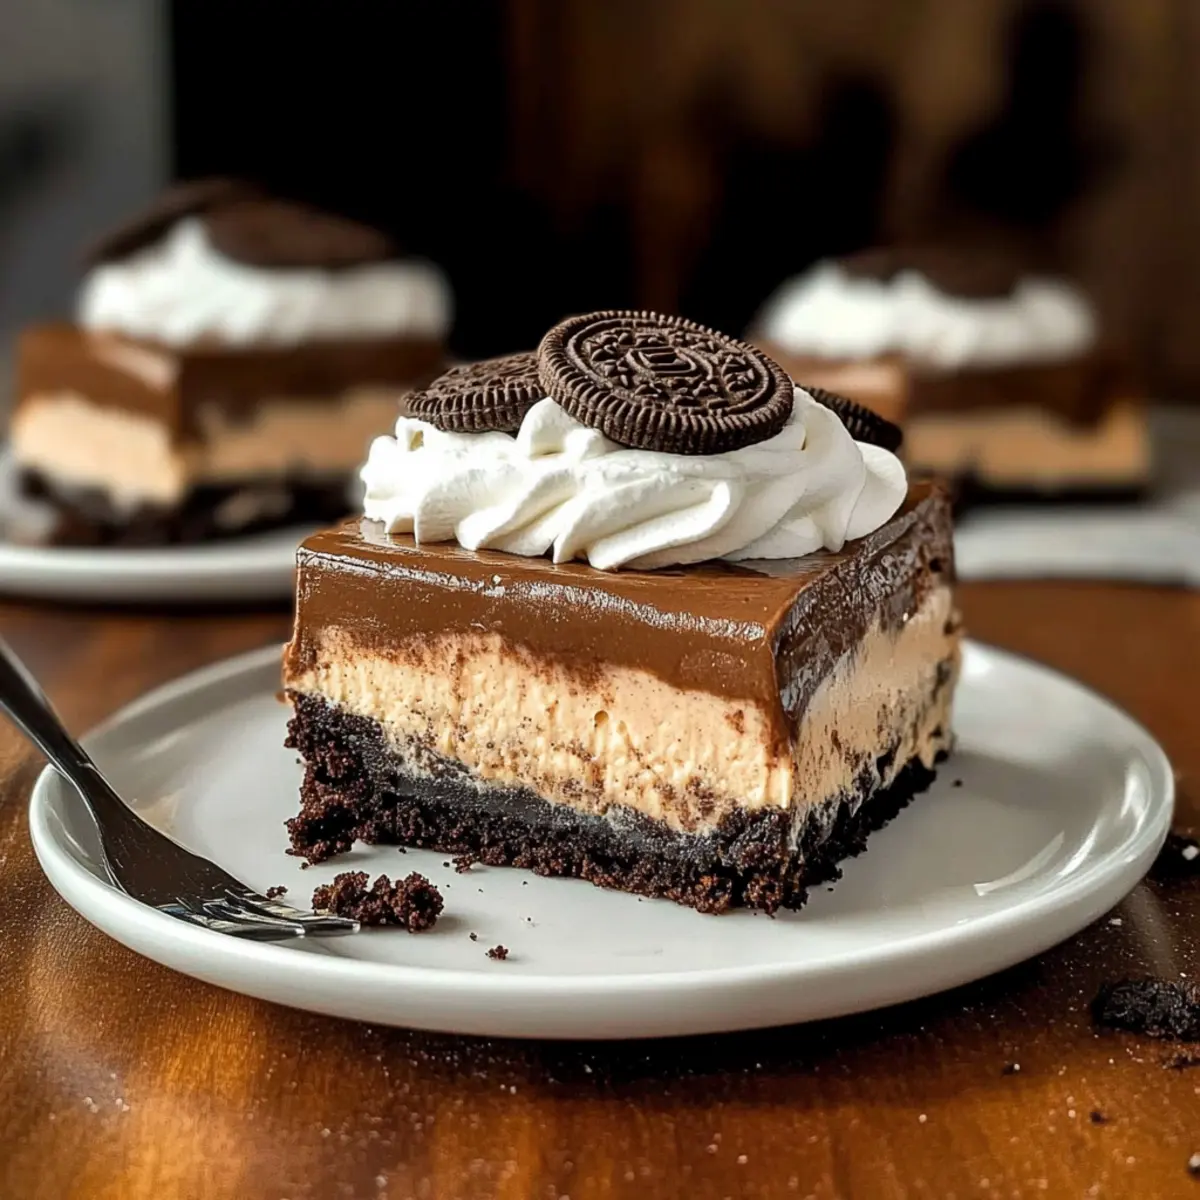
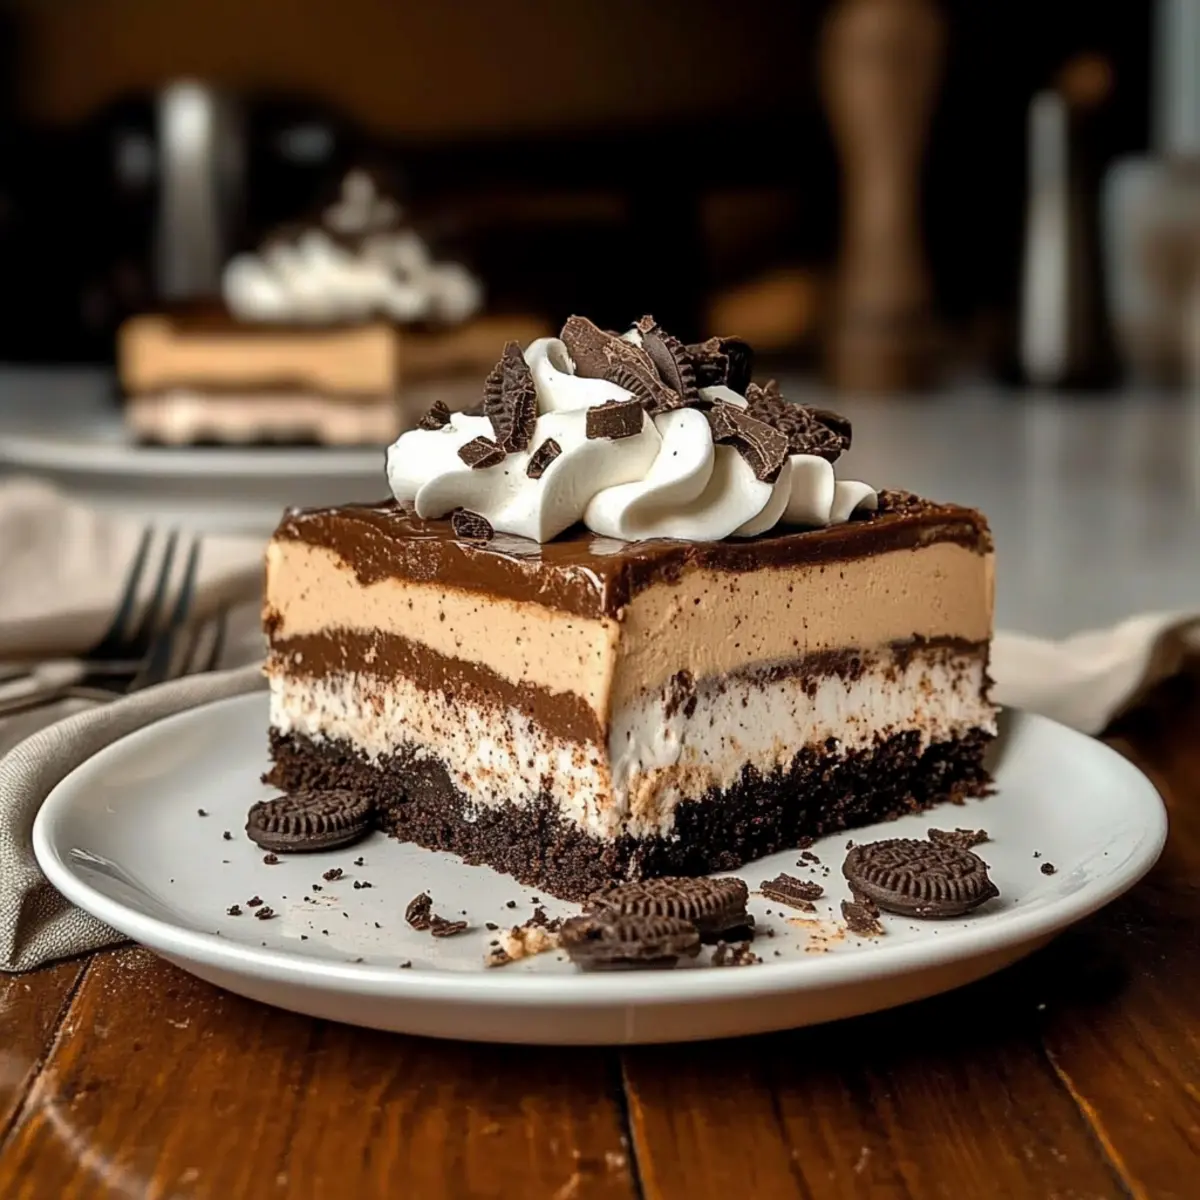
Decadent Layers: Each layer of this dessert tantalizes your taste buds, featuring the irresistible combination of rich chocolate and creamy peanut butter.
Effortless Preparation: Forget complicated baking steps! This no-bake recipe is easy to make, requiring only a few simple ingredients.
Perfect for Any Occasion: Whether it’s a family gathering or a casual hangout with friends, this treat is a sure-fire way to impress your guests.
Flavorful Crunch: The Oreo crust adds a satisfying crunch that balances the creaminess of the layers wonderfully.
Make Ahead Delight: Prepare it in advance! It keeps well in the fridge, allowing the flavors to meld beautifully, just like in my Garlic Butter Beef recipe!
Get ready to treat yourself; this dessert is your new go-to for satisfying that sweet tooth!
No Bake Chocolate Peanut Butter Oreo Ingredients
• Here’s everything you need for this delightful dessert!
For the Crust
- Oreos (14.3 oz package) – Forms the crunchy base; gluten-free Oreos work as a substitution for a gluten-free option.
- Melted Butter (optional) – Adds extra richness and helps the crust hold together better.
For the Peanut Butter Layer
- Cream Cheese (16 oz, divided) – Creates a smooth, creamy texture; remember to bring it to room temperature for easier mixing.
- Instant Vanilla Pudding (3.4 oz box) – Thickens the peanut butter mixture; swap for butterscotch pudding if you’re feeling adventurous!
- Creamy Peanut Butter (1 cup) – Provides that delicious peanut flavor and creaminess; natural peanut butter can offer a different consistency.
- Milk (1¾ cups) – Adds moisture; whole milk is recommended for a richer taste.
For the Chocolate Layer
- Milk Chocolate Chips (12 oz total) – Infuses the dessert with rich chocolate flavor; feel free to use semi-sweet chocolate chips as an alternative.
- Instant Chocolate Pudding (3.4 oz box) – Elevates the chocolate layer’s richness; can be replaced with chocolate-flavored protein powder for a unique twist.
- Milk (1½ cups) – Helps blend the chocolate layer to a smooth consistency; ensure it’s at room temperature for the best results.
For the Topping
- Whipped Topping (12 oz) – Offers a light, fluffy finish; homemade whipped cream can be a fresh substitute if preferred.
- Chocolate Chips or Shaved Chocolate (optional) – Perfect for garnishing your dessert and adding an extra touch of indulgence.
Dive into the delicious world of this No Bake Chocolate Peanut Butter Oreo Dessert; it’s almost as fun to make as it is to eat!
Step‑by‑Step Instructions for No Bake Chocolate Peanut Butter Oreo Dessert
Step 1: Prepare Oreo Crust
Begin by crushing the Oreos in a food processor until they resemble fine crumbs, about 1-2 minutes. Transfer the crumbs to a mixing bowl and set aside. This crunchy base will serve as your foundation for the No Bake Chocolate Peanut Butter Oreo layers, so get ready to layer up!
Step 2: Melt Chocolate
In a microwave-safe bowl, combine 6 oz of chocolate chips with ¼ cup of milk. Microwave in 30-second intervals, stirring after each, until the mixture is smooth and glossy, which should take about 1-1.5 minutes. Let it cool slightly before adding to your dessert, as it will enhance the chocolate layer’s richness.
Step 3: Layer One – Crust
Press one-third of the crushed Oreo mixture firmly into the bottom of a 9×13-inch baking pan, creating a compact base. Use a spatula to evenly spread and pack it down, ensuring every corner is filled. This sturdy Oreo crust will create a delightful crunch that supports the creamy layers above.
Step 4: Layer Two – Peanut Butter Mixture
In a large mixing bowl, beat 8 oz of cream cheese with an electric mixer on medium speed until creamy, about 2 minutes. Add the instant vanilla pudding and 1 cup of creamy peanut butter to the bowl, mixing until combined. Gradually pour in 1¾ cups of milk until the mixture is smooth and velvety. Spread this luscious peanut butter layer over the crust, then sprinkle with another third of the crushed Oreo mixture.
Step 5: Layer Three – Chocolate Mixture
In a separate bowl, beat the remaining 8 oz of cream cheese until smooth. Add the chocolate pudding mix, the cooled chocolate mixture from Step 2, and 1½ cups of milk. Mix well until the chocolate layer is completely smooth, approximately 2 minutes. Gently spread this rich chocolate mixture over the peanut butter layer, followed by the final third of the Oreo crumbs to seal the layers.
Step 6: Final Layer – Topping
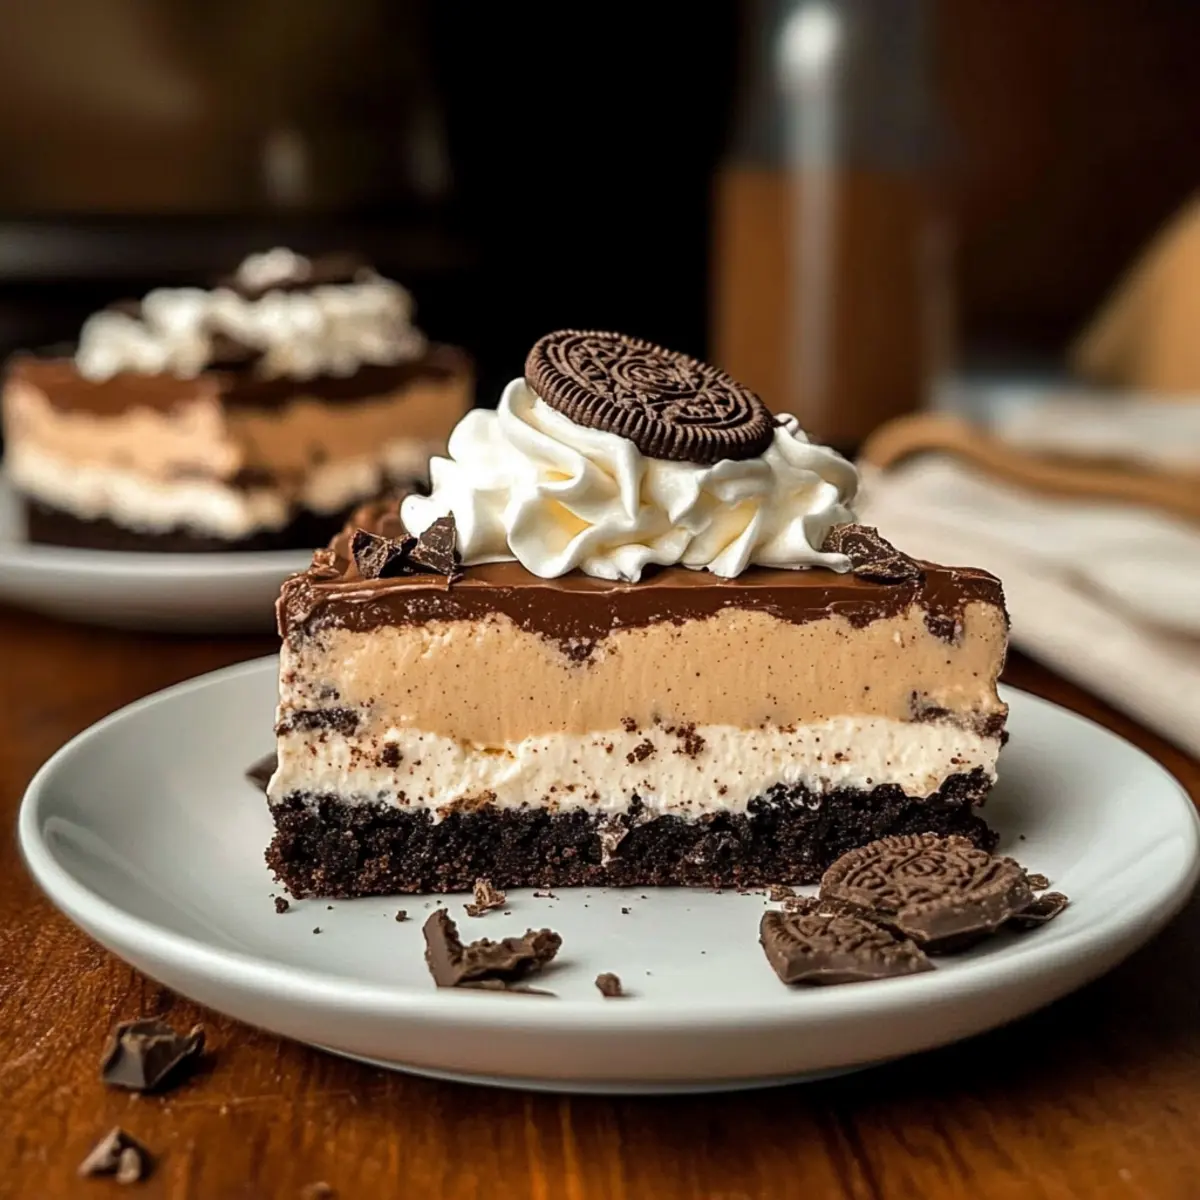
Spread the whipped topping evenly over the top layer of crushed Oreos, creating a fluffy finish that adds a light touch. If desired, sprinkle chocolate chips or shaved chocolate on top for an extra layer of indulgence. This topping not only looks appealing but also complements the other flavors beautifully.
Step 7: Chill
Cover the dessert with plastic wrap and refrigerate for 4-6 hours, allowing the layers to set and meld together. The waiting time is essential to achieving a perfectly chilled No Bake Chocolate Peanut Butter Oreo Dessert, making it easier to slice and serve at your next gathering. Enjoy the anticipation of this delectable treat!
Expert Tips for No Bake Chocolate Peanut Butter Oreo
Room Temperature Ingredients: Ensure all ingredients, particularly the cream cheese, are at room temperature for a smooth mix and avoid lumps.
Balanced Consistency: If your peanut butter mixture is too runny, reduce the amount of milk slightly to achieve a thicker texture for the No Bake Chocolate Peanut Butter Oreo layers.
Crust Firmness: For a sturdier crust, combine the crushed Oreos with melted butter before pressing into the pan—this adds richness and holds everything together nicely.
Chill Time Matters: Allow for adequate chilling time (4-6 hours) in the refrigerator to let the layers set properly; this will enhance the overall texture and cut beautifully.
Presentation Perks: When ready to serve, slice the dessert into squares, showcasing the beautiful layers. Garnish with extra chocolate chips or shaved chocolate for an impressive touch!
What to Serve with No Bake Chocolate Peanut Butter Oreo Dessert
Looking to build an unforgettable meal around this fabulous no-bake dessert?
- Vanilla Ice Cream: A scoop of creamy vanilla ice cream perfectly balances the rich flavors, enhancing the dessert’s indulgence.
- Fresh Berries: Juicy strawberries or raspberries add a refreshing contrast and a burst of color, elevating your dessert experience. They cut through the richness beautifully!
- Chocolate Drizzle: A drizzle of melted chocolate on top adds an extra layer of decadence, taking this treat to irresistible heights. It’s like a chocolate hug for your dessert!
- Coffee: A smooth cup of coffee complements the chocolate and peanut butter exquisitely, making the flavors sing together in harmony. Perfect for a post-dinner treat!
- Homemade Whipped Cream: A dollop of whipped cream can provide a fluffy, light texture that rounds out this rich dessert nicely. It’s a classic pairing that never disappoints.
- Milk: A cold glass of milk offers the perfect dip for this treat and enhances the childhood nostalgia of Oreos.
- Chocolate Chip Cookies: Serve with warm chocolate chip cookies for an epic dessert table display—two beloved favorites never go out of style!
These pairings ensure every bite is bursting with flavor, creating a truly memorable dining experience. Enjoy!
No Bake Chocolate Peanut Butter Oreo Variations
Feel free to get creative and customize this dessert to match your taste buds and dietary needs!
- Gluten-Free: Use gluten-free Oreos for the crust to make this dessert suitable for gluten-sensitive friends.
- Nutty Twist: Swap creamy peanut butter with crunchy peanut butter for extra texture and a delightful bite.
- Flavor Fusion: Experiment with flavored pudding mixes like butterscotch or chocolate mint for a unique spin.
- Decadent Drizzle: Drizzle melted chocolate or caramel sauce over the whipped topping for a show-stopping finish.
- Naughty Nuts: Add a handful of chopped nuts like pecans or almonds between the layers for a pleasing crunch and extra flavor.
- Cooling Delight: Top with a sprinkle of sea salt or a dusting of cocoa powder to balance the sweetness and enhance the flavor.
- Protein Boost: Substitute chocolate pudding powder with chocolate-flavored protein powder for a nutritious twist on your layered delight.
- Dairy-Free: Use coconut milk and dairy-free cream cheese for a vegan-friendly version; your taste buds won’t know the difference!
Lasagna may be an Italian classic, but your homemade No Bake Chocolate Peanut Butter Oreo Dessert will surely be the showstopper at any gathering! If you’re interested in flavors that hit all the right nerve endings, consider checking out my Maple Butter Pecan or Winter Wonderland Chocolate recipes for some delightful inspiration!
Make Ahead Options
These No Bake Chocolate Peanut Butter Oreo Desserts are perfect for busy weeknights or gatherings, allowing you to prep ahead and save valuable time! You can prepare the entire dessert up to 24 hours in advance, assembling all the layers and refrigerating it overnight. Just ensure to cover it tightly with plastic wrap to maintain its freshness and prevent any fridge odors from seeping in. When ready to serve, simply garnish with extra chocolate chips or shaved chocolate for that impressive touch. With these make-ahead instructions, you’ll have a delightful dessert ready to wow your guests with minimal effort!
Storage Tips for No Bake Chocolate Peanut Butter Oreo
Fridge: Store your No Bake Chocolate Peanut Butter Oreo Dessert in an airtight container for up to 5 days. This keeps it fresh and ready for your sweet cravings!
Freezer: If you want to keep it longer, freeze the slices wrapped in plastic wrap followed by aluminum foil for up to 3 months. Thaw in the fridge before enjoying.
Avoid Melted Topping: To prevent the whipped topping from melting, make sure it’s covered properly in the fridge. This ensures that your layers stay intact and delicious.
Reheating: There’s no need to reheat this dessert; it’s best enjoyed chilled. Simply slice and serve straight from the fridge for a refreshing treat!
No Bake Chocolate Peanut Butter Oreo Dessert Recipe FAQs
How do I choose the best Oreos for my crust?
Absolutely! When selecting Oreos, look for those without any visible damage or broken pieces in the package. If you’re aiming for a gluten-free option, gluten-free Oreos are widely available and work brilliantly as a substitute without compromising flavor.
How long can I store leftovers in the fridge?
Very! You can keep your No Bake Chocolate Peanut Butter Oreo Dessert stored in an airtight container in the refrigerator for up to 5 days. This way, you can enjoy this creamy delight over several days without losing its wonderful taste and texture.
Can I freeze this dessert for later?
Absolutely! To freeze the No Bake Chocolate Peanut Butter Oreo Dessert, wrap individual slices tightly in plastic wrap and then in aluminum foil. This can be stored in the freezer for up to 3 months. When you’re ready to enjoy, simply thaw it overnight in the refrigerator for the best taste and texture.
What should I do if my peanut butter layer seems too runny?
No worries! If you find the peanut butter mixture too runny, start by reducing the milk added during mixing by a couple of tablespoons. Mix it well and, if needed, add in a bit more instant vanilla pudding. This will help thicken the mixture, ensuring you achieve that thick and creamy layer you crave.
Can I use natural peanut butter instead of creamy peanut butter?
Very much so! However, using natural peanut butter may lead to a slightly different consistency since it tends to be runnier than creamy peanut butter. If you do opt for natural, keep an eye on the liquid ratio; you may need to reduce the milk in the recipe to achieve your desired thickness.
Is this dessert safe for pets or people with allergies?
Of course, I recommend being cautious! This dessert contains common allergens like dairy and peanuts. Never share it with pets, especially dogs, as chocolate can be harmful to them. If you’re serving guests with food allergies, consider substituting the peanut butter with a nut-free option like sun butter or ensuring all ingredients are allergy-friendly.
Indulge in No Bake Chocolate Peanut Butter Oreo Bliss
Ingredients
Equipment
Method
- Prepare Oreo Crust: Crush the Oreos in a food processor until fine crumbs, about 1-2 minutes. Transfer to a mixing bowl and set aside.
- Melt Chocolate: In a microwave-safe bowl, combine 6 oz of chocolate chips with ¼ cup of milk. Microwave in 30-second intervals until smooth, about 1-1.5 minutes. Let cool slightly.
- Layer One - Crust: Press one-third of the crushed Oreo mixture into a 9x13-inch baking pan to form a compact base.
- Layer Two - Peanut Butter Mixture: Beat 8 oz of cream cheese until creamy. Add instant vanilla pudding and 1 cup of creamy peanut butter, mixing until combined. Gradually pour in 1¾ cups of milk and spread over the crust.
- Layer Three - Chocolate Mixture: Beat the remaining 8 oz of cream cheese until smooth. Add the chocolate pudding mix, cooled chocolate mixture from Step 2, and 1½ cups of milk. Mix until smooth and spread over the peanut butter layer.
- Final Layer - Topping: Spread whipped topping over the top layer and optionally sprinkle with chocolate chips or shaved chocolate.
- Chill: Cover with plastic wrap and refrigerate for 4-6 hours.
Leave a Reply