
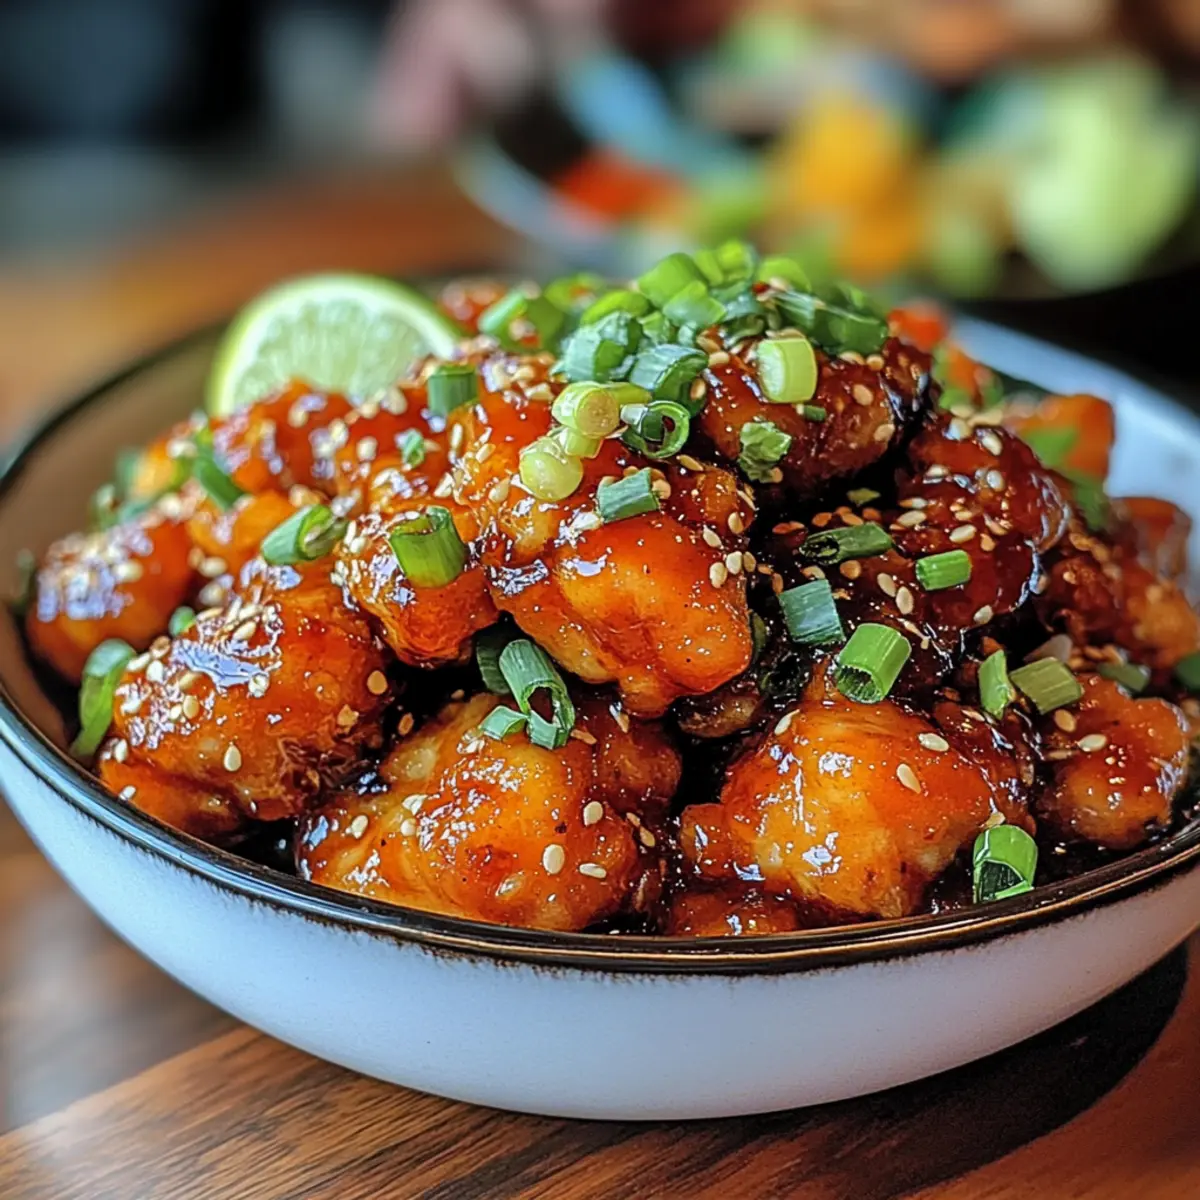
In the midst of a hectic week, the thought of a comforting, homemade meal can feel like a lifeline. Enter Quick and Easy Thai Sweet Chili Chicken, a dish that not only satisfies cravings but also brings excitement to the dinner table. With just a pressure cooker and a few simple ingredients, you’ll create tender, juicy chicken enveloped in a sticky sweet and tangy sauce that rivals any restaurant takeout. This recipe stands out not only for its incredible flavor but also for its quick prep time—ideal for busy evenings or unexpected guests. Plus, it’s easily adaptable to fit gluten-free diets with just a few substitutions! Are you ready to elevate your weeknight dinners and impress your loved ones? Let’s dive into this delightful journey of flavors.
Why is this Thai Sweet Chili Chicken special?
Effortless Cooking: The pressure cooker makes this meal a breeze, cutting down cooking time without sacrificing flavor.
Explosive Flavor: The sweet chili sauce brings a delightful balance of sweet and tangy, giving your taste buds a thrilling ride with every bite.
Versatile Base: Pair it with rice, noodles, or a fresh salad, allowing you to customize it to your liking.
Crowd-Pleasing Dish: Perfect for families or dinner parties, everyone will be begging for seconds!
Health-Conscious Option: With easy substitutions for gluten-free and vegan diets, this recipe caters to all dietary needs.
Ready to step up your weeknight meals? Check out my Peruvian Chicken Aji for more delicious options!
Thai Sweet Chili Chicken Ingredients
For the Marinade
• Sweet chili sauce – This is the heart of the dish; provides sweetness and a subtle kick of heat. You can use homemade sweet chili sauce if you’d like!
• Soy sauce – Adds a savory umami depth; substitute with tamari or coconut aminos for a gluten-free option.
• Honey – Contributes to the dish’s sticky texture and sweetness; maple syrup can be a great alternative for a vegan recipe.
• Limes – Essential for bright acidity, balancing the richness of the sauce; fresh lime juice is recommended.
• Ground ginger – Imparts warmth and depth; fresh grated ginger works wonderfully as a substitute.
For the Chicken
• Chicken breasts – The primary protein in this dish; cutting them into cutlets ensures they cook quickly and evenly.
• Olive oil – Used for searing the chicken; any cooking oil can be swapped in if preferred.
For Garnish
• Green onion – Adds a fresh crunch and beautiful color as a garnish; chives can be used instead if desired.
• Lime wedges – For that extra burst of flavor; optional, but highly recommended for serving.
This Thai Sweet Chili Chicken is not only quick and easy to make but also bursting with flavor, making it a weeknight winner you won’t forget!
Step‑by‑Step Instructions for Thai Sweet Chili Chicken
Step 1: Marinate Chicken
In a mixing bowl, whisk together sweet chili sauce, soy sauce, honey, lime juice, and ground ginger until well combined. Place your chicken cutlets into a zip-top bag and pour half of the marinade over the chicken. Seal and gently massage to coat the chicken evenly. Let it marinate in the refrigerator for at least 30 minutes to absorb the flavors.
Step 2: Sear Chicken
Heat olive oil in a large skillet over medium-high heat, ensuring the oil shimmers but doesn’t smoke. Once hot, add the marinated chicken cutlets to the skillet. Sear each side for 4-5 minutes until golden brown and cooked through, reaching an internal temperature of 165°F. Remove the chicken from the skillet and set aside to rest.
Step 3: Simmer Sauce
Reduce the heat to medium-low and pour the remaining marinade into the same skillet. Bring the sauce to a gentle simmer, scraping up any flavorful bits from the bottom of the pan. Let it bubble for about 3-4 minutes or until the sauce thickens slightly and becomes glossy, infusing it with all the delicious seared flavors from the chicken.
Step 4: Pressure Cook
Transfer the seared chicken cutlets along with the thickened sauce into the pressure cooker. Secure the lid and set the cooker to poultry mode or manual high pressure. Cook for 10 minutes. This quick pressure cooking step will ensure the chicken remains juicy while soaking up more of that lovely Thai Sweet Chili Chicken flavor.
Step 5: Release & Serve
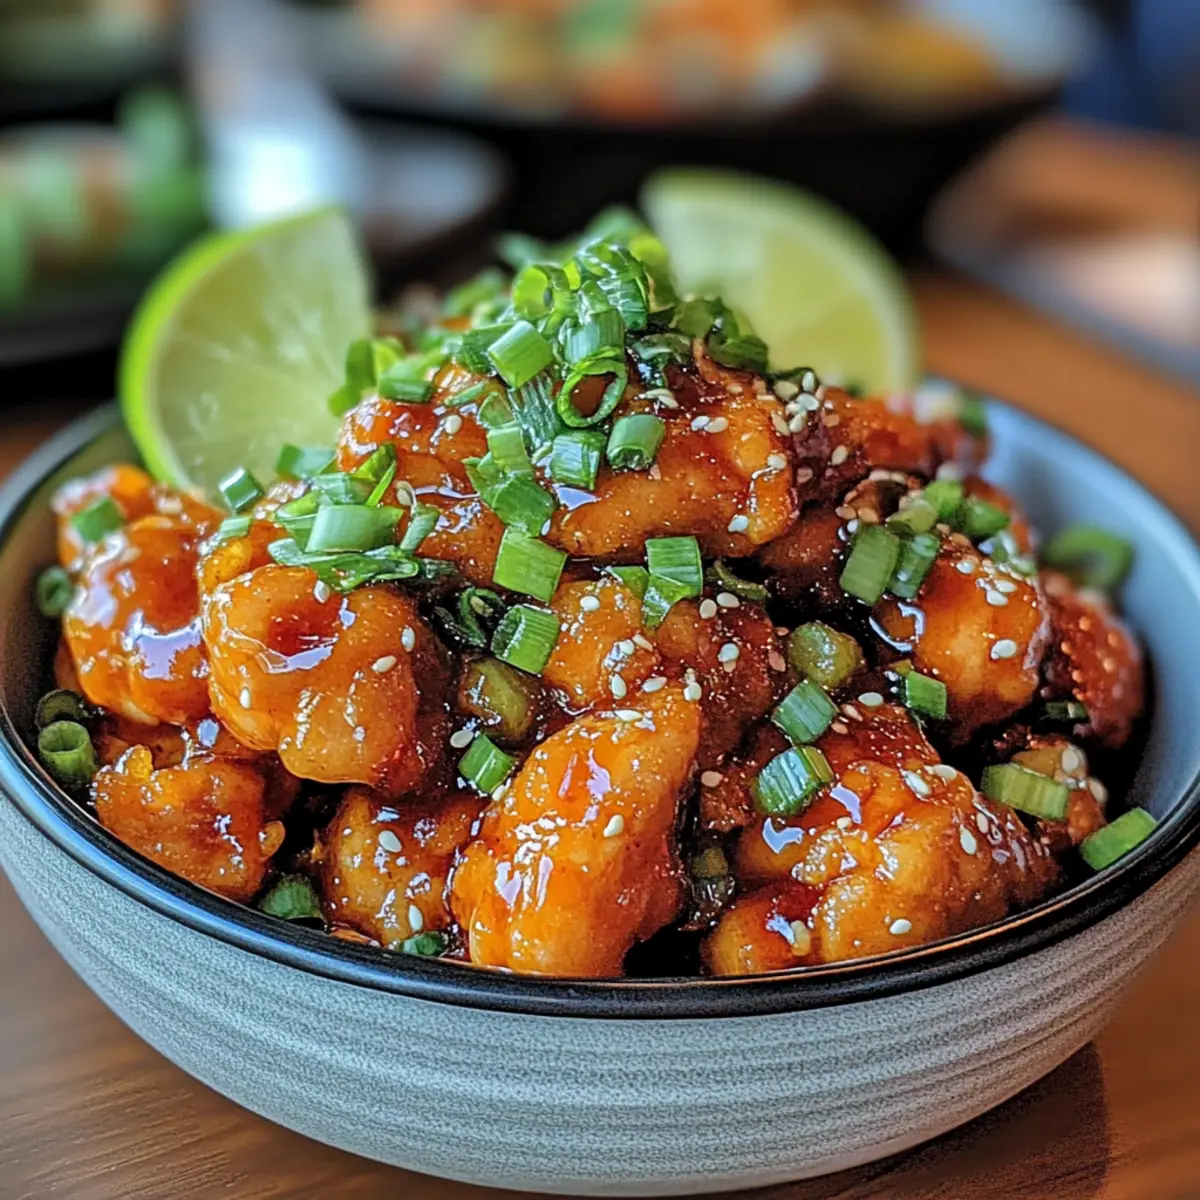
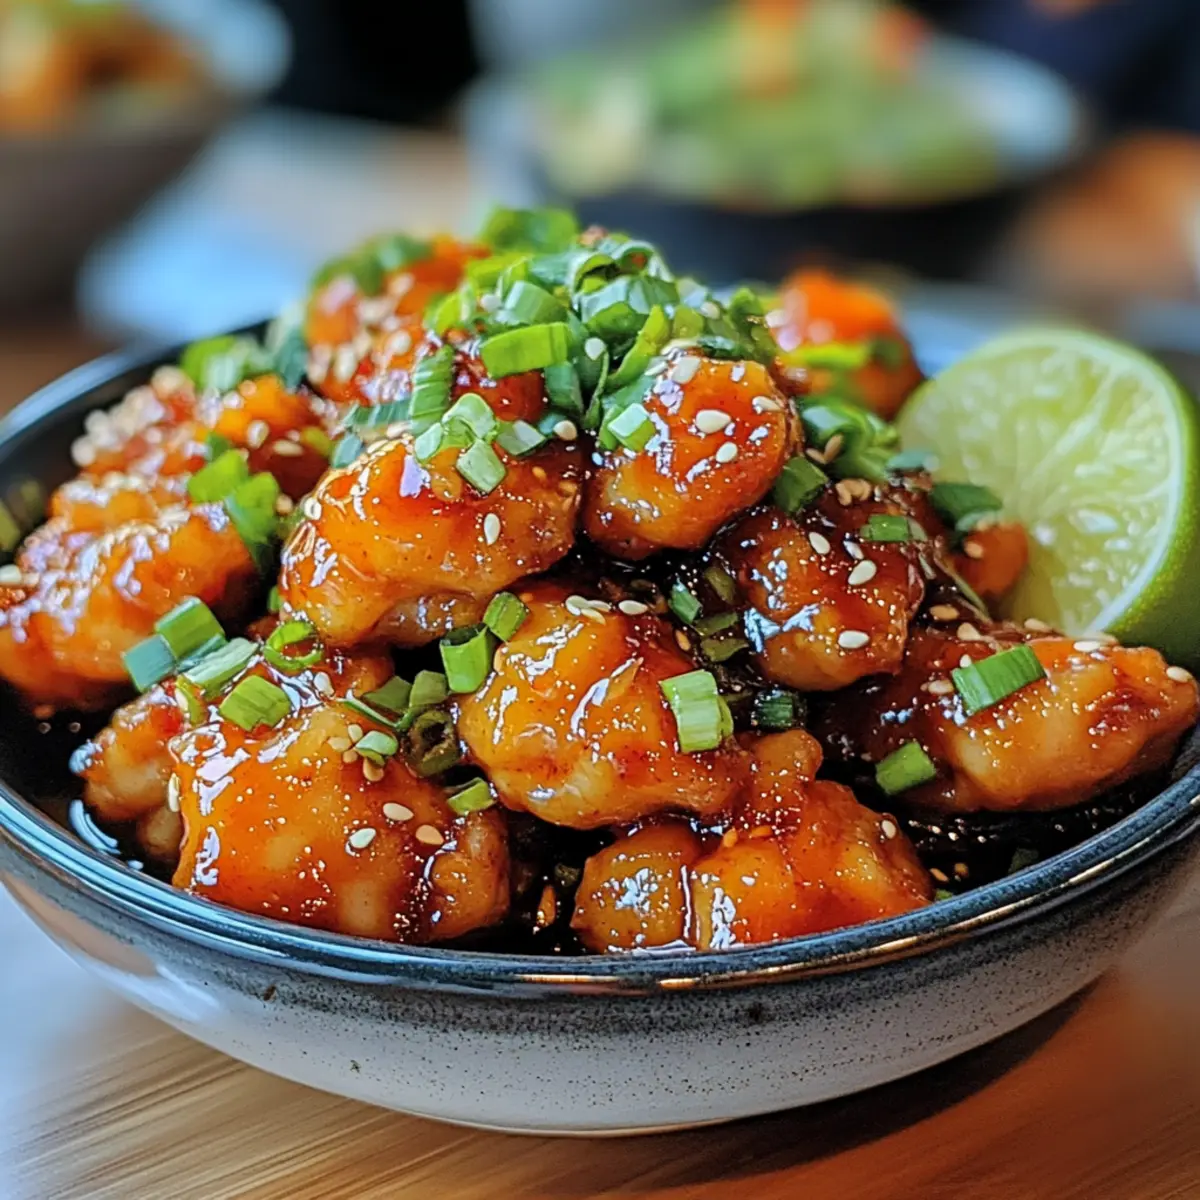
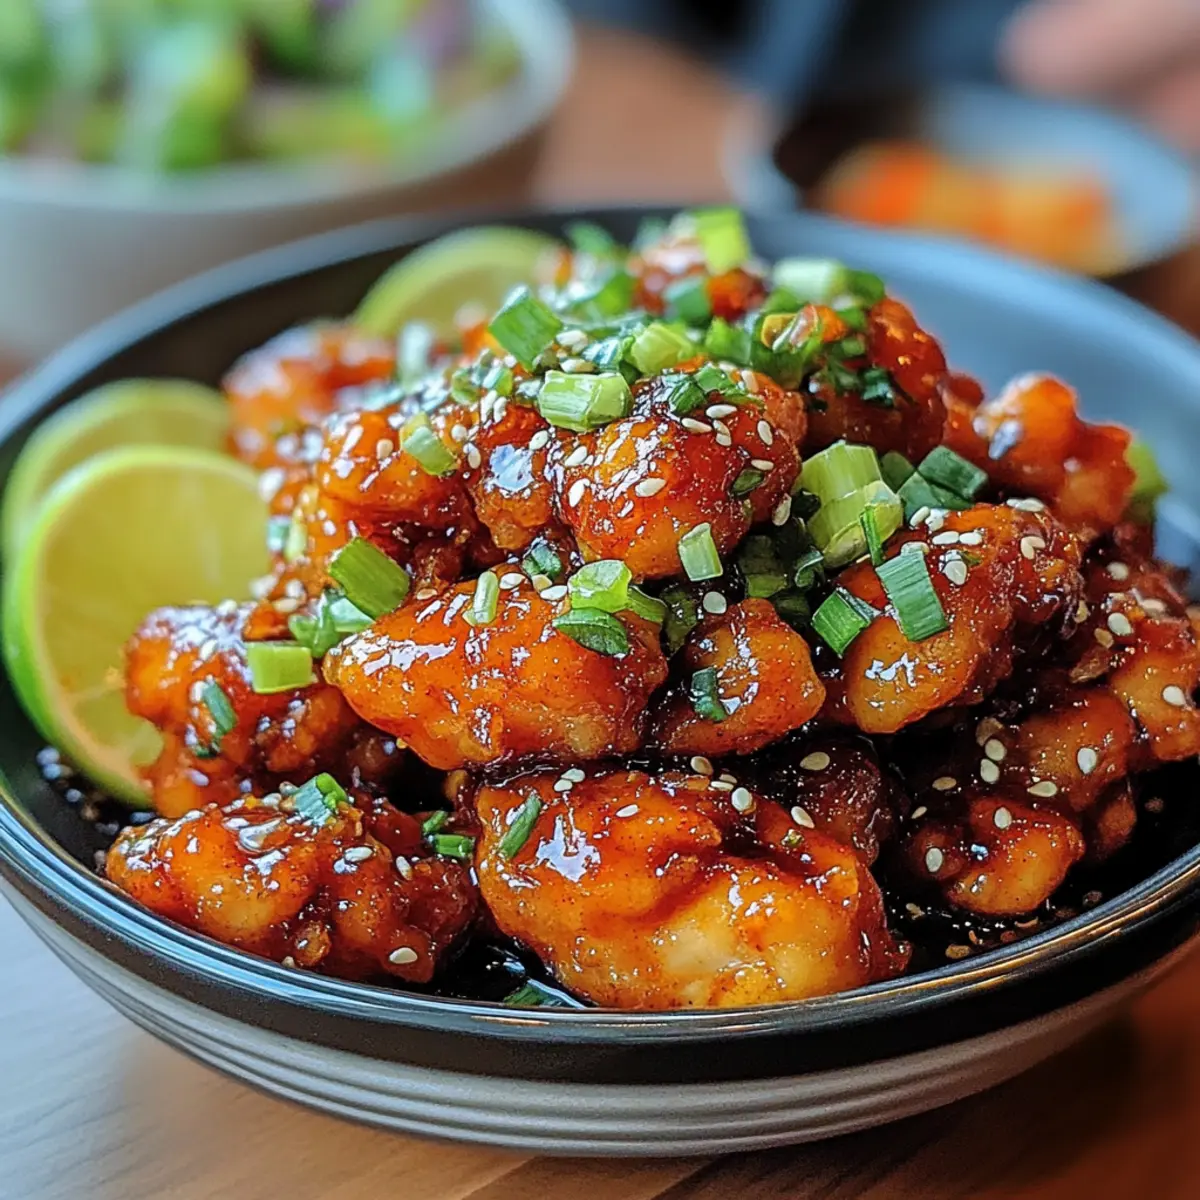
After the cooking time is up, carefully perform a quick release of the pressure to avoid overcooking the chicken. Once safe, remove the lid and transfer the chicken to a serving platter. Garnish with sliced green onions and lime wedges for a pop of freshness and additional flavor. Your Thai Sweet Chili Chicken is now ready to be enjoyed!
Expert Tips for Thai Sweet Chili Chicken
-
Marinate Longer: For optimal flavor, marinate the chicken overnight if time allows. This helps the flavors penetrate the meat deeply.
-
Use a Hot Skillet: Ensure the skillet is hot enough to achieve a good sear, which lends to a delightful texture and flavor.
-
Don’t Overcook: Pay attention to cooking times; overcooking the chicken can result in dryness. Aim for an internal temperature of 165°F for juicy results.
-
Pressure Cooker Precision: When pressure cooking, avoid quick release if you want a more tender texture; natural release for 10 minutes can work wonders!
-
Garnish for Freshness: Always include green onions and lime wedges before serving. They add a refreshing crunch and zing, enhancing your Thai Sweet Chili Chicken experience.
What to Serve with Thai Sweet Chili Chicken
Transform your busy weeknight dinner into a delightful feast with these mouthwatering side dishes that elevate your meal experience.
- Steamed Jasmine Rice: The fluffy, fragrant rice serves as a perfect canvas for the sticky sauce, soaking up every delicious drop.
- Crunchy Vegetable Stir-Fry: Fresh, colorful vegetables add a delightful crunch and balance, making each bite more vibrant and nutritious.
- Thai Cucumber Salad: This refreshing salad adds a cool, tangy contrast to the rich chicken, enhancing the overall flavor harmony.
- Garlic Noodles: The buttery garlic noodles are a comforting side that pair perfectly with the sweet and spicy chicken; together, they create a satisfying meal.
- Wonton Chips: Crispy wonton chips provide a fun textural element, ideal for dipping into leftover sauce or enjoying on the side.
- Coconut Milk Soup: A light and creamy coconut soup complements the dish’s bold flavors, offering a soothing contrast with each spoonful.
- Mango Sticky Rice: To satisfy your sweet tooth, this dessert is a pleasing finish with its sweet, tender mango paired with rich coconut sticky rice.
With these delightful pairings, your Thai Sweet Chili Chicken dinner will be both memorable and satisfying!
Make Ahead Options
Preparing this Thai Sweet Chili Chicken in advance is a fantastic way to save time on busy weeknights! You can marinate the chicken cutlets in the sauce for up to 24 hours in the refrigerator to deepen the flavors. Additionally, you can cook the chicken and sauce, then refrigerate the leftovers in an airtight container for up to 3 days. To reheat, simply warm it gently on the stovetop over low heat and add a splash of water if necessary to maintain moisture. This way, you’ll enjoy the same juicy, flavorful results as when it’s freshly cooked!
Storage Tips for Thai Sweet Chili Chicken
- Fridge: Store your Thai Sweet Chili Chicken in an airtight container for up to 4 days. Make sure it’s cooled to room temperature before sealing to maintain freshness.
- Freezer: For longer storage, freeze in an airtight container for up to 3 months. Portion out servings for easy meal prep later.
- Thawing: When ready to enjoy again, thaw in the refrigerator overnight before reheating. This ensures even defrosting and retains the dish’s delicious flavors.
- Reheating: Reheat gently on the stovetop or in the microwave, adding a splash of water or broth to prevent drying out. Enjoy the savory layers of flavor once more!
Thai Sweet Chili Chicken Variations
Feel free to make this dish your own and explore wonderful twists to elevate your flavor journey!
-
Vegetarian Option: Replace chicken with tofu for a delightful vegetarian alternative that absorbs the marinade brilliantly. Sauté until golden to achieve a satisfying texture!
-
Gluten-Free: Swap traditional soy sauce for tamari or coconut aminos to enjoy a gluten-free version without losing flavor. It’s a great way to cater to dietary needs while keeping the essence intact.
-
Sweet Chili Sauce Alternative: Make your own sweet chili sauce for a lower-sugar version. Combine sugar, vinegar, chili flakes, and garlic for a homemade twist that suits your palate perfectly.
-
Serve Over Carbs: Pair the chicken with jasmine rice, quinoa, or noodles for a heartier meal. Each bite will weave in the stickiness of the sauce, making it a filling delight.
-
Herb Infusion: Incorporate fresh basil or cilantro into the final dish for a burst of freshness. Their aromatic notes will complement the Thai flavors beautifully!
-
Spicy Kick: Add sriracha or red pepper flakes for those who crave heat. Just a pinch can transform this dish from mild-mannered to fiery in no time!
-
Exotic Add-ins: Toss in some pineapple chunks during cooking for a delicious sweet and savory surprise. It’s reminiscent of Hawaiian flavors, adding a tropical touch!
-
Nutty Finish: Top off the dish with toasted sesame seeds or chopped peanuts for added crunch. They bring a delightful texture contrast to the tender chicken.
If you’re looking for more incredible flavor combinations, you might enjoy my Flavor Packed Thai or Tandoori Chicken Naan recipes!
Thai Sweet Chili Chicken Recipe FAQs
What is the best way to select ripe ingredients for this recipe?
Absolutely! When selecting your ingredients, especially the chicken, choose pieces that are firm, pink, and have no spots. For the limes, look for ones that are heavy for their size, with smooth skin and a bright color. Fresh ginger should feel firm and have a fragrant aroma. Sweet chili sauce can be found in most stores, but check for variations that suit your spice preference.
How should I store leftovers of Thai Sweet Chili Chicken?
After enjoying your meal, you can store any leftovers in an airtight container in the refrigerator for up to 4 days. Make sure the dish has cooled to room temperature beforehand to maintain its texture and flavor. It’s a great option for meal prep or a quick lunch!
Can I freeze Thai Sweet Chili Chicken?
Yes, you can freeze it! To do so, allow the dish to cool completely, then transfer it to a freezer-safe airtight container. It will keep well for up to 3 months! When you’re ready to eat, thaw it in the refrigerator overnight and then gently reheat on the stovetop, adding a splash of water to keep it moist.
What if my sauce doesn’t thicken properly?
Very! If you find that your sauce hasn’t thickened as expected, you can solve this easily. Allow the sauce to simmer a bit longer over medium-low heat. If it still feels too runny, you can mix a teaspoon of cornstarch with a tablespoon of cold water to create a slurry. Stir this into the simmering sauce gradually until it reaches your desired consistency.
Are there any dietary considerations I should be aware of?
Definitely! If you’re cooking for someone with gluten sensitivities or allergies, substitute soy sauce with tamari or coconut aminos. You can also swap honey for maple syrup if you prefer a vegan option. Always ensure to communicate with your guests about any adjustments, especially if they have specific dietary needs!
Easy Thai Sweet Chili Chicken for a Flavorful Weeknight Dinner
Ingredients
Equipment
Method
- In a mixing bowl, whisk together sweet chili sauce, soy sauce, honey, lime juice, and ground ginger until well combined. Place your chicken cutlets into a zip-top bag and pour half of the marinade over the chicken. Seal and gently massage to coat the chicken evenly. Let it marinate in the refrigerator for at least 30 minutes to absorb the flavors.
- Heat olive oil in a large skillet over medium-high heat, ensuring the oil shimmers but doesn’t smoke. Once hot, add the marinated chicken cutlets to the skillet. Sear each side for 4-5 minutes until golden brown and cooked through, reaching an internal temperature of 165°F. Remove the chicken from the skillet and set aside to rest.
- Reduce the heat to medium-low and pour the remaining marinade into the same skillet. Bring the sauce to a gentle simmer, scraping up any flavorful bits from the bottom of the pan. Let it bubble for about 3-4 minutes or until the sauce thickens slightly and becomes glossy, infusing it with all the delicious seared flavors from the chicken.
- Transfer the seared chicken cutlets along with the thickened sauce into the pressure cooker. Secure the lid and set the cooker to poultry mode or manual high pressure. Cook for 10 minutes.
- After the cooking time is up, carefully perform a quick release of the pressure to avoid overcooking the chicken. Once safe, remove the lid and transfer the chicken to a serving platter. Garnish with sliced green onions and lime wedges.
Leave a Reply