
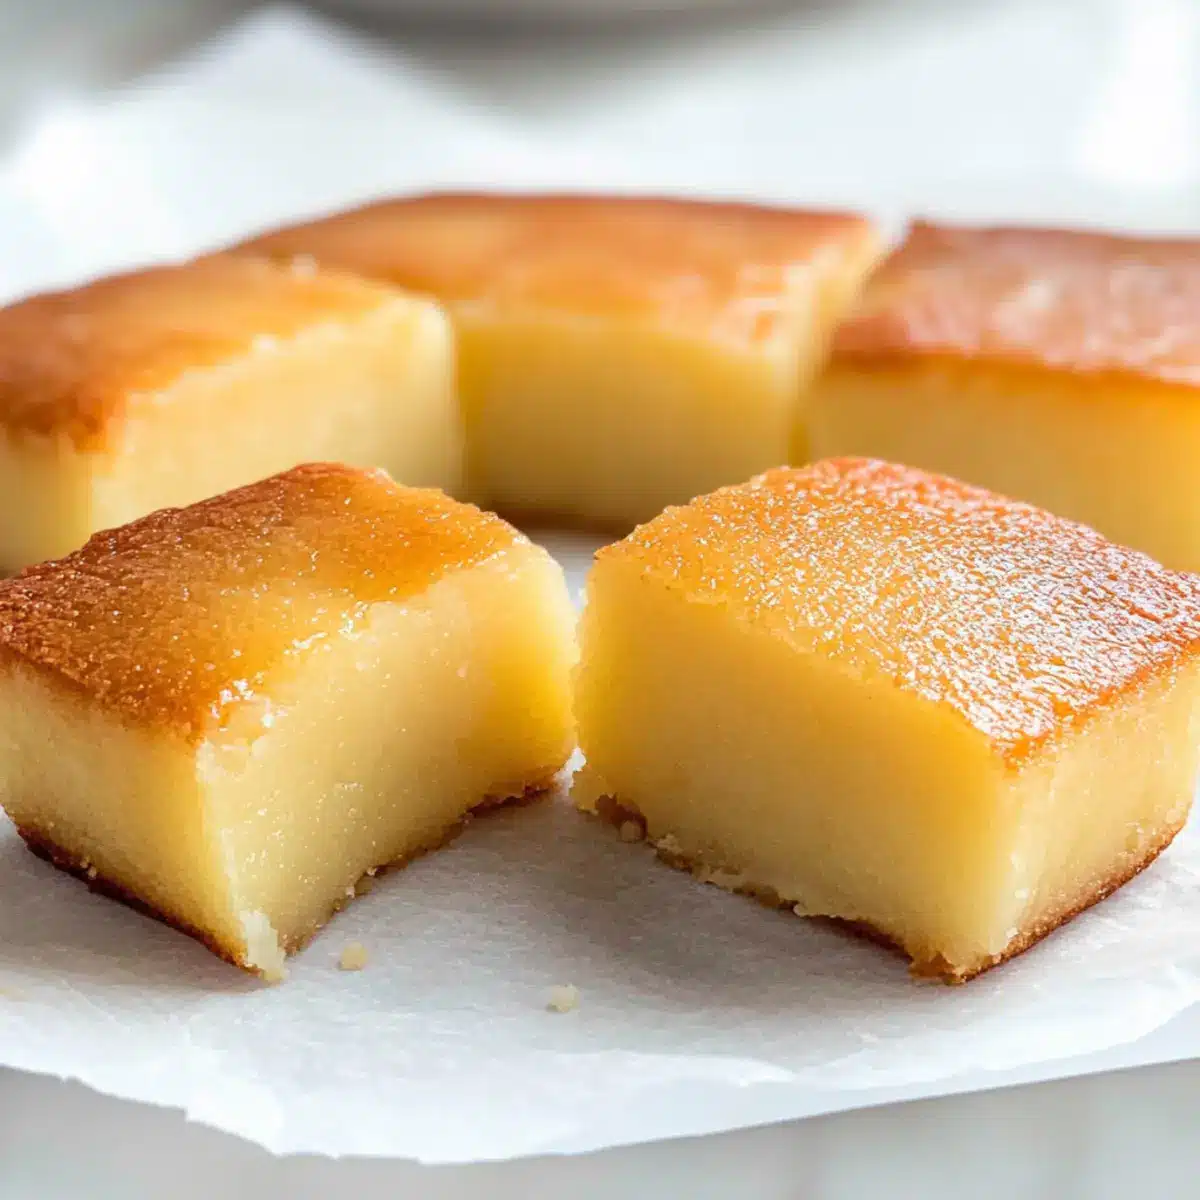
There’s a special magic in the air when you take a bite of Hawaiian Butter Mochi. This delightful dessert captures the essence of tropical islands with its chewy texture and the rich, inviting flavors of coconut and butter. What I love most about this recipe is its simplicity—perfect for both experienced chefs and those just diving into the world of homemade treats. Plus, it’s gluten-free, making it a guilt-free indulgence for everyone in your life. Whether you’re preparing for a potluck or simply craving a cozy dessert to enjoy with your evening coffee, this mochi is bound to impress. Are you ready to bring a slice of paradise to your kitchen?
Why is Hawaiian Butter Mochi so special?
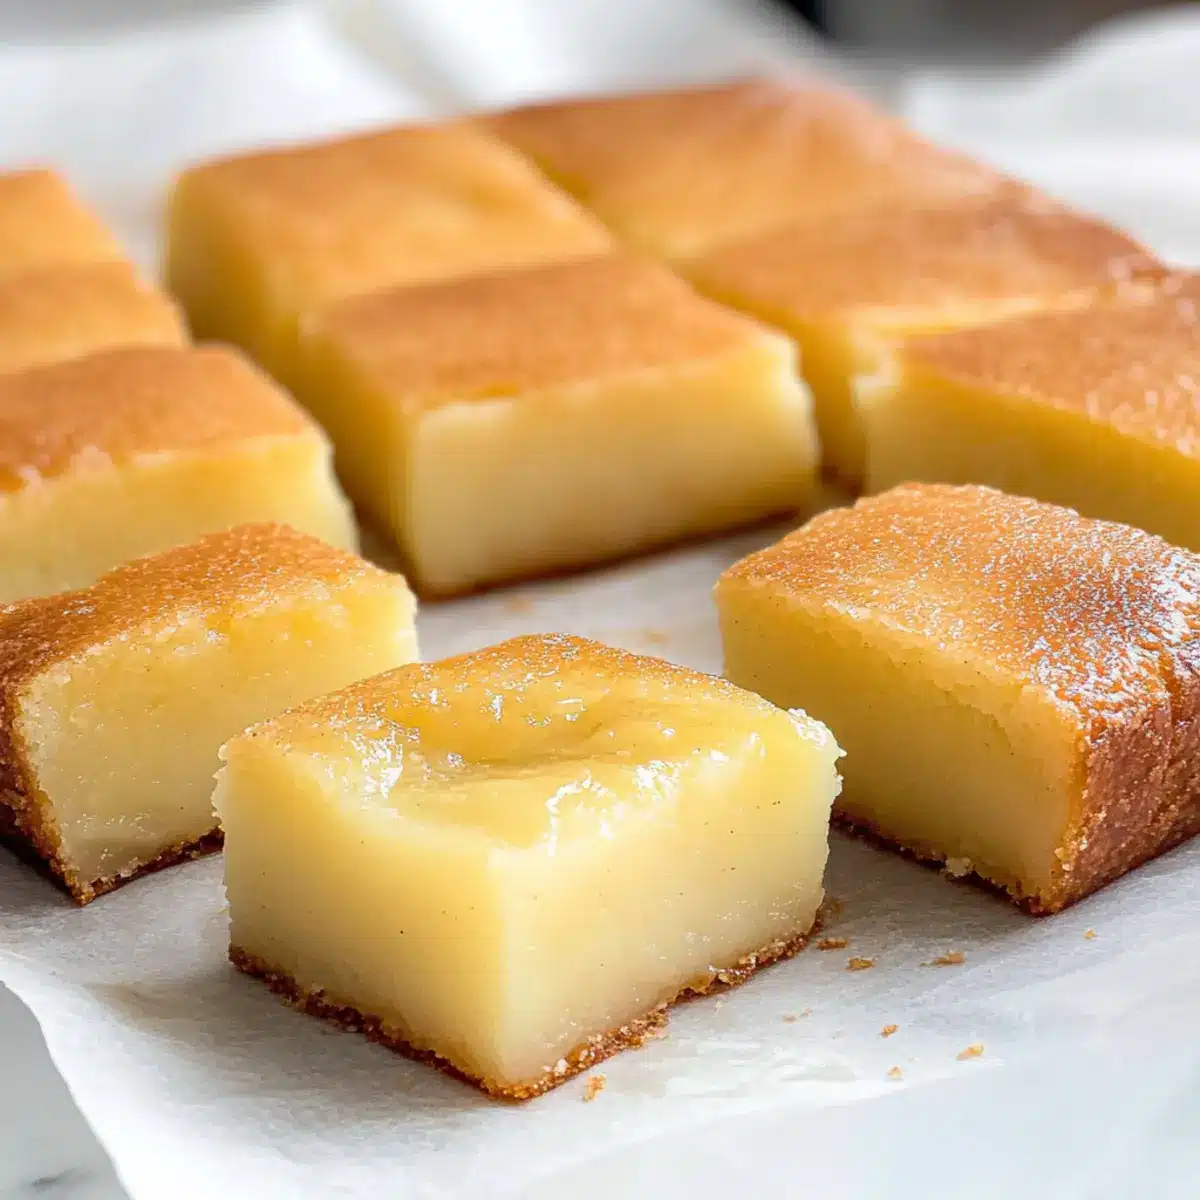
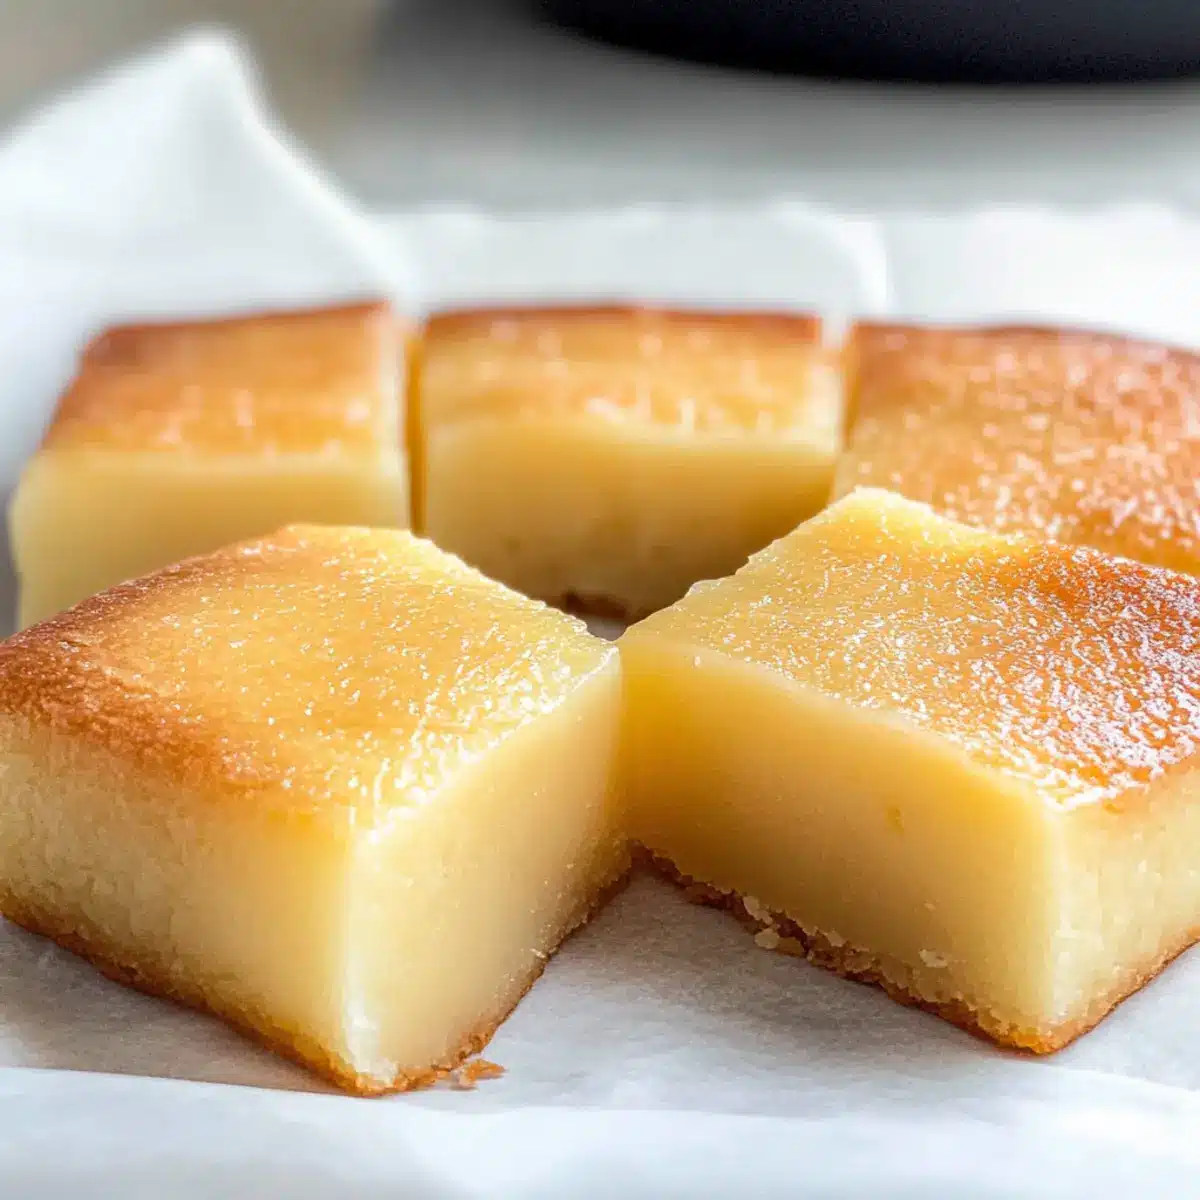
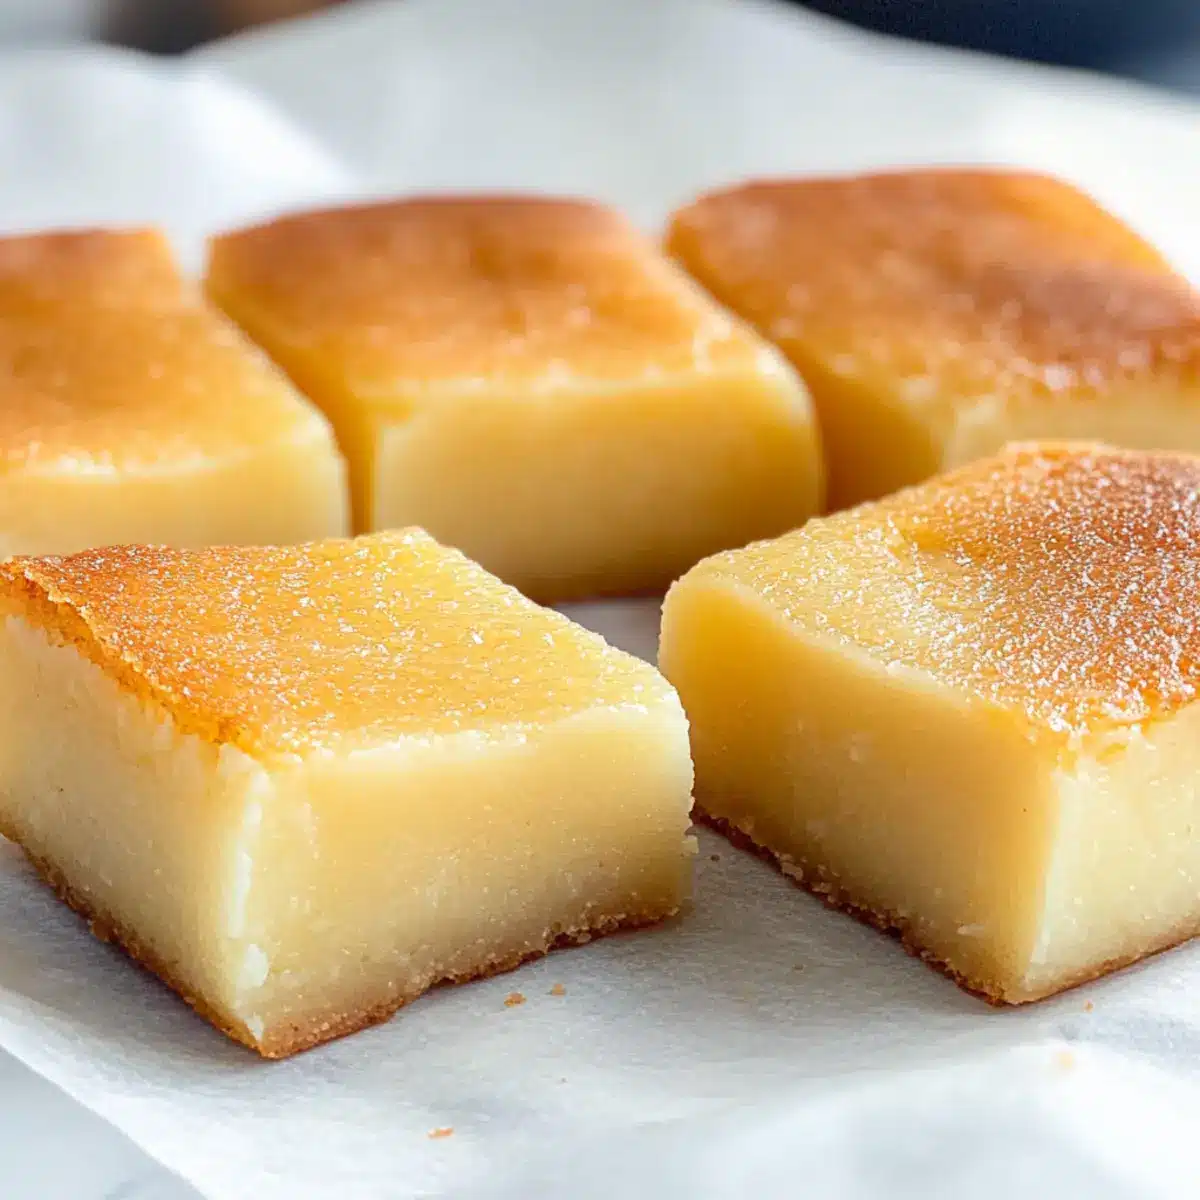
Chewy Delight: This dessert features an irresistibly chewy texture that is both satisfying and unique, perfect for those who love a twist on traditional sweets.
Tropical Flavors: The rich flavors of coconut and butter transport you straight to Hawaii, making each bite feel like a mini-vacation.
Quick and Easy: With just a few simple ingredients and straightforward steps, this recipe is perfect for cooks of any skill level.
Gluten-Free Indulgence: Crafted with sweet rice flour, this mochi is a delightful gluten-free option, making it suitable for various dietary preferences.
Versatile Treat: Enjoy it warm, at room temperature, or chilled—this mochi adapts to any occasion, be it a cozy evening at home or a lively potluck. For more culinary fun, check out these Garlic Butter Zucchini skewers and Peanut Butter Blossoms.
Hawaiian Butter Mochi Ingredients
• Discover the key components for this delightful dessert.
For the Batter
- Sweet Rice Flour – Make sure to use glutinous sweet rice flour for the correct chewy consistency.
- Coconut Milk – Can be substituted with whole milk or half milk and half coconut milk for a creamier texture.
- Eggs – Essential for binding and adding richness; no substitutes recommended in this context.
- Sugar – Adjust to taste if you prefer less sweetness in your Hawaiian Butter Mochi.
- Melted Butter – Adds richness and moisture; feel free to replace it with coconut butter for a delightful flavor boost.
- Vanilla Extract – Optional but recommended for an added depth of flavor.
- Baking Powder – Ensure freshness for the best rise and texture of your mochi.
Step‑by‑Step Instructions for Hawaiian Butter Mochi
Step 1: Preheat and Prepare Pan
Begin by preheating your oven to 350°F (175°C). Meanwhile, take a 9×13-inch baking pan, lightly butter it, and line it with parchment paper, allowing some overhang to make removing the mochi easier later. This preparation ensures a non-stick surface for the Hawaiian Butter Mochi, promoting a beautiful golden crust.
Step 2: Mix Wet Ingredients
In a large mixing bowl, thoroughly whisk together 4 eggs, 1 cup of sugar, 1 can (13.5 oz) of coconut milk, ½ cup of melted butter, and 1 teaspoon of vanilla extract until the mixture is smooth and well combined. Aim for a homogenous blend, where the sugar begins to dissolve, and the mixture becomes slightly frothy, which will help create a tender dessert.
Step 3: Combine Dry Ingredients
Next, gently add 2 cups of sweet rice flour and 1 teaspoon of baking powder to your wet ingredients. Using a spatula, mix the dry ingredients in until just incorporated; avoid over-mixing, as this could affect the texture. The batter should be thick and well-blended, showing no dry patches, ensuring a delightful chew in your Hawaiian Butter Mochi.
Step 4: Pour and Level the Batter
Carefully pour the batter into the prepared baking pan, spreading it evenly with a spatula to ensure a uniform thickness throughout. This step is crucial as it promotes even baking, allowing the Hawaiian Butter Mochi to rise beautifully while developing a lovely golden top as it cooks in the oven.
Step 5: Bake the Mochi
Place your pan in the preheated oven and bake for 1 hour and 25 minutes. Keep an eye on the mochi during the last 10 minutes; you want the top to turn a rich golden brown, and a toothpick inserted in the center should come out clean. Proper baking allows the unique chewy texture to develop perfectly, making it a delightful treat.
Step 6: Cool and Cut
Once baked, remove the pan from the oven and let it cool on a wire rack for about 30 minutes. After it is slightly cooled, use the parchment paper overhang to lift the mochi out of the pan. Transfer it to a cutting board and, once completely cool, cut it into squares with a sharp knife. The Hawaiian Butter Mochi is now ready to serve, inviting everyone to enjoy its delectable taste and texture.
What to Serve with Hawaiian Butter Mochi?
There’s nothing quite like the joy of creating a full meal that sings in harmony with the tropical sweetness of this dessert.
-
Fresh Mango Slices: Bright, juicy mangoes offer a refreshing contrast to the chewy richness, enhancing that tropical vibe.
-
Coconut Whipped Cream: A dollop of this fluffy topping adds luxurious creaminess, enhancing the overall coconut flavor experience.
-
Tropical Fruit Salad: A vibrant mix of pineapple, kiwi, and berries will add freshness, complementing the sweetness of the mochi beautifully.
-
Matcha Tea: The earthy notes of matcha provide a lovely contrast, helping to cleanse the palate after enjoying the mochi’s sweetness.
-
Dessert Wine: A sweet, fruity wine pairs well, enhancing the dessert’s sweetness while offering a sophisticated finish to your meal.
-
Pineapple Upside-Down Cake: Sharing a plate with this classic dessert invites a delightful combination of flavors—sweet and caramelized, it balances well.
Pairing these delightful options with Hawaiian Butter Mochi will create a memorable feast, perfect for any occasion.
Hawaiian Butter Mochi Variations
Feel free to put your own spin on Hawaiian Butter Mochi for an exciting twist that’s sure to delight your taste buds!
-
Ube Twist: Add ube extract or paste for a striking purple hue and a subtly sweet flavor. This vibrant addition not only enhances the aesthetics but also adds a unique taste that’s sure to gather compliments.
-
Matcha Magic: Incorporate matcha powder for a lovely green color and a rich, earthy flavor. The combination of matcha with coconut is a beautiful nod to both tropical and Asian influences, balancing sweetness with a hint of bitterness.
-
Chocolate Indulgence: Mix in chocolate chips to create a rich, decadent version of the classic mochi. The melt-in-your-mouth chocolate will add an irresistible richness, making every bite even more enjoyable.
-
Coconut Shredding: Boost the coconut flavor by adding shredded coconut to the batter or sprinkling it on top before baking. This will give a delightful texture and enhance the tropical essence of your mochi.
-
Fruity Addition: Incorporate banana puree or mango puree into the batter for a fruity twist. The sweetness of the fruit will complement the coconut wonderfully while infusing a fresh flavor.
-
Pandan Aroma: Add pandan extract for a fragrant, floral note and a vibrant green color. This addition will give your Hawaiian Butter Mochi a unique, aromatic character that transports you to the islands.
-
Spicy Kick: For the adventurous, add a pinch of cayenne or crushed red pepper flakes for a surprising heat that plays beautifully with the sweetness. This unexpected twist can be a fun conversation starter at gatherings.
-
Nutty Variation: Add ground almonds or crushed macadamia nuts for added texture and depth. This not only boosts the flavor but also gives a delightful crunch that can enhance the overall eating experience.
Experiment with these variations, and watch your friends and family enjoy your creative concoctions! For more delightful recipes, don’t miss trying these wonderful Garlic Butter Beef bites or the sweet and nutty Maple Butter Pecan cupcakes.
How to Store and Freeze Hawaiian Butter Mochi
Room Temperature: Store the mochi in an airtight container at room temperature for up to 3 days to maintain its chewy texture.
Fridge: If you want to keep it longer, refrigerate Hawaiian Butter Mochi for up to a week in an airtight container. It may become denser but still delicious!
Freezer: For extended storage, freeze cut pieces wrapped securely in plastic wrap and then placed in a freezer bag for up to 2 months.
Reheating: To enjoy, simply thaw at room temperature or warm in the microwave for about 15-20 seconds—perfect for restoring that lovely, chewy bliss!
Tips for the Best Hawaiian Butter Mochi
- Use the Right Flour: Ensure you use glutinous sweet rice flour; regular rice flour will not give you that delightful chewy texture essential for Hawaiian Butter Mochi.
- Moisture Matters: Pay attention to the liquid content. If using a different brand of coconut milk, check for consistency since some brands are thicker and may impact the final product.
- Avoid Overmixing: When combining the flour and wet ingredients, mix until just combined. Overmixing can lead to a denser texture instead of the desired light chewiness.
- Check Baking Time: Every oven is different. Monitor your mochi closely during the last few minutes of baking to avoid under or overbaking, which can alter the chewy bite.
- Serve Warm or Chilled: This versatile treat can be enjoyed warm, at room temperature, or chilled; experiment to find your preferred way to enjoy Hawaiian Butter Mochi!
- Flavor Enhancements: Add-ins like shredded coconut or matcha powder can elevate the flavor profile and create unique variations to impress your guests.
Make Ahead Options
These Hawaiian Butter Mochi are perfect for busy home cooks looking to save time! You can prepare the batter up to 24 hours in advance; simply mix all the wet and dry ingredients, and store it in an airtight container in the refrigerator. When you’re ready to bake, just pour the chilled batter into your prepared pan and bake as directed. This method ensures the mochi stays fresh and flavorful while saving precious time on the day of serving. For added convenience, you can also bake the mochi a day ahead and keep it in an airtight container at room temperature for up to 3 days. Simply cut and serve it at room temperature or warm it slightly before serving for that delicious, chewy delight!
Hawaiian Butter Mochi Recipe FAQs
How do I choose the best sweet rice flour for the Hawaiian Butter Mochi?
Absolutely! For the best results, make sure to use glutinous sweet rice flour, specifically labeled for mochi. It’s essential for achieving that desired chewy texture. Look for brands such as Mochiko or Bob’s Red Mill, as they are commonly known for their quality.
How should I store Hawaiian Butter Mochi, and how long does it last?
You can store Hawaiian Butter Mochi in an airtight container at room temperature for up to 3 days. If you prefer to keep it longer, refrigerate it for up to a week. Just remember, while it may become denser, the flavors will still remain delightful!
Can I freeze Hawaiian Butter Mochi, and what’s the best method?
Absolutely! To freeze Hawaiian Butter Mochi, cut it into squares and wrap each piece securely in plastic wrap. Then, place the wrapped pieces in a freezer bag and store them in the freezer for up to 2 months. To enjoy, simply thaw the pieces at room temperature or microwave them for 15-20 seconds to regain that lovely, chewy texture.
What can I do if my mochi is too dry or dense?
If your Hawaiian Butter Mochi turns out dense or dry, it could be due to overmixing the batter or baking it for too long. To avoid this, stick to gentle mixing until the ingredients are just combined and check for doneness a few minutes before the suggested baking time. If you want to enhance moisture, consider adding a bit more coconut milk in your next batch or enjoy it warm with a drizzle of coconut cream!
Are there any dietary considerations for Hawaiian Butter Mochi?
Hawaiian Butter Mochi is naturally gluten-free since it uses sweet rice flour, making it suitable for those with gluten intolerance. However, if you’re serving it to pets, be cautious as the sugar and butter content isn’t appropriate for them. Always check ingredient labels for any allergens if serving to guests with dietary restrictions or allergies.
Hawaiian Butter Mochi: Chewy Coconut Bliss at Home
Ingredients
Equipment
Method
- Preheat the oven to 350°F (175°C) and prepare a baking pan.
- Mix together eggs, sugar, coconut milk, melted butter, and vanilla until smooth.
- Combine sweet rice flour and baking powder with wet ingredients until just incorporated.
- Pour the batter into the prepared baking pan and spread evenly.
- Bake for 1 hour and 25 minutes until the top is golden brown.
- Cool on a wire rack for 30 minutes before cutting into squares.
Leave a Reply