
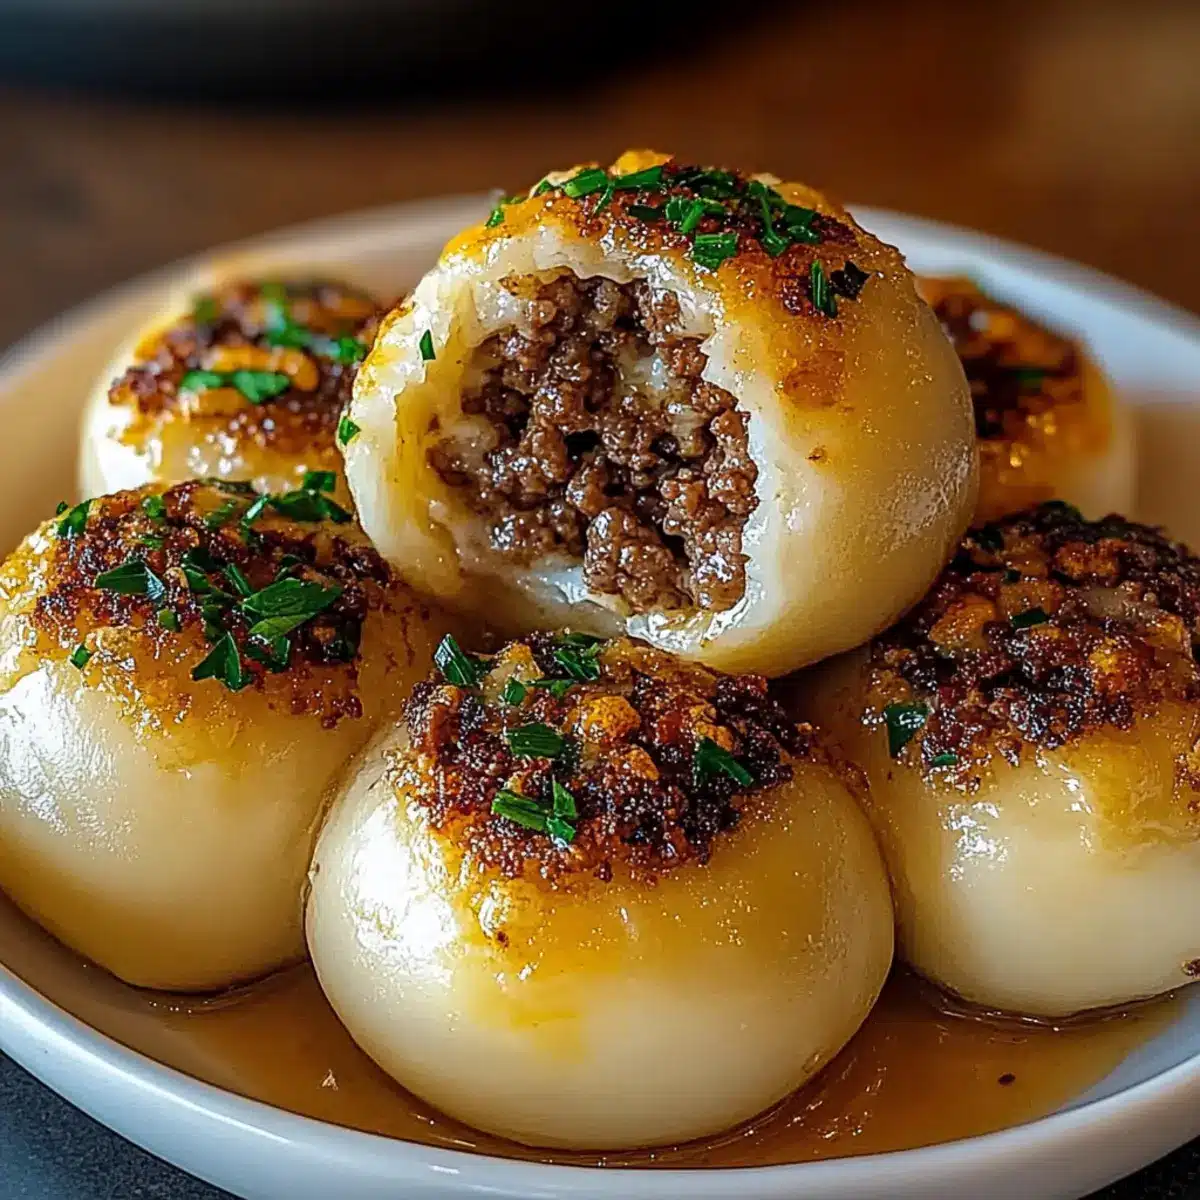
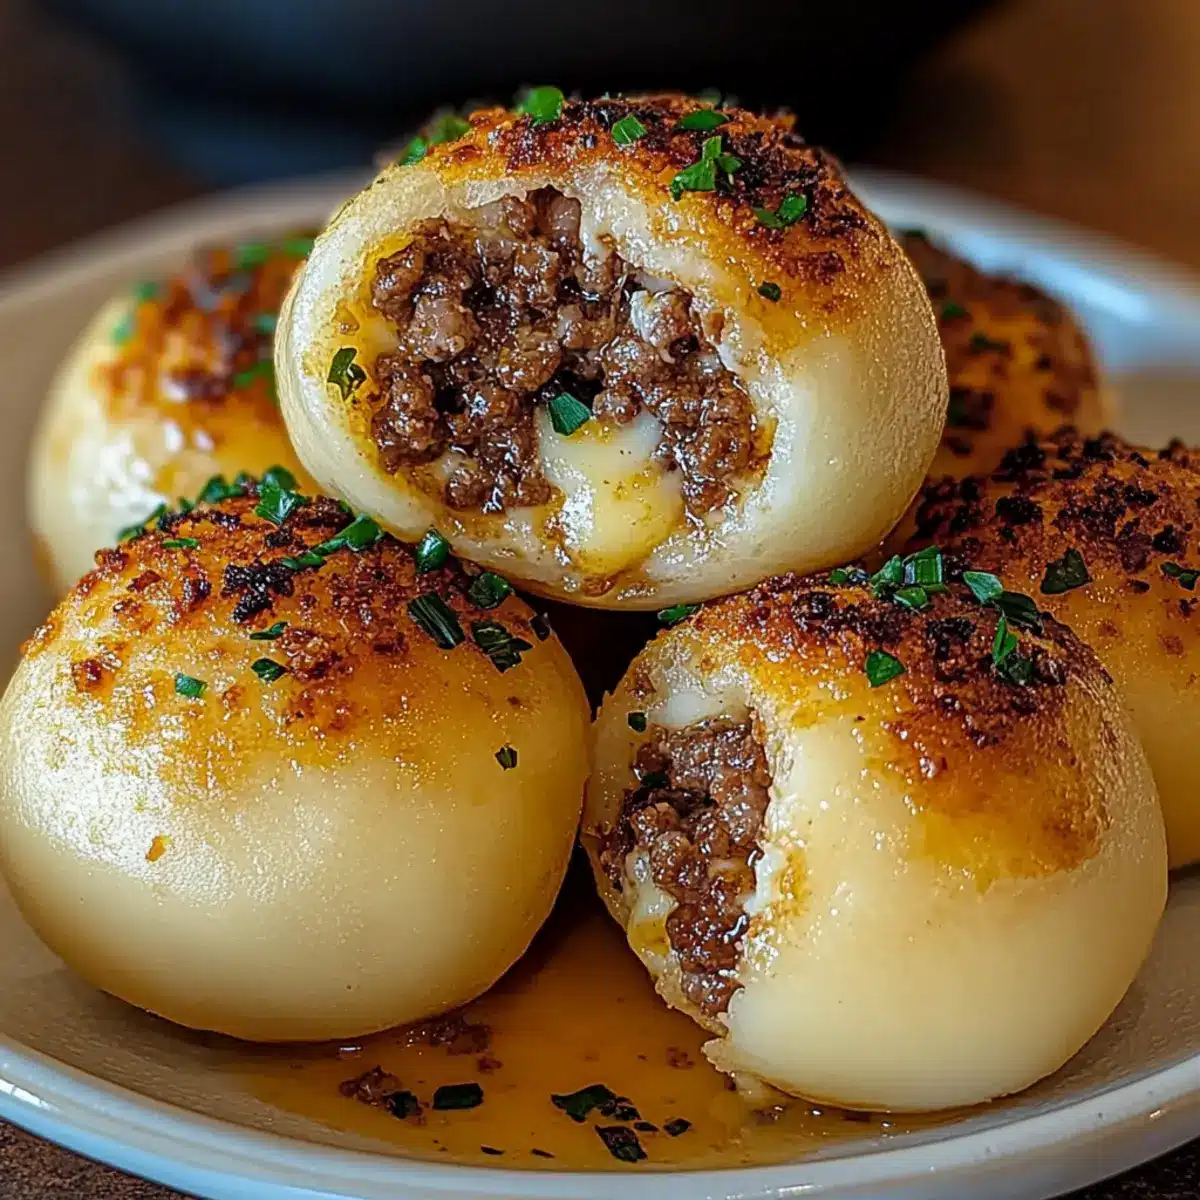
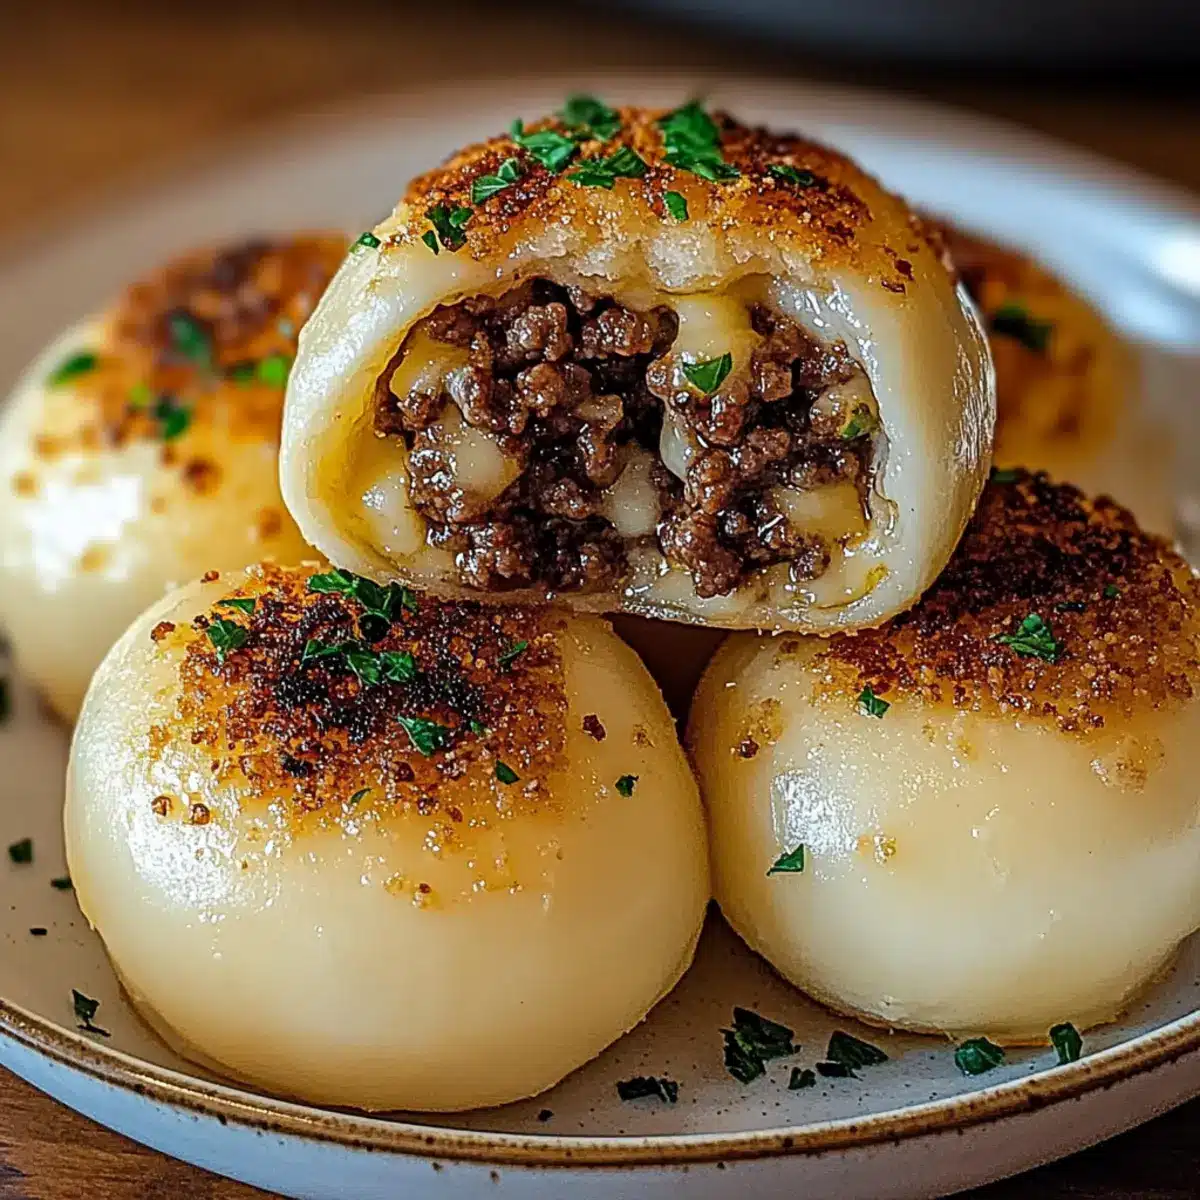
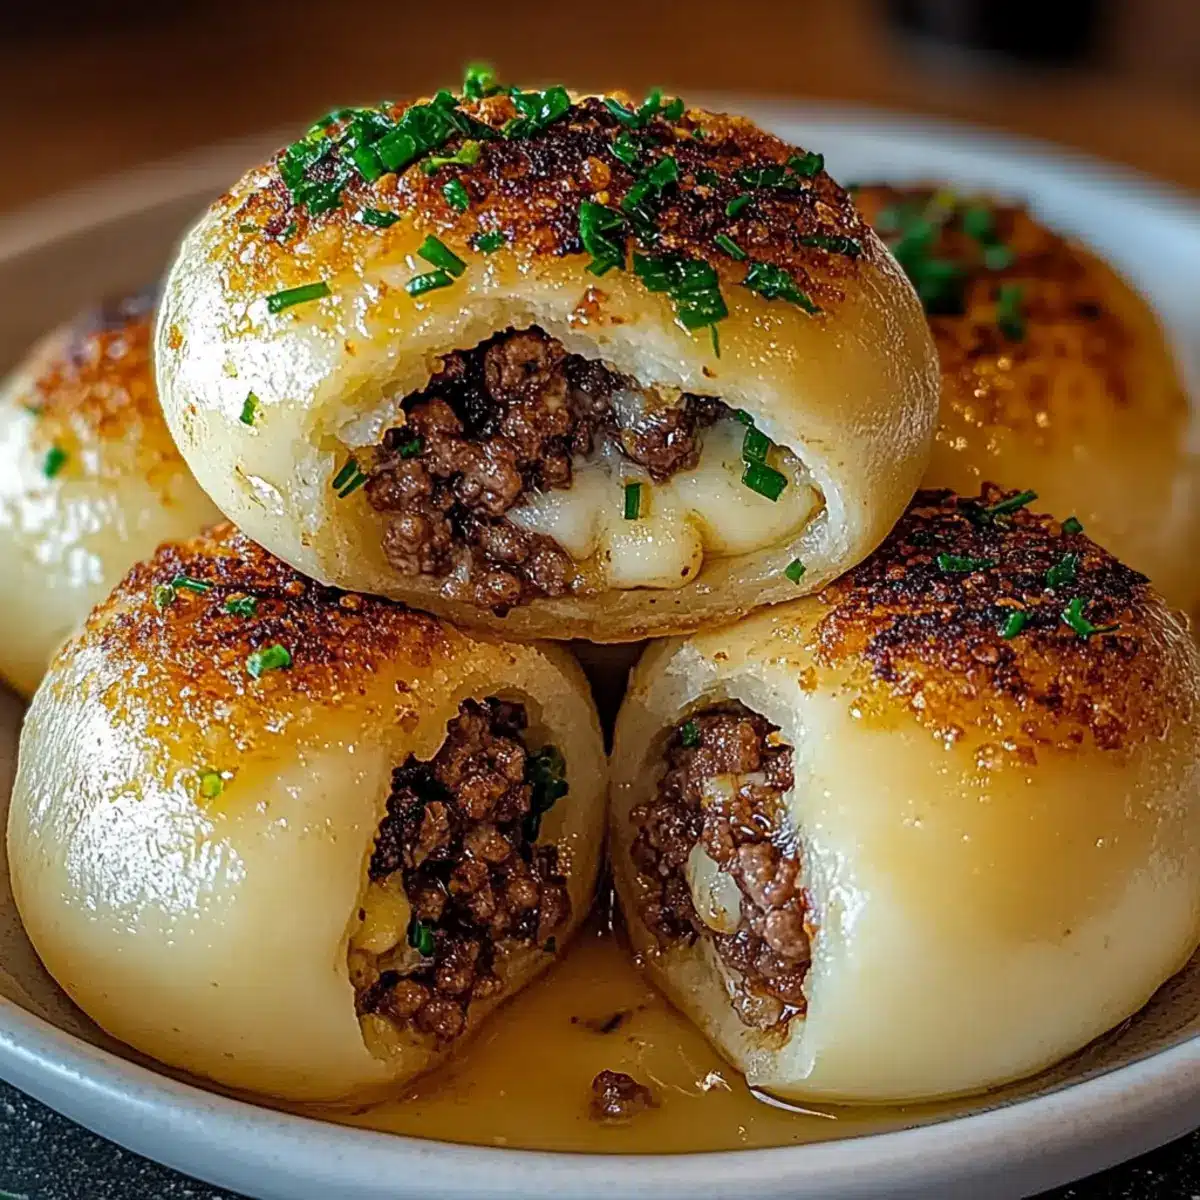
“Did you catch that sizzling sound in the kitchen?” That’s the sound of pure magic happening as we dive into the world of irresistible Garlic Parmesan Cheeseburger Bombs. These delightful pockets of joy, wrapped in soft, golden biscuit dough, are packed with juicy beef, aromatic garlic, and creamy Parmesan cheese that melts into a savory sensation. What makes them so special is not just their tantalizing taste but also the ease of preparation—perfect for a weekend game night or a cozy family dinner. Imagine impressing your loved ones with these scrumptious treats that feel indulgent yet can easily be made at home. Ready to roll up your sleeves and create a dish that turns heads and fills hearts? Let’s cook up some fun!
Why are these bombs a must-try?
Flavor Explosion: Every bite of these Garlic Parmesan Cheeseburger Bombs is a symphony of taste, blending juicy beef, aromatic garlic, and rich Parmesan.
Easy to Make: With simple ingredients and straightforward steps, you’ll whip these up in no time—perfect for busy weeknights!
Crowd-Pleasing Appeal: These delightful bites are ideal for parties or family gatherings; they’ll disappear fast, leaving everyone wanting more.
Versatile Options: Feel free to customize with your favorite cheeses or proteins—try swapping in ground turkey or adding crispy bacon for extra indulgence.
Perfectly Snackable: Sized just right for dipping, and paired with sauces like ranch or spicy ketchup, they elevate your snacking game to a new level!
Bring your taste buds to life with these treats, and don’t forget to check out our delicious Garlic Sauce Potatoes or Garlic Butter Beef as great side options!
Garlic Parmesan Cheeseburger Bombs Ingredients
For the Dough
• Biscuit dough – This fluffy outer layer provides a perfect base; feel free to substitute with crescent roll dough for a unique texture.
For the Filling
• Ground beef – The main protein offering a rich flavor; swap for ground turkey or veggie burgers if you prefer a lighter option.
• Minced garlic – This aromatic ingredient elevates the stuffing; fresh garlic is best for maximum flavor.
• Parmesan cheese – Melts beautifully into the mixture, adding creaminess; mozzarella or cheddar can be used for a different taste.
• Italian seasoning – A delightful blend of herbs enhancing the overall flavor; you can easily improvise with dried oregano and thyme if you don’t have it on hand.
For Brushing
• Butter – Adds richness and helps achieve a golden brown finish; olive oil is a great alternative for a lighter touch.
These Garlic Parmesan Cheeseburger Bombs promise to bring joy and deliciousness to any dining occasion!
Step‑by‑Step Instructions for Garlic Parmesan Cheeseburger Bombs
Step 1: Preheat Your Oven
Begin by preheating your oven to 375°F (190°C). While the oven warms up, prepare a baking sheet by lining it with parchment paper—this will prevent sticking and keep your Garlic Parmesan Cheeseburger Bombs perfectly golden on the bottom.
Step 2: Brown the Beef
In a large skillet over medium heat, add your ground beef and cook for about 5-7 minutes. Use a spatula to break up the meat as it cooks, stirring until it is browned and no longer pink. Once cooked, drain any excess fat, ensuring a lean filling for your bombs.
Step 3: Add Flavorful Aromatics
Next, stir in the minced garlic and Italian seasoning into the skillet with the beef. Cook for an additional minute, allowing the garlic to become fragrant and aromatic. This step infuses the filling with delightful flavors, setting the stage for your Garlic Parmesan Cheeseburger Bombs.
Step 4: Incorporate the Cheese
Remove the skillet from heat and mix in the grated Parmesan cheese. Stir until the cheese melts and combines with the beef filling, creating a creamy, savory mixture. This cheese will be the heart of your bombs, delivering a delicious cheeseburger experience in every bite.
Step 5: Roll Out the Dough
Take your biscuit dough and separate it into equal portions. Roll each piece out on a lightly floured surface until it is flat and slightly larger. Don’t worry about the shape being perfect; just aim for a good size to wrap around your flavorful filling perfectly.
Step 6: Assemble the Bombs
Place a generous tablespoon of the beef and cheese filling in the center of each rolled-out dough piece. Carefully fold the dough over the filling, sealing the edges tightly. Make sure each Garlic Parmesan Cheeseburger Bomb is well-sealed to prevent any leaking during baking.
Step 7: Bake to Perfection
Transfer your assembled bombs to the prepared baking sheet, spacing them evenly apart. Brush the tops with melted butter for a golden finish, then slide the sheet into your preheated oven. Bake for 15-20 minutes, or until the bombs are puffed and beautifully golden brown.
Step 8: Let Cool and Serve
Once baked, remove the Garlic Parmesan Cheeseburger Bombs from the oven and allow them to cool for a few minutes. This cooling time helps the filling settle slightly, ensuring a delicious burst of flavors when you take that first bite. Serve warm, perhaps with your favorite dipping sauces!
How to Store and Freeze Garlic Parmesan Cheeseburger Bombs
Fridge: Store leftover Garlic Parmesan Cheeseburger Bombs in an airtight container for up to 3 days. This keeps them fresh and ready for a quick snack!
Freezer: For longer-lasting goodness, freeze assembled but uncooked bombs in a single layer on a baking sheet. Once frozen, transfer them to a freezer bag for up to 2 months.
Reheating: To enjoy leftovers, preheat your oven to 350°F (175°C) and bake for about 10-15 minutes until heated through and golden brown.
Make-Ahead Tip: Prepare and refrigerate your bombs before guests arrive, then simply bake them fresh when you’re ready to serve!
Expert Tips for Garlic Parmesan Cheeseburger Bombs
Seal Tight: Ensure each bomb is sealed securely to avoid any filling escaping during baking. An egg wash can enhance the sealing.
Cool First: Allow the beef mixture to cool slightly before filling the dough. This prevents the dough from becoming soggy or melting.
Flavor Variations: For a kick, add diced jalapeños or a splash of hot sauce to your ground beef mixture.
Dough Alternatives: If you want a different texture, crescent roll dough works beautifully in place of traditional biscuit dough.
Leftover Storage: Store any uneaten Garlic Parmesan Cheeseburger Bombs in an airtight container for up to three days. Reheat in the oven for best results.
What to Serve with Garlic Parmesan Cheeseburger Bombs
Warm, fluffy Garlic Parmesan Cheeseburger Bombs are perfect for creating a delightful meal that will impress friends and family alike.
-
Creamy Coleslaw: This cool and crunchy side adds bright flavors that contrast beautifully with the warm, rich bombs.
-
Sweet Potato Fries: Crispy and sweet, these fries bring a comforting element that pairs perfectly with the savory bites.
-
Garden Salad: A light, fresh salad with mixed greens and a zesty dressing offers a refreshing counterpoint to the rich filling. This balance of textures keeps the meal interesting.
-
Buffalo Cauliflower Bites: Spicy and satisfying, these delightful bites enhance the flavorful experience, adding a touch of zest to your plate.
-
Garlic Dip: A side of creamy garlic dip is a natural fit for these bombs, perfect for dipping and elevating each bite.
-
Beer or Cider: Pair your meal with a cold pint of beer or crisp cider. The carbonation and flavor complement the savory cheeseburger experience well.
-
Homemade Ranch Dressing: This classic dip brings a raspy flavor that perfectly enhances the cheeseburger bombs while being crowd-pleasing.
-
Mini Fruit Tart: Finish the meal on a sweeter note with a fruit tart; its lightness and sweetness create a delightful contrast to the savory bites.
Garlic Parmesan Cheeseburger Bombs Variations
Feel free to get creative with these variations that will amplify your Garlic Parmesan Cheeseburger Bombs experience!
-
Turkey Option: Substitute ground turkey for a leaner filling without sacrificing flavor. It’s a delicious and healthier alternative!
-
Plant-Based Twist: Swap the beef for plant-based protein like lentils or black beans to cater to vegetarian or vegan diets. This option is not only tasty but also hearty.
-
Cheesy Goodness: Experiment with different cheeses like mozzarella or sharp cheddar for a unique flavor profile. This opens up a world of cheesy delight with every bite!
-
Spicy Kick: Add diced jalapeños or a drizzle of your favorite hot sauce into the beef mix for an extra layer of heat that spice lovers will adore.
-
Crunchy Texture: Incorporate cooked, crumbled bacon into the filling for a crispy bite that raises the indulgence factor. It’s a game-changer!
-
Zesty Addition: Mix in some chopped fresh herbs like parsley or cilantro to brighten the flavor and add a fresh touch. It will invigorate each bite!
-
Savory Dipping Sauce: Serve with a homemade garlic aioli or spicy ranch to take the flavor experience to new heights. Pair them up for a match made in heaven!
While you’re at it, check out our Garlic Butter Zucchini and Parmesan Gruyere Potato recipes for delightful side dishes that will perfectly complement your bombs!
Make Ahead Options
These Garlic Parmesan Cheeseburger Bombs are perfect for busy home cooks looking to save time! You can prepare the filling (ground beef, garlic, cheese, and seasoning) up to 3 days in advance and store it in an airtight container in the refrigerator. Additionally, you can assemble the bombs and refrigerate them unbaked for up to 24 hours, allowing the flavors to meld beautifully. Just be sure to seal each bomb tightly to prevent any leaks. When you’re ready to enjoy them, simply bake directly from the fridge, brushing with melted butter, and bake for 15-20 minutes until golden and bubbly. This way, you’ll have restaurant-quality treats with minimal effort as you impress your loved ones!
Garlic Parmesan Cheeseburger Bombs Recipe FAQs
What type of biscuit dough is best for these bombs?
Absolutely! You can use traditional biscuit dough for a fluffy texture. If you’re looking for a slightly different bite, crescent roll dough also works well and results in a flakier exterior.
How long can I store Garlic Parmesan Cheeseburger Bombs in the fridge?
Stored in an airtight container, your leftovers will stay fresh for up to 3 days. This makes them perfect for quick snacks whenever hunger strikes!
Can I freeze the bombs before baking?
Yes, you can! Assemble the bombs without baking them and place them in a single layer on a baking sheet. Freeze until solid, then transfer to a freezer bag for up to 2 months. When you’re ready to bake, no need to thaw—just pop them in the oven and adjust the cooking time by a few extra minutes if needed.
What if my bombs are exploding in the oven?
To prevent any surprises, ensure that each bomb is sealed tightly. If you’re having persistent issues, consider doing an egg wash along the edges before sealing to create a better bond. Also, allow your filling to cool slightly before adding it to the dough, as overly hot meat can cause the dough to expand too quickly.
Are there any dietary considerations I should know about?
If you’re cooking for someone with dietary restrictions, you can easily adapt this recipe! Ground turkey or plant-based patties serve as great substitutes for the beef. Additionally, consider checking for allergies related to dairy, as this recipe contains Parmesan cheese.
Melt-in-Your-Mouth Garlic Parmesan Cheeseburger Bombs
Ingredients
Equipment
Method
- Preheat your oven to 375°F (190°C) and prepare a baking sheet lined with parchment paper.
- In a large skillet over medium heat, add your ground beef and cook for about 5-7 minutes until browned.
- Stir in the minced garlic and Italian seasoning; cook for an additional minute until fragrant.
- Remove the skillet from heat and mix in the grated Parmesan cheese until melted and combined.
- Separate the biscuit dough into equal portions and roll each piece out on a floured surface.
- Place a tablespoon of the beef and cheese filling in each rolled-out dough piece and fold over, sealing edges tightly.
- Transfer to the baking sheet, brush with melted butter, and bake for 15-20 minutes until golden brown.
- Let cool for a few minutes before serving warm with dipping sauces.
Leave a Reply