
The kitchen buzzed with excitement as I flipped through treasured family recipes, searching for the perfect dessert to welcome spring. That’s when I stumbled upon a gem: the Easter No-Bake Jello Pie. This vibrant creation, with its refreshing layers and creamy texture, strikes the ideal balance between nostalgia and innovation. With an easy preparation process, it’s perfect for busy holiday festivities, allowing you to spend less time in the kitchen and more time celebrating with loved ones. Plus, the versatility of this dessert means you can easily make it sugar-free or dairy-free for all your guests! Are you ready to create a show-stopping centerpiece that will have everyone asking for seconds? Let’s dive into this delightful treat!
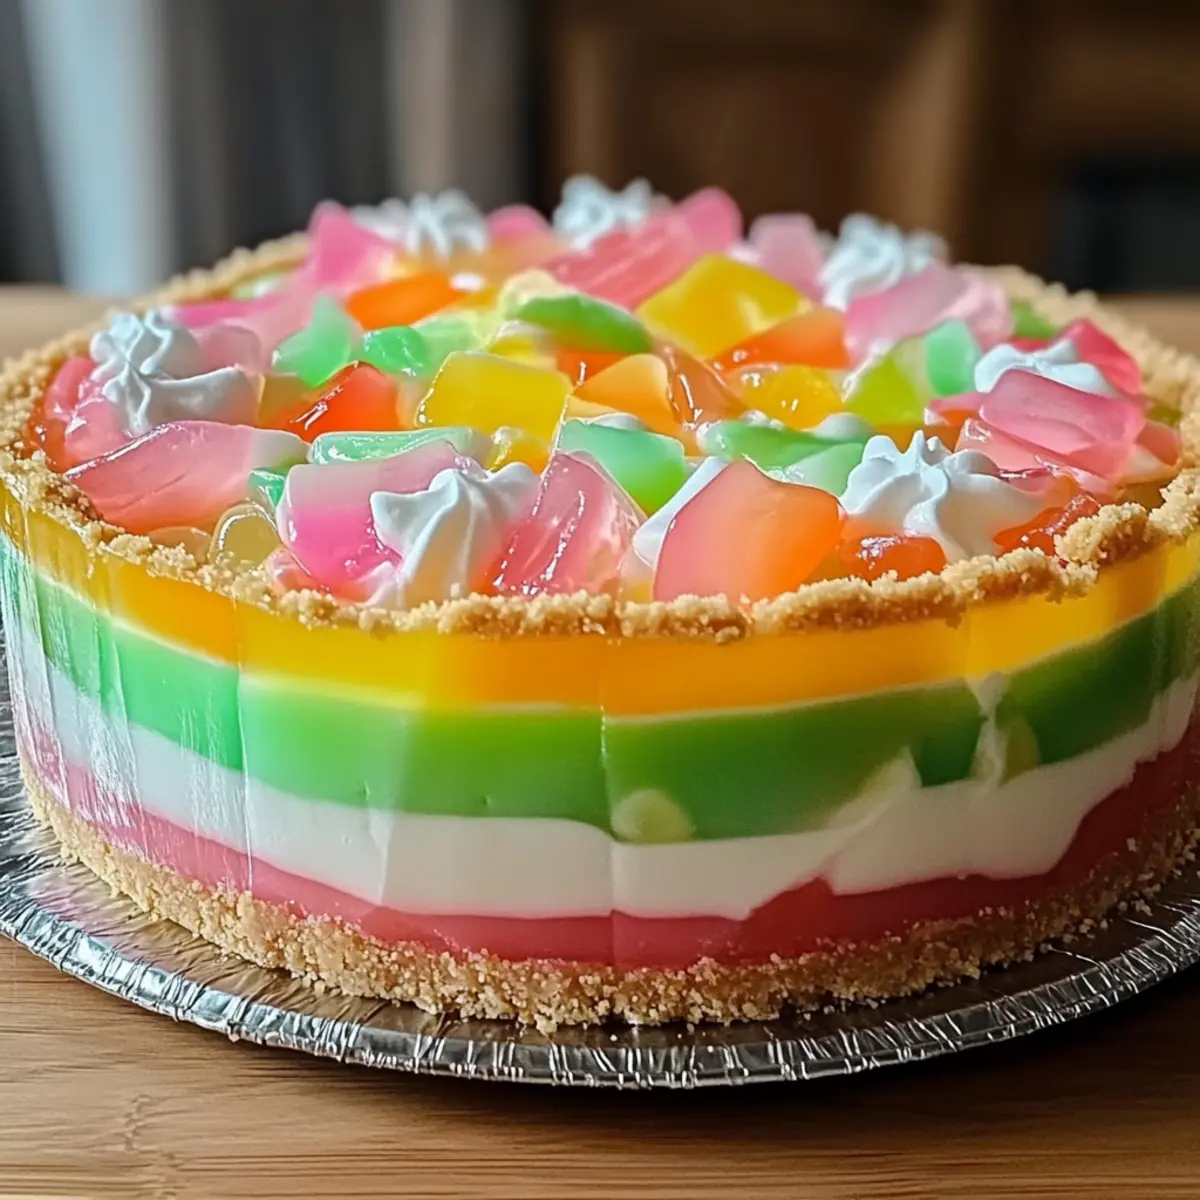
Why Choose No-Bake Jello Pie?
Easy Preparation: With no baking required, you’ll save time and avoid the stress of conventional desserts.
Vibrant Flavors: The fruity layers of Jello bring a splash of color and fun to your table, perfect for the Easter celebration.
Versatile Options: Want to accommodate dietary preferences? This recipe easily adapts to be sugar-free or dairy-free without sacrificing taste.
Crowd-Pleasing Delight: Whether it’s for family or friends, everyone loves a refreshing slice of Jello pie—it’s sure to be a dessert favorite!
Nostalgic Touch: The combination of creamy and crunchy textures evokes fond memories while showcasing a modern twist on a classic.
Looking for another simple, crowd-pleasing dish? Don’t forget to check out my Pecan Pie Crescent for a sweet addition to your holiday menu!
Easter No-Bake Jello Pie Ingredients
For the Crust
• Graham Cracker Crust – Provides a sweet, crunchy base; you can use store-bought or easily make your own for a fresh touch.
For the Cream Layer
• Cream Cheese – Adds a rich, creamy texture; substitute with dairy-free cream cheese for a dairy-free version.
• Granulated Sugar – Sweetens the cream cheese layer; feel free to swap for sugar-free alternatives to align with your dietary needs.
• Vanilla Extract – Enhances flavor; use pure extract for best results.
For the Jello Layers
• Boiling Water – Used to dissolve Jello powder; ensure it’s fully boiling for proper setting.
• Cold Water – Helps cool the Jello mixture for layering.
• Jello (Various Flavors and Colors) – The main flavoring, offering fruity sweetness; get creative and experiment with different flavors!
For the Topping
• Whipped Topping – Adds a light, creamy finish; consider dairy-free options if needed.
• Optional Easter Candies or Sprinkles – Perfect for decoration and festive appeal; let your imagination run wild!
This Easter No-Bake Jello Pie will not only tantalize the taste buds but also be a colorful centerpiece for your holiday celebrations!
Step‑by‑Step Instructions for Easter No-Bake Jello Pie
Step 1: Prepare the Graham Cracker Crust
Start by preheating your oven to 350°F (if baking a homemade crust). In a mixing bowl, combine crushed graham crackers with melted butter and sugar until well mixed. Firmly press this mixture into a pie dish to form an even layer, covering the bottom and sides. If you’re using a store-bought crust, simply set it aside for later use.
Step 2: Make the Cream Cheese Layer
In a large mixing bowl, beat together 8 ounces of cream cheese, 1 cup of granulated sugar, and 1 teaspoon of vanilla extract. Mix until the mixture is smooth and creamy, about 3–5 minutes. This creamy layer will provide a delightful contrast to the vibrant Jello layers of your Easter No-Bake Jello Pie, so incorporate air for a light texture.
Step 3: Prepare the First Jello Layer
In a separate bowl, dissolve one package of Jello in 1 cup of boiling water, stirring until completely dissolved. Next, add 1 cup of cold water and mix well. Allow the Jello mixture to cool to room temperature, but don’t let it set yet. This layer will form a sweet and fruity foundation for your pie.
Step 4: Assemble the First Layer
Pour half of the cooled Jello mixture into the prepared crust, creating an even layer. Place the pie in the refrigerator and let it chill for about 1 hour or until fully set. Ensure the Jello layer is firm to the touch before adding the next layer to prevent mixing; this is key for a beautiful presentation in your Easter No-Bake Jello Pie.
Step 5: Spread the Cream Cheese Mixture
Once the first Jello layer has set, gently spread the cream cheese mixture over the top using a spatula, smoothing it out evenly. This creamy layer complements the fruity Jello, adding a rich texture. After spreading, carefully return the pie to the refrigerator for an additional 30 minutes to ensure it firms up.
Step 6: Prepare the Second Jello Layer
Repeat the process for the second Jello layer by dissolving another package of Jello in 1 cup of boiling water, followed by mixing in 1 cup of cold water. As in the first step, allow this mixture to cool to room temperature to avoid melting the cream cheese layer when added.
Step 7: Pour the Second Jello Layer
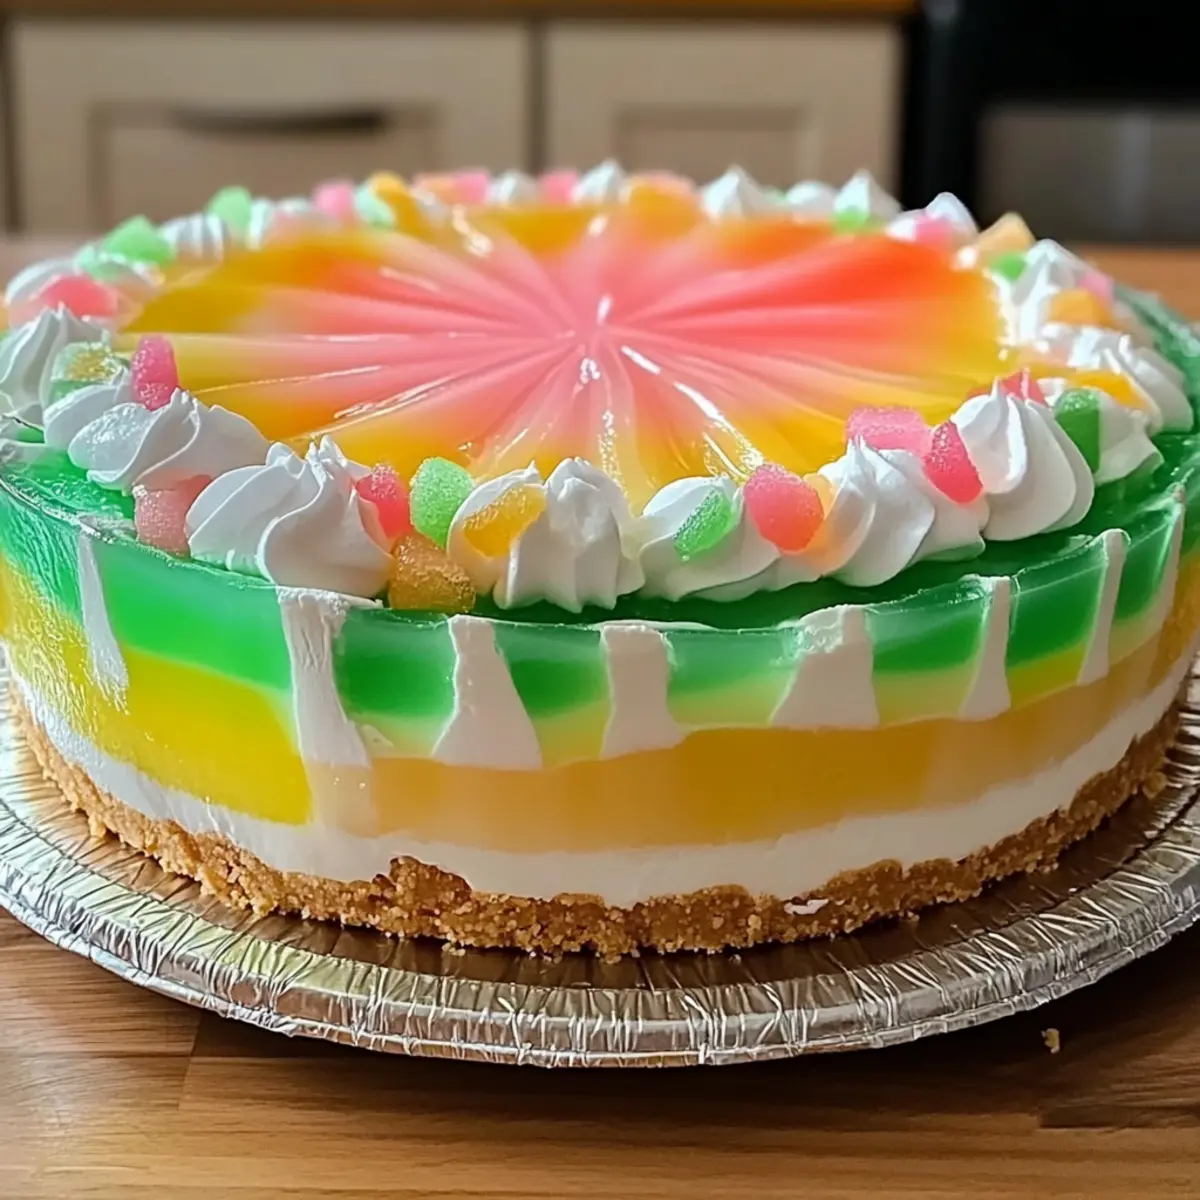
Once cooled, pour the second layer of Jello over the cream cheese mixture, taking care to pour gently to avoid disrupting the layers. Place the pie back into the refrigerator and let it chill for 2-4 hours, or until completely set. The colorful layers of the Easter No-Bake Jello Pie should be visible and distinct.
Step 8: Add the Whipped Topping
After the pie has fully set, remove it from the refrigerator and carefully spread the whipped topping over the top layer of Jello to create a fluffy, appealing finish. For an extra festive touch, decorate with colorful Easter candies or sprinkles, making your dessert perfect for celebrating!
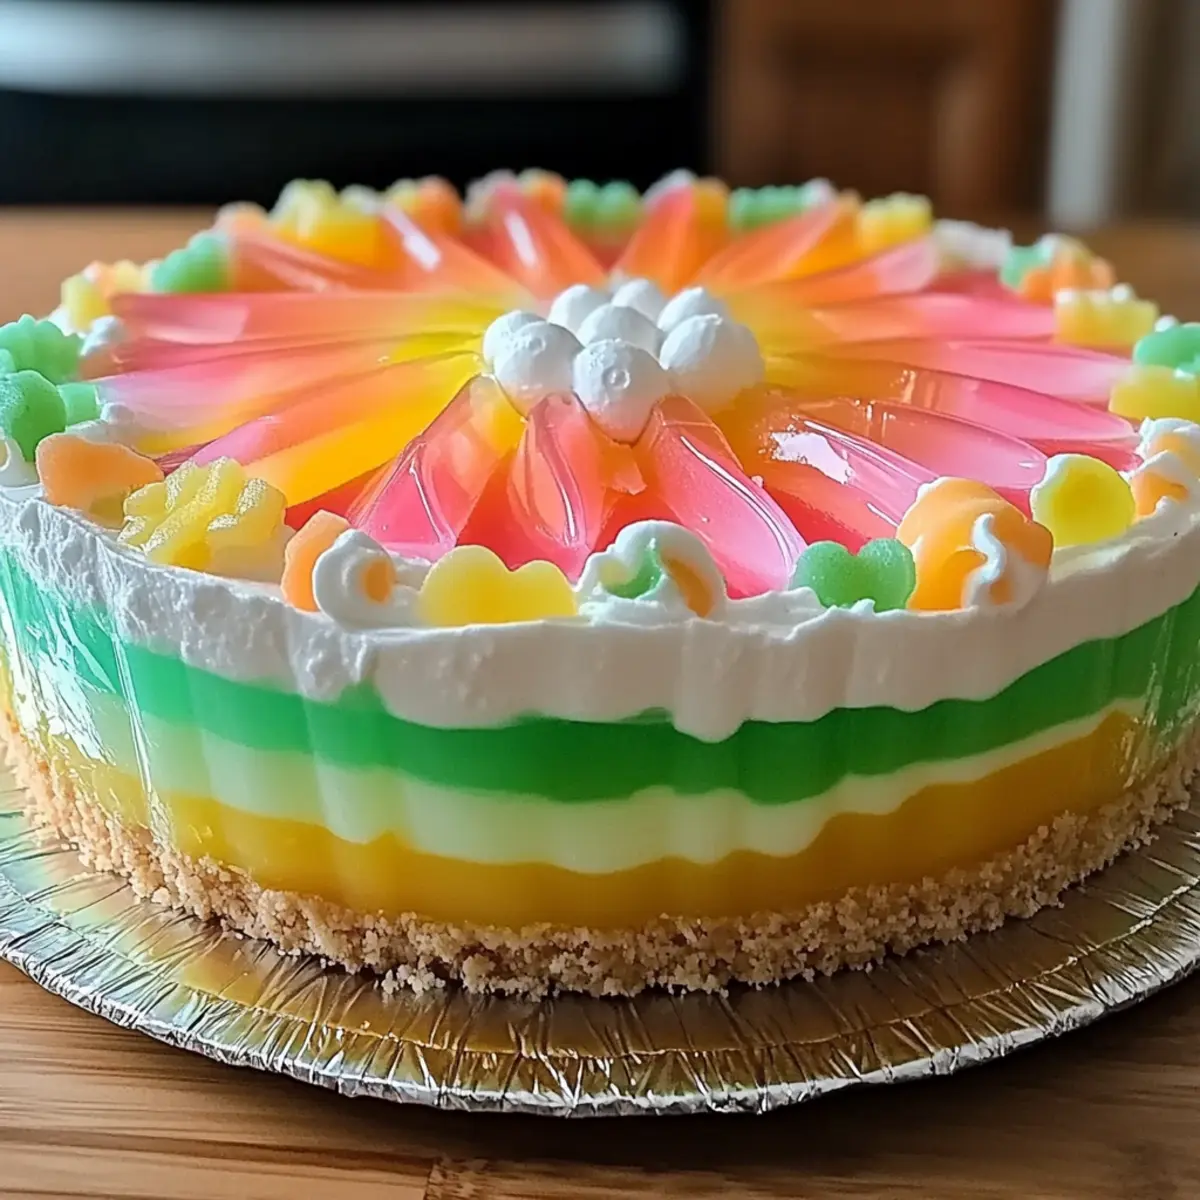
Storage Tips for Easter No-Bake Jello Pie
Fridge: Keep your Easter No-Bake Jello Pie covered in the refrigerator for up to 3–4 days. This way, it stays fresh and delicious for you and your guests!
Make-Ahead: Prepare the pie 1-2 days in advance, allowing it to chill and set properly. This makes it perfect for stress-free holiday entertaining.
Airtight Container: If you cut into the pie, cover any exposed portions with plastic wrap to maintain its freshness and avoid drying out any layers.
Reheating: There’s no need to reheat this pie—serve it cold for the ultimate refreshing dessert experience!
Make Ahead Options
These Easter No-Bake Jello Pies are perfect for meal prep, allowing busy cooks to enjoy stress-free holiday gatherings! You can prepare the entire pie up to 3 days in advance; simply assemble the crust, cream cheese layer, and Jello layers as directed. To maintain the quality, refrigerate the pie covered with plastic wrap to prevent it from absorbing other smells. When you’re ready to serve, top the pie with whipped topping and any desired decorations like sprinkles or Easter candies right before festive moments. This way, you’ll have a refreshing dessert that’s just as delicious and ready to impress your guests with minimal effort!
Easter No-Bake Jello Pie Variations
Feel free to personalize this delightful dessert to suit your taste buds and dietary needs!
- Sugar-Free Option: Use sugar-free Jello and a sugar substitute in the cream layer for a guilt-free treat.
- Dairy-Free Delight: Swap cream cheese with dairy-free cream cheese and opt for coconut or almond whipped topping.
- Flavor Fusion: Mix and match different Jello flavors like strawberry and blueberry for a vibrant, multi-layered look.
- Nutty Crust: Replace the graham cracker crust with crushed nuts and dates blended together for a healthier twist.
- Fruity Boost: Add fresh fruit pieces, like berries or bananas, to the cream cheese layer for an extra burst of flavor and texture.
- Zesty Surprise: Stir in a splash of lemon or lime juice to the cream layer for a refreshing citrusy kick.
- Colorful Layers: Create a rainbow pie by using an array of Jello flavors—one for each layer! Your guests will be delighted.
- Spicy Kick: Mix a pinch of cinnamon or nutmeg into the cream cheese layer for a warm, spicy undertone that’s unexpected yet delicious.
For more delightful desserts, try my Dumpling Bake New or satisfy your sweet tooth with No-Bake Snowman Truffles. Enjoy experimenting with these variations!
What to Serve with Easter No-Bake Jello Pie?
Elevate your festive meal with delightful pairings that complement this vibrant and creamy dessert, creating a truly memorable Easter celebration.
-
Fresh Fruit Salad: A medley of seasonal fruits provides a refreshing counterpart, balancing the sweetness of the pie with natural tartness. Think juicy strawberries, zesty oranges, and crisp apples for a colorful bowl.
-
Spring Greens Salad: A light, herb-infused salad with mixed greens, cucumbers, and a citrus vinaigrette adds a refreshing crunch. The vibrant flavors enhance the festive spirit and cleanse the palate between bites of the rich Jello pie.
-
Honey-Glazed Carrots: The sweet, caramelized notes from honey-glazed carrots create a charming juxtaposition to the pie’s creaminess. Their warmth brings a comforting side element to your holiday table.
-
Creamy Coleslaw: This crunchy and tangy slaw offers a delightful contrast to the smooth layers of the Jello pie. Toss with a poppy seed dressing for an extra touch of sweetness that ties everything together.
-
Lemonade Spritzer: A sparkling lemonade or a light fruity punch can quench your thirst while echoing the dessert’s fun, fruity essence. The bubbly refreshment is sure to keep everyone smiling!
-
Chocolate-Covered Strawberries: These indulgent treats provide a sumptuous touch to your dessert table. They are perfect for dipping alongside slices of the Easter No-Bake Jello Pie, enticing guests to indulge even more.
Expert Tips for Easter No-Bake Jello Pie
-
Layer Timing: Ensure each layer is fully set before adding the next one to prevent clashing; patience leads to stunning results in your Easter No-Bake Jello Pie.
-
Chill Thoroughly: Allow each layer to chill for a sufficient time; if you rush, the elements may blend, compromising the beautiful layers you worked hard to achieve.
-
Water Temperature: Use boiling water to properly dissolve the Jello; lukewarm water might not set correctly, affecting your pie’s texture and flavor.
-
Flavor Combinations: Experiment with different Jello flavors for a creative twist; mixing complementary colors adds visual appeal while catering to varying taste preferences.
-
Storage Savvy: Keep your pie covered in the refrigerator; it can last up to 3–4 days, but for best flavor, enjoy it fresh within the first couple of days.
Easter No-Bake Jello Pie Recipe FAQs
How do I choose ripe ingredients for my Jello pie?
Absolutely! For the best results, use fresh, high-quality ingredients. If you’re using fruits or toppings, make sure they are ripe and free of blemishes. When selecting your Jello flavors, consider using ones that are vibrant for visual appeal—check the expiry date for the freshest taste!
What’s the best way to store leftovers of the Jello pie?
The Easter No-Bake Jello Pie should be kept covered in the refrigerator and can last up to 3-4 days. Use plastic wrap or an airtight container to preserve its freshness and to prevent it from absorbing any odors from the fridge. The dessert is most delightful within the first couple of days after making.
Can I freeze the Jello pie for later?
I recommend against freezing the pie, as the texture of the Jello may change and get a bit watery when thawed. If you want to prepare ahead, it’s best to make the pie a day or two in advance and keep it refrigerated. This way, you’ll maintain that beautiful, creamy texture!
What should I do if my Jello doesn’t set properly?
If your Jello isn’t setting, it might be due to an incorrect water-to-Jello ratio. Make sure to follow package instructions—typically, it’s one cup of boiling water and one cup of cold. If you’ve followed the directions correctly and it’s still not setting, give it more time in the refrigerator; a couple of hours should usually do the trick!
Is this pie suitable for people with dietary restrictions?
Very! You can easily make the Easter No-Bake Jello Pie dairy-free by substituting regular cream cheese with a dairy-free alternative. For those watching their sugar intake, opt for sugar-free Jello and sweeteners. Just be mindful of any allergies to specific brands or ingredients. Always read labels carefully to ensure safety for guests!
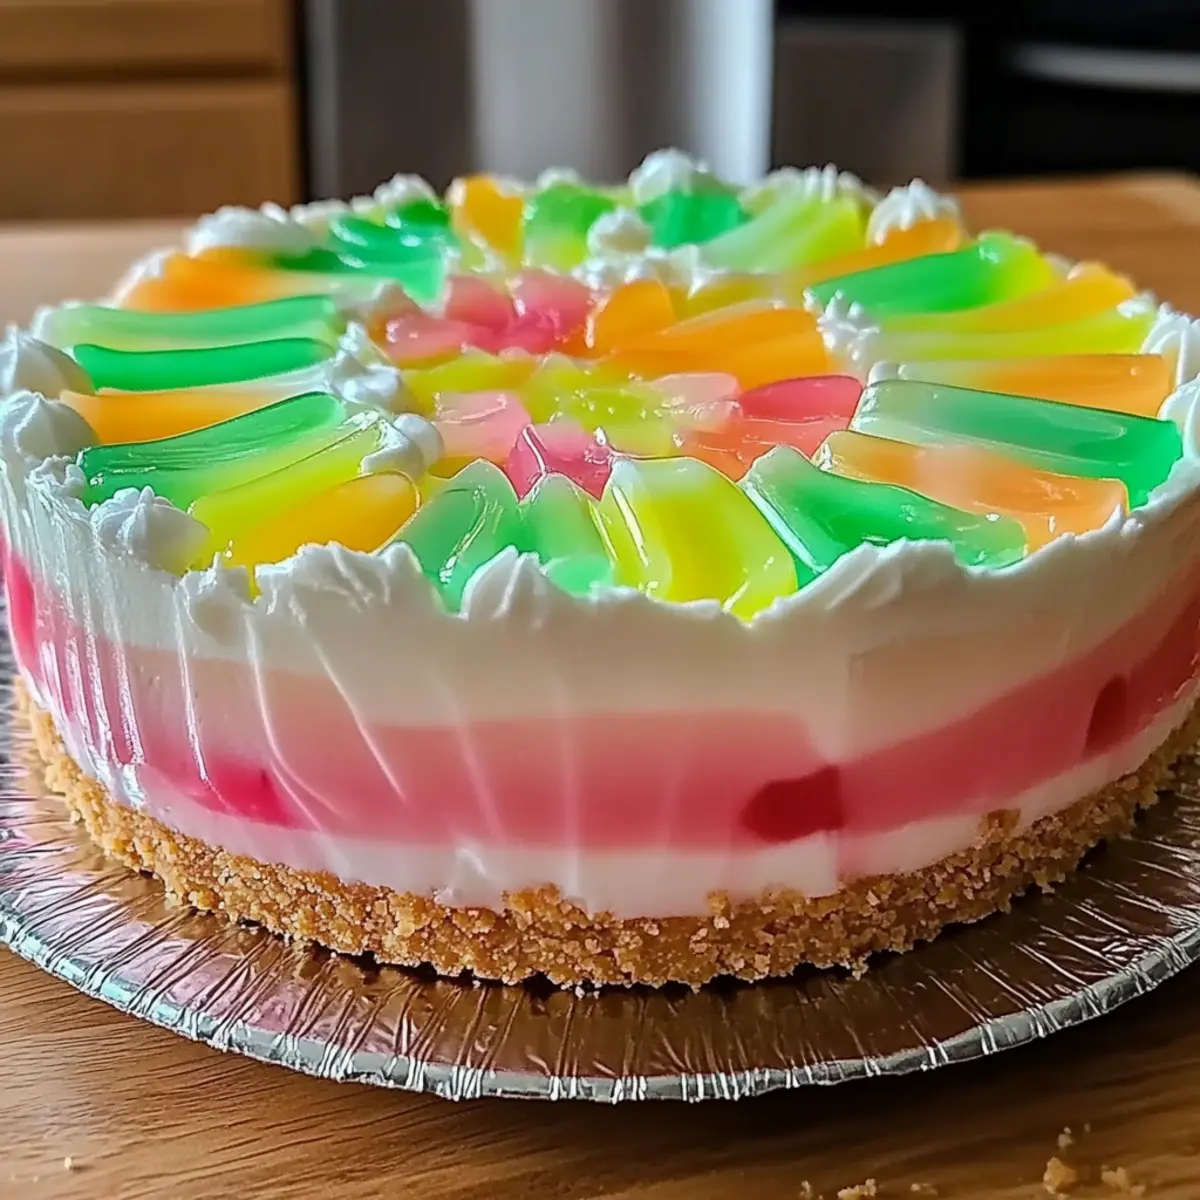
Easter No-Bake Jello Pie: Refreshing, Easy Spring Delight
Ingredients
Equipment
Method
- Prepare the Graham Cracker Crust by mixing crushed graham crackers with melted butter and sugar, then press into pie dish.
- Make the Cream Cheese Layer by beating together cream cheese, granulated sugar, and vanilla extract until smooth.
- Prepare the First Jello Layer by dissolving Jello in boiling water, then add cold water and let cool.
- Assemble the First Layer by pouring half of the cooled Jello mixture into the crust and chill for 1 hour.
- Spread the Cream Cheese Mixture evenly over set Jello layer and return to refrigerator for 30 minutes.
- Prepare the Second Jello Layer by repeating the dissolving process with the second package of Jello.
- Pour the Second Jello Layer over the cream cheese mixture and chill for 2-4 hours until set.
- Add the Whipped Topping over the top of the Jello layer and decorate with Easter candies or sprinkles.
Leave a Reply