
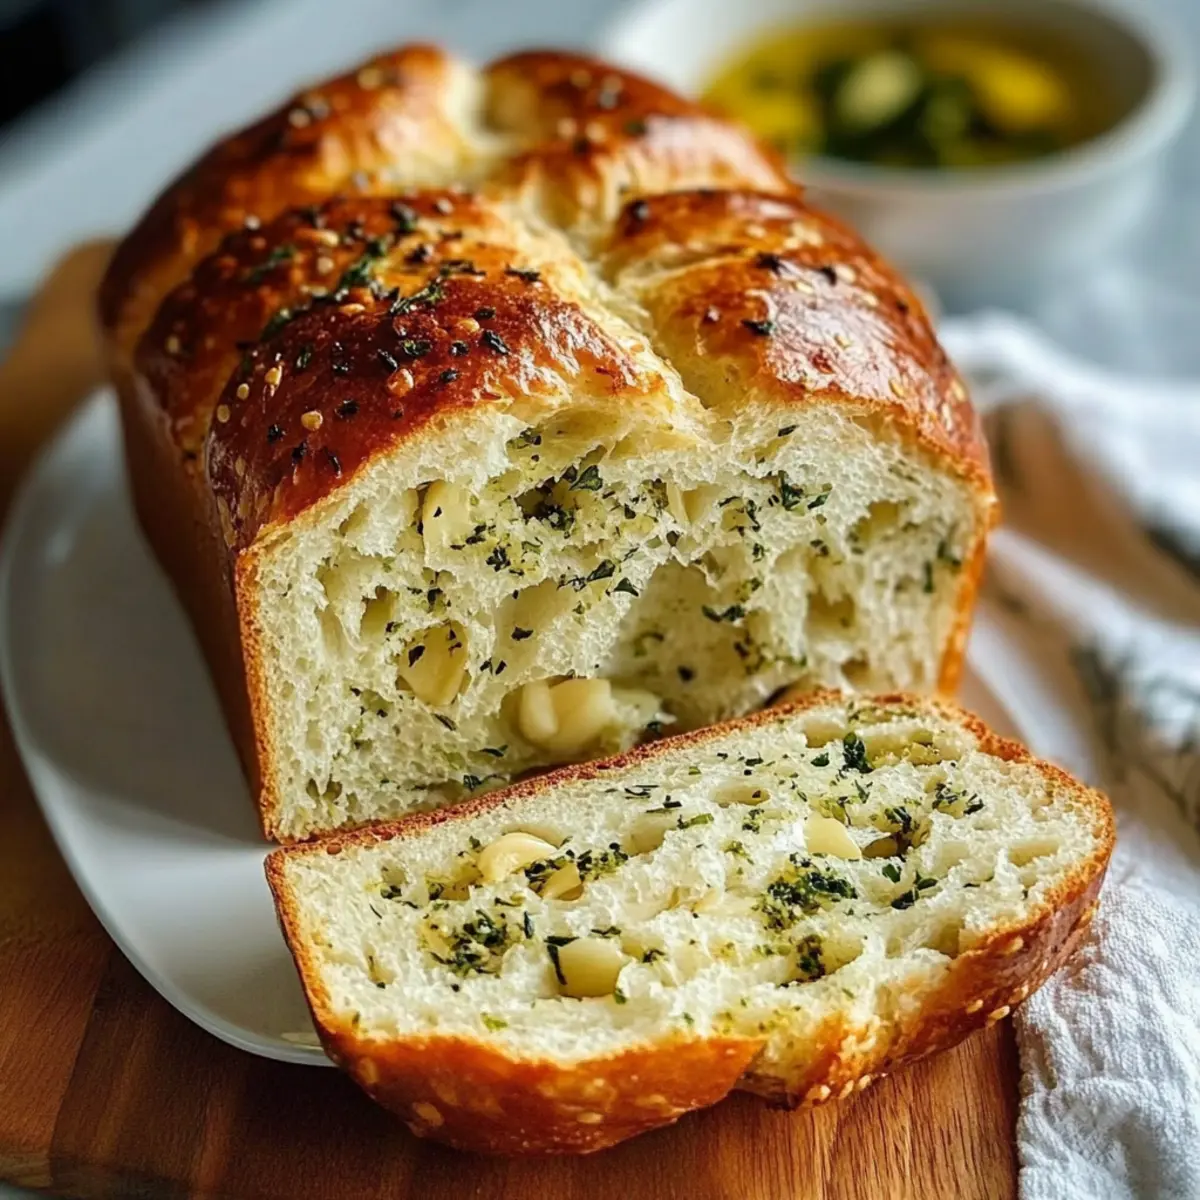
The moment I pulled the warm Garlic Herb Bread from my trusty bread machine, my kitchen filled with the tantalizing aroma of toasty garlic and fragrant Italian herbs. There’s something truly magical about homemade bread—the soft, fluffy texture combined with a perfectly golden crust creates an inviting atmosphere, making it the ultimate addition to any meal. Creating the Perfect Garlic Herb Bread is not only a delightful way to elevate your dinner, but it also brings an appealing homemade touch that fast food simply can’t compete with. Plus, this easy recipe allows you to enjoy freshly baked bread with minimal effort, leaving you more time to savor the simple joys of cooking. Are you ready to discover the best-kept secret of your culinary repertoire?

Why is Homemade Garlic Herb Bread Incredible?
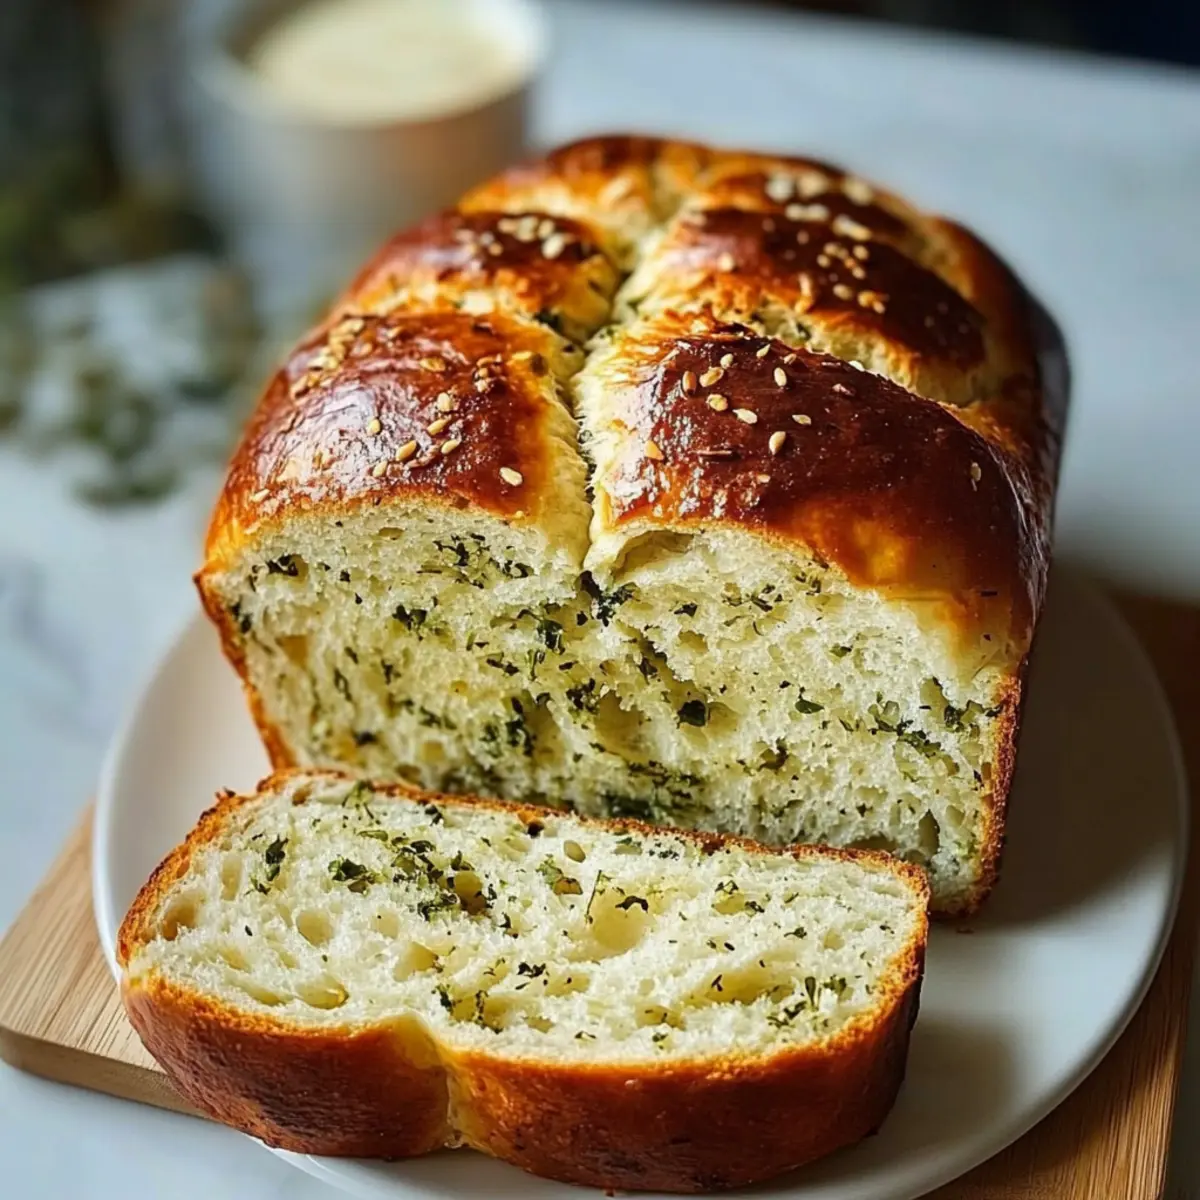
Freshness: There’s nothing quite like the aroma of freshly baked bread wafting through your home. Flavor-packed with garlic and Italian herbs, this bread transforms any meal into an Italian feast. Versatile enough to pair with soups, salads, or enjoyed on its own, it’s the perfect accompaniment. Effortless preparation means you can whip this up in no time, even on busy weeknights. And for those seeking something extra, consider trying it alongside some Garlic Butter Beef or a bowl of Tomato Garlic Pasta. Your friends and family won’t believe how easy it was to create such an amazing dish! Happy baking!
Creating the Perfect Garlic Herb Bread Ingredients
For the Dough
• Warm Water – Activates yeast for that perfect rise; keep between 110°F and 115°F.
• Bread Flour – Ensures a chewy texture; for a softer bread, all-purpose flour can be a substitute, though it will change the texture slightly.
• Sugar – Fuels yeast for fermentation; feel free to swap it out for honey or agave to add a unique flavor.
• Salt – Balances flavors and regulates yeast activity; essential for a harmonious taste.
• Olive Oil – Adds moisture for softness; if preferred, melted butter or neutral oils can replace it.
For the Flavor
• Garlic Powder – Infuses the bread with delicious garlic flavor; for a more intense taste, use fresh minced garlic and adjust to your liking.
• Italian Herb Blend – Gives an authentic Italian flavor profile; feel free to substitute with individual dried herbs like oregano, basil, or thyme.
Step‑by‑Step Instructions for Creating the Perfect Garlic Herb Bread
Step 1: Prepare the Yeast Mixture
In a medium bowl, combine 1 cup of warm water (between 110°F and 115°F) with 1 tablespoon of sugar and 2 teaspoons of active dry yeast. Stir gently and allow it to sit for about 5-10 minutes until it becomes frothy—this signals that the yeast is active and ready to work its magic in your Garlic Herb Bread.
Step 2: Mix the Dry Ingredients
While the yeast activates, measure 3 cups of bread flour and 1 teaspoon of salt, and place them into the bread machine pan. Add 1 tablespoon of garlic powder and 2 tablespoons of your selected Italian herb blend. Mix the dry ingredients thoroughly to ensure even distribution, which will enhance the flavor in every slice of your perfect Garlic Herb Bread.
Step 3: Combine Wet and Dry Ingredients
Once the yeast mixture is frothy, pour it into the bread machine pan over the dry ingredients. Follow up by adding 2 tablespoons of olive oil for moisture. This combination of ingredients is essential for creating a soft texture in your bread, so ensure everything is well combined before moving on to the next step.
Step 4: Knead and Rise
Select the dough cycle on your bread machine, and let it work its magic for about 90 minutes. This cycle includes mixing, kneading, and the first rise of your Garlic Herb Bread dough. Keep an eye on the dough as it develops; it should double in size and have a smooth, elastic texture when the cycle concludes.
Step 5: Shape the Dough
Once the dough has risen, carefully remove it from the bread machine and punch it down gently to release excess air. On a lightly floured surface, shape the dough into a loaf or desired shape, ensuring it’s not too tight. If you prefer extra fluff in your Garlic Herb Bread, let it rise for an additional 15-20 minutes covered with a cloth before baking.
Step 6: Bake the Bread
Set your bread machine to the bake cycle at 375°F (190°C) and let it work for 25-30 minutes. You’ll know it’s ready when the crust turns a beautiful golden brown, and the aroma of garlic and herbs fills your kitchen. The finished bread should sound hollow when tapped on the bottom, indicating it’s perfectly baked.
Step 7: Cool and Slice
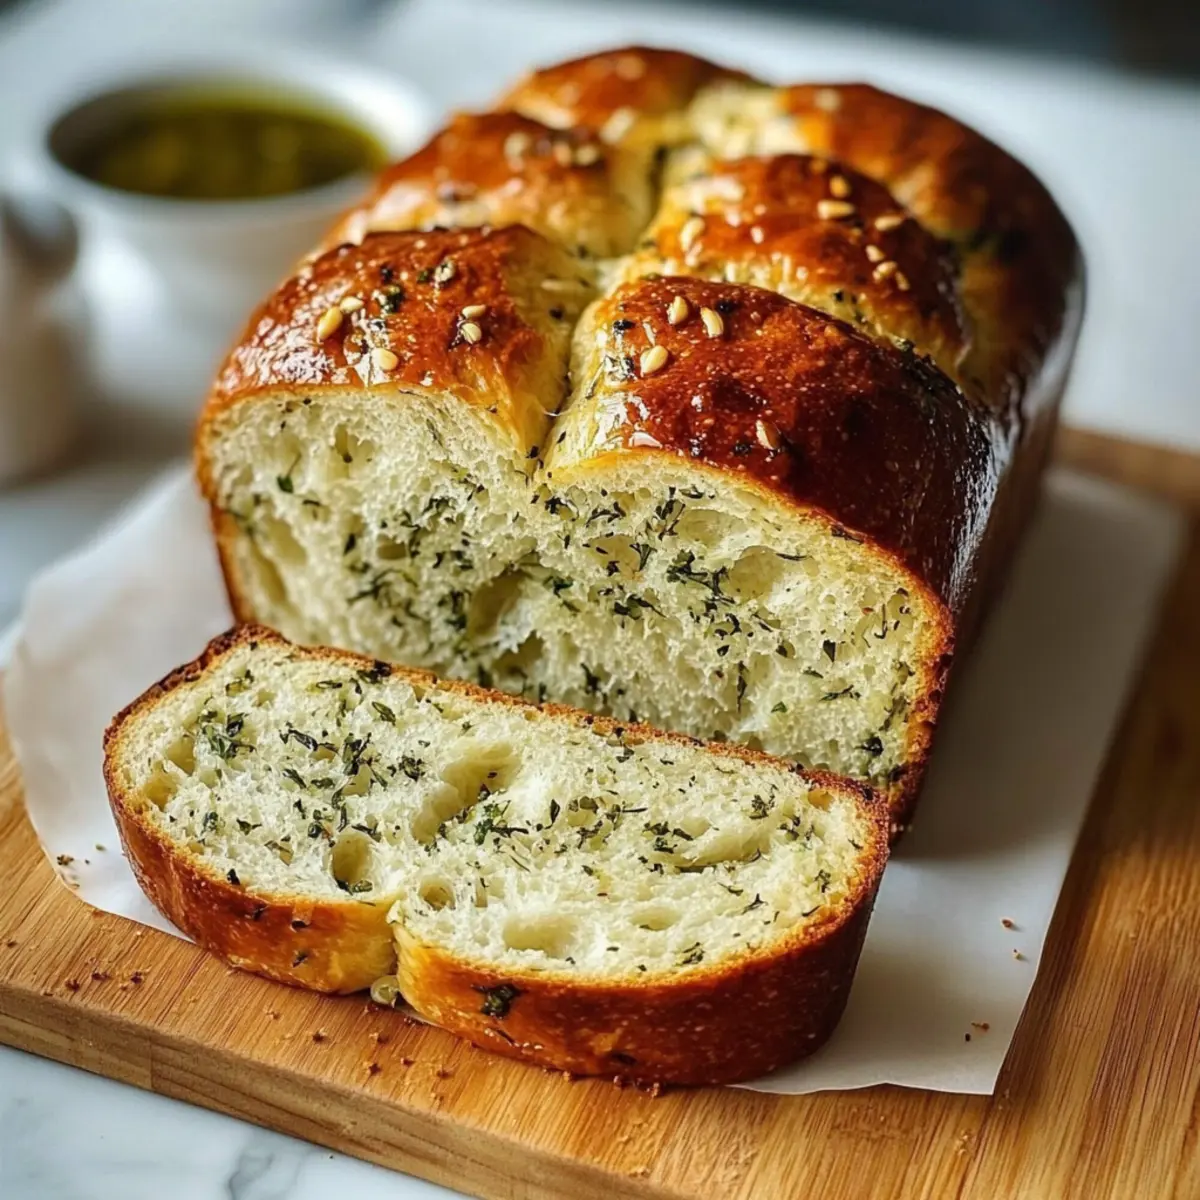
Once baked, carefully remove your delightful Garlic Herb Bread from the bread machine and let it cool on a wire rack for at least 10-15 minutes to maintain its soft texture. After cooling, slice it to your desired thickness, and get ready to enjoy the fruits of your labor in creating this perfect homemade bread!
Make Ahead Options
Creating the Perfect Garlic Herb Bread is a breeze, especially when you prep in advance! You can mix the dry ingredients (3 cups of bread flour, 1 teaspoon of salt, 1 tablespoon of garlic powder, and 2 tablespoons of Italian herbs) and store them in an airtight container for up to 3 days. The yeast mixture can also be prepared and left in the refrigerator overnight for optimal flavor. When you’re ready to bake, simply rewarm the yeast mixture to activate it, then combine with the dry ingredients and follow the baking instructions. This advance prep not only saves time but also locks in the delicious flavors, ensuring your Garlic Herb Bread is just as delightful as if made fresh!
Expert Tips for Creating the Perfect Garlic Herb Bread
-
Use Fresh Yeast: Always check the expiration date of your yeast. Fresh yeast ensures a good rise for your Garlic Herb Bread, giving you a soft loaf.
-
Temperature Matters: Keep your water temperature between 110°F and 115°F. Water that’s too hot can kill the yeast, preventing a fluffy texture.
-
Avoid Over-Kneading: If making by hand, knead until just smooth. Over-kneading can result in a tough bread instead of the tender crumb you want.
-
Let It Rise: Don’t rush the rising process! A warm kitchen helps the dough double in size, creating the airy structure essential for homemade bread.
-
Customize Flavor: Feel free to add ingredients like cheese or sun-dried tomatoes to your Garlic Herb Bread for a delightful twist!
What to Serve with Perfect Garlic Herb Bread
There’s something undeniably cozy about pairing your fresh Garlic Herb Bread with dishes that enhance its delightful flavors and aromas.
- Creamy Tomato Soup: The classic combination of warm, creamy soup pairs beautifully, creating a comforting bowl of goodness on any chilly evening.
- Caesar Salad: Crisp romaine, creamy dressing, and crunchy croutons provide a refreshing contrast, balancing the rich flavors of the bread.
- Bruschetta Toppings: Top your slices with fresh tomatoes, basil, and a drizzle of balsamic glaze for a vibrant twist that echoes the flavors found in your bread.
- Italian Antipasto Platter: Serve with cured meats, olives, and cheeses to create a delightful spread for gatherings or cozy nights in—perfect for sharing!
- Garlic Butter Shrimp: The succulent shrimp in garlic butter melds beautifully with the bread, offering a satisfying textural contrast to savor in each bite.
- Herb-Infused Olive Oil: A small dish of extra virgin olive oil dashed with herbs makes for an excellent dipping option, enhancing every slice’s flavor.
- Prosecco or White Wine: A refreshing glass of sparkling wine or chilled white provides a crisp counterpart, enhancing the meal experience with every bubbly sip.
- Lemon Sorbet: End your meal on a light yet refreshing note, cleansing the palate with a fruity sorbet that balances the savory elements of the dinner.
Storage Tips for Garlic Herb Bread
Room Temperature: Wrap the bread tightly in plastic wrap or keep it in an airtight container to retain moisture and freshness for up to 3 days.
Fridge: While not recommended, if storing in the fridge, use an airtight container. This may cause the bread to dry out faster—enjoy within 1-2 days.
Freezer: For long-term storage, place the Garlic Herb Bread in a freezer-safe bag or wrap securely in plastic and foil. It can be frozen for up to 3 months.
Reheating: To enjoy it warm again, simply microwave slices for 10-15 seconds or toast them to bring back that delightful, aromatic flavor.
Creating the Perfect Garlic Herb Bread Variations
Feel free to get creative with your Garlic Herb Bread—there are so many delicious twists you can try!
-
Cheesy Delight: Add freshly grated cheese like Parmesan or mozzarella to the dough for a gooey, cheesy interior that complements the garlic flavors beautifully.
-
Zesty Kick: Toss in a pinch of red pepper flakes or chopped jalapeños for a spicy version that will awaken your taste buds and add a delightful warmth.
-
Herb Swap: Experiment with unique herb blends; try fresh rosemary, chives, or even a touch of dill to create your very own flavor profile.
-
Savory Add-Ins: Incorporate finely chopped sun-dried tomatoes or black olives for a Mediterranean flair, adding both flavor and texture that your guests will rave about.
-
Garlic Enhancement: For garlic lovers, replace garlic powder with fresh minced garlic. It will intensify the flavor, making it a fragrant and mouth-watering treat.
-
Gluten-Free Version: Use a 1:1 gluten-free flour blend if you or your guests have dietary restrictions, allowing everyone to enjoy this delectable bread.
-
Basil Pesto Swirl: Spread a generous layer of basil pesto into the dough before shaping it, creating a delightful marbled effect that’s sure to impress.
-
Herbed Olive Oil Drizzle: Post-baking, drizzle your hot Garlic Herb Bread with a mixture of olive oil infused with garlic and herbs, creating a flavor-packed finish that’s irresistible.
Pair your Garlic Herb Bread with a bowl of warm soup or serve it alongside a vibrant salad for a complete meal experience. You might also like to enjoy it with a tantalizing side of Garlic Butter Beef to really impress your family and friends!
Perfect Garlic Herb Bread Recipe FAQs
What kind of garlic works best for Garlic Herb Bread?
Absolutely! While garlic powder offers a convenient flavor boost, fresh minced garlic provides a more robust garlic taste. If you choose fresh garlic, I recommend using about 2-3 cloves, finely minced, and adding them to the dough when mixing in the wet ingredients. This will create an aromatic depth that will elevate your bread to new heights!
How should I store my Garlic Herb Bread?
To keep your Garlic Herb Bread fresh, wrap it tightly in plastic wrap or store it in an airtight container at room temperature for up to 3 days. For longer storage, freezing is ideal! Simply place the bread in a freezer-safe bag, ensuring all air is pushed out, and it can be frozen for up to 3 months. When you’re ready to enjoy it again, just thaw it at room temperature.
Can I make Garlic Herb Bread without a bread machine?
Very! If you don’t have a bread machine, you can easily prepare this by hand. Follow the same ingredients and steps, simply using a mixing bowl to combine the ingredients. Knead the dough on a floured surface for about 8-10 minutes until smooth and elastic, then let it rise in a warm area covered with a cloth for about an hour until doubled in size before baking.
What can I do if my bread doesn’t rise?
It can be frustrating! The most common reasons for a bread not rising include using expired yeast or water that’s too hot, which can kill the yeast. Always make sure your water is warm, not hot (110°F to 115°F), and that your yeast is fresh. If your dough seems resistant, you can gently knead it for another minute or so and give it extra time to rise in a warm spot—patience is key!
Is Garlic Herb Bread suitable for people with allergies?
Certainly! This recipe is generally safe for most diets, but be cautious with those who have gluten allergies since it contains bread flour. For gluten-free options, look for a certified gluten-free flour blend and follow the same measurements. Always check with your guests regarding specific allergies, especially with garlic and herbs.
Can I freeze Garlic Herb Bread?
You bet! Freezing is a great way to keep your Garlic Herb Bread longer. After baking and cooling, wrap it tightly in plastic wrap and then in aluminum foil to prevent freezer burn. It can be frozen for up to 3 months. To reheat, let it thaw at room temperature or warm it in the oven at 350°F (175°C) for about 10-15 minutes for that fresh-out-of-the-oven experience!
Creating the Perfect Garlic Herb Bread for Cozy Nights
Ingredients
Equipment
Method
- In a medium bowl, combine 1 cup of warm water with 1 tablespoon of sugar and 2 teaspoons of active dry yeast. Stir gently and let sit for 5-10 minutes until frothy.
- Measure 3 cups of bread flour and 1 teaspoon of salt, and put them into the bread machine pan. Add 1 tablespoon of garlic powder and 2 tablespoons of Italian herb blend. Mix thoroughly.
- Pour the frothy yeast mixture into the bread machine pan over the dry ingredients. Add 2 tablespoons of olive oil. Combine well.
- Select the dough cycle on your bread machine for about 90 minutes.
- Remove the dough, punch it down gently, shape into a loaf, and let it rise for an additional 15-20 minutes if extra fluff is preferred.
- Set the bread machine to bake at 375°F for 25-30 minutes until golden brown and hollow when tapped.
- Remove from the bread machine and cool on a wire rack for 10-15 minutes before slicing.
Leave a Reply