
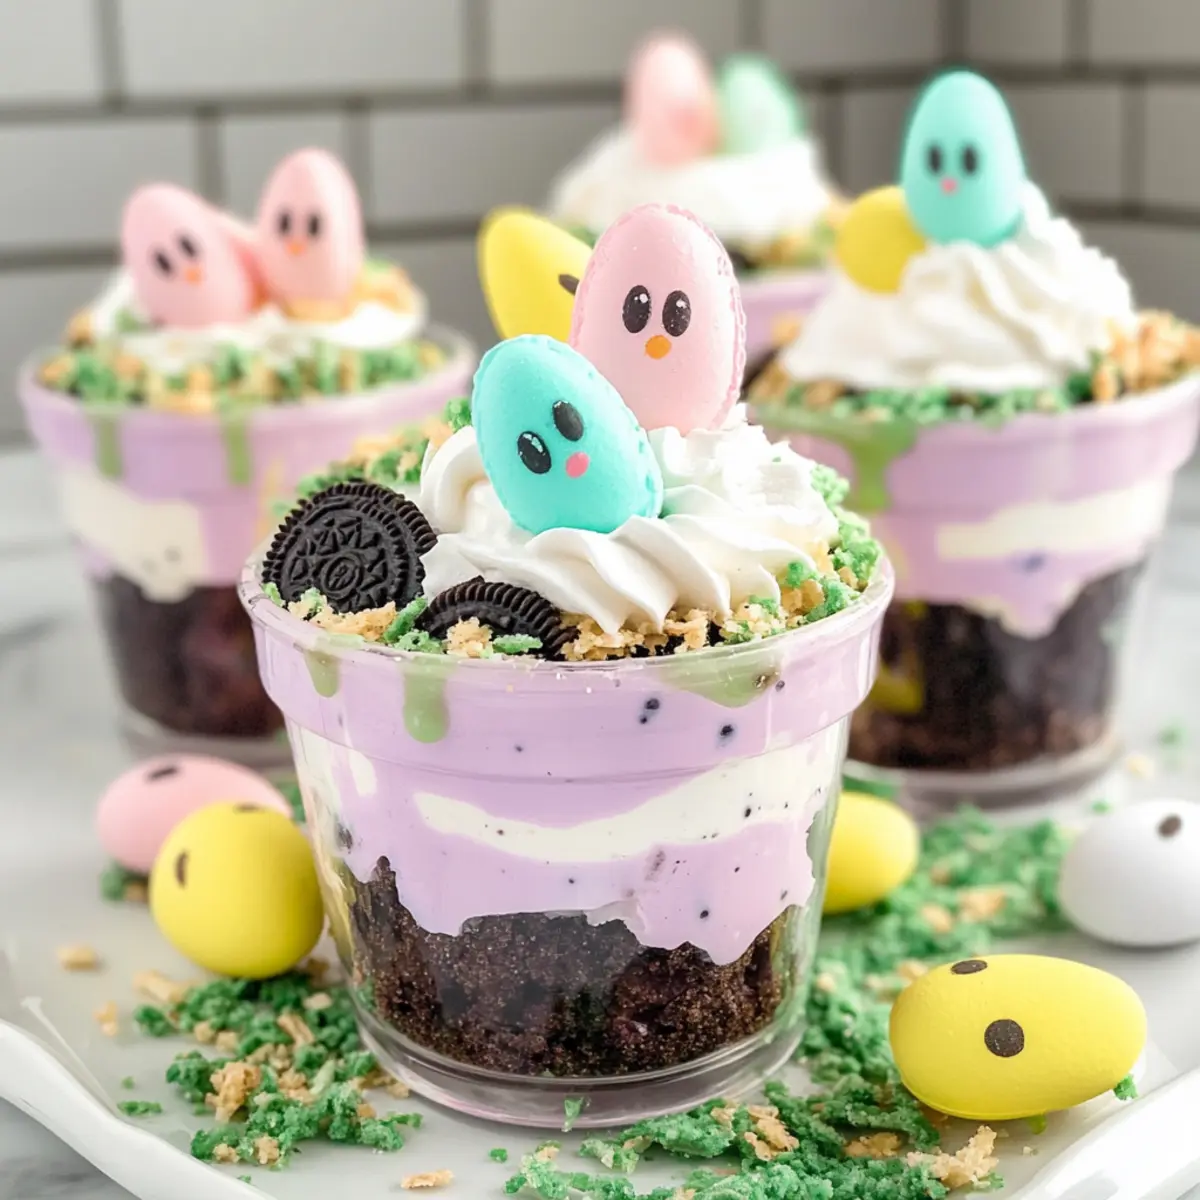
A sprinkle of color and a dash of whimsy can transform any gathering into a cherished memory, especially when it comes to desserts. With Easter just around the corner, it’s the perfect time to whip up some Easy and Festive Easter Dirt Cups! This delightful treat layers creamy vanilla pudding with fluffy Cool Whip, all nestled beneath a crunchy blanket of crushed Oreo cookies. What I love most about these Easter Dirt Cups is how simple they are to make and how quickly they disappear at family gatherings. They’re not only visually appealing with their pastel-inspired hues but also fit seamlessly into any pantry, making them a versatile option for those spontaneous celebrations. Are you ready to add a fun twist to your Easter dessert table that everyone will love?
Why Are Easter Dirt Cups So Special?
Fun and Whimsical: These Easter Dirt Cups are a delightful twist on traditional desserts that bring smiles to all ages. Simple to Make: With just a handful of pantry staples, preparation is a breeze, allowing you to spend more time celebrating. Colorful Appeal: The vibrant layers of pudding and crushed cookies make these cups a stunning centerpiece. Versatile Options: Feel free to swap out ingredients—try chocolate pudding or gluten-free cookies for a personalized touch! Plus, if you’re in the mood for other treats, check out our Mini Cheesecake Cups for more dessert inspiration.
Easter Dirt Cups Ingredients
For the Pudding Layers
- Vanilla Instant Pudding Mix – Provides a creamy base and sweetness; chocolate pudding can also be used for a different flavor.
- Cold Milk – Hydrates the pudding mix for a smooth consistency; unsweetened almond milk makes a great dairy-free substitute.
- Cool Whip (thawed) – Adds a light and airy texture; opt for homemade whipped cream for a fresher taste.
For the Crunchy Layer
- Oreo Cookies (finely crushed) – Adds the essential crunch and chocolate flavor, giving that iconic “dirt” look; swap for gluten-free cookies if needed.
For the Colorful Touch
- Food Coloring – Tints the pudding for vibrant hues; use gel coloring for the most vivid results or skip it for a classic look.
- Shredded Coconut – Represents grass when dyed green; can be omitted or replaced with green sprinkles.
For the Festive Toppings
- Candy Eggs and Peeps – These fun decorations enhance the Easter theme; feel free to choose alternative candies based on dietary preferences.
Step‑by‑Step Instructions for Easter Dirt Cups
Step 1: Prepare the Pudding Mixture
In a medium bowl, whisk together the vanilla instant pudding mix and cold milk until well combined, about 2 minutes. You’ll notice the mixture begins to thicken slightly, so let it set for an additional 5 minutes until creamy and smooth. This pudding forms the tasty base of your Easter Dirt Cups.
Step 2: Color the Pudding
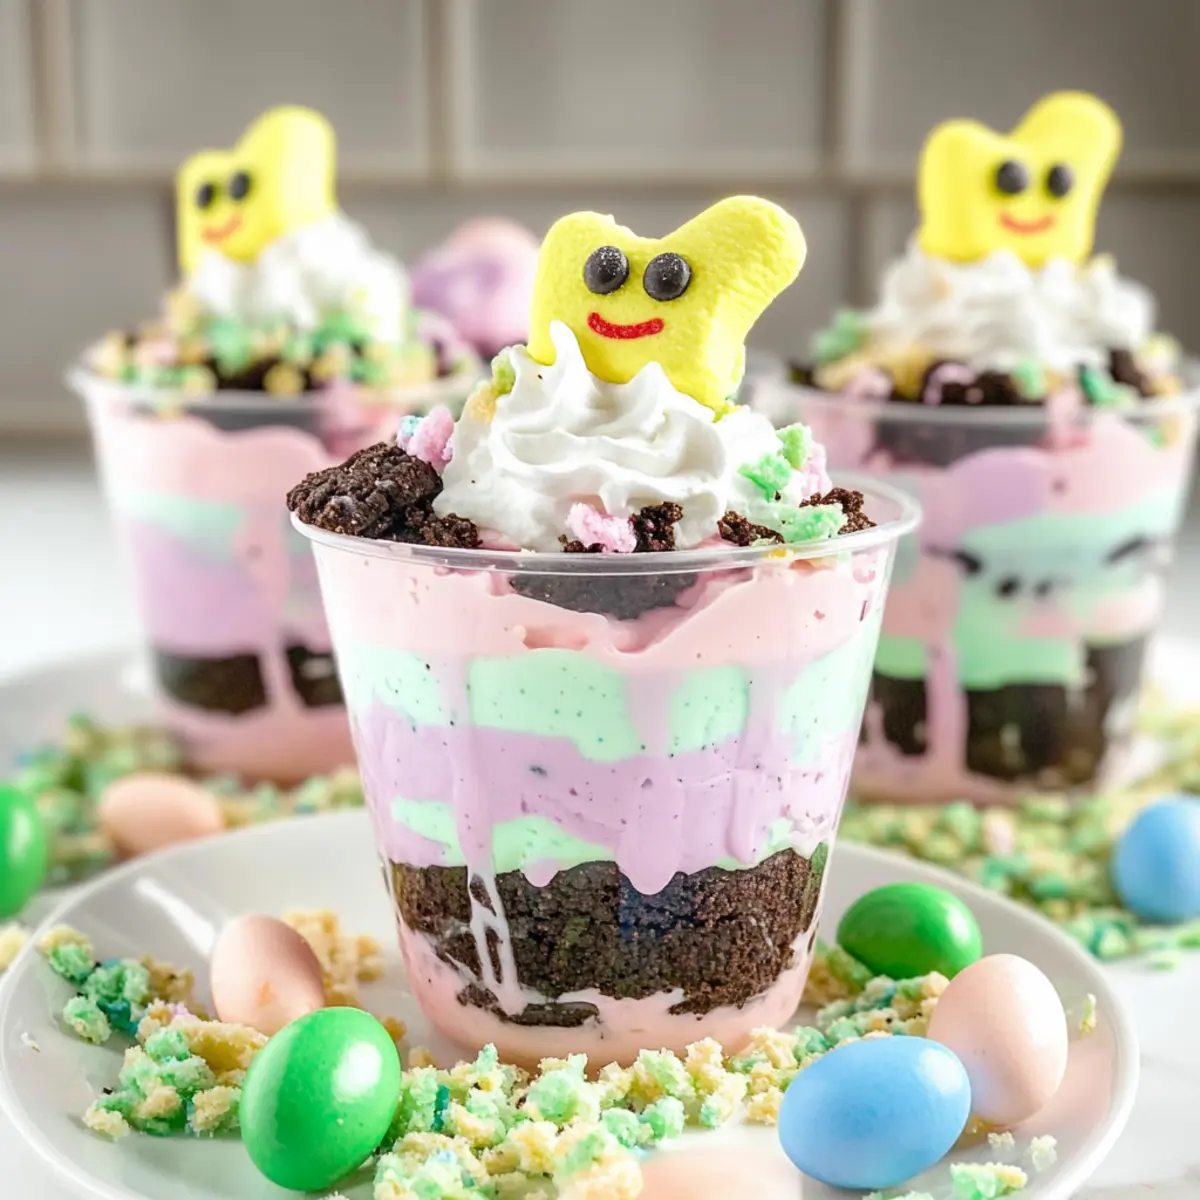
Divide the pudding mixture into two separate bowls. Add a few drops of different food coloring to each bowl, such as purple and light pink, and gently fold in the colors until fully blended and vibrant. After achieving your desired hues, carefully fold in thawed Cool Whip until the mixtures are smooth and airy, maintaining their fluffy texture.
Step 3: Build the Base Layer
Select individual serving cups or jars for your Easter Dirt Cups. Begin by adding one tablespoon of finely crushed Oreo cookies into each cup, creating a solid base layer that mimics the “dirt” look. Press the crumbs gently for stability, and this will serve as an irresistible crunchy foundation for your colorful pudding layers.
Step 4: Layer the Pudding and Crumbs
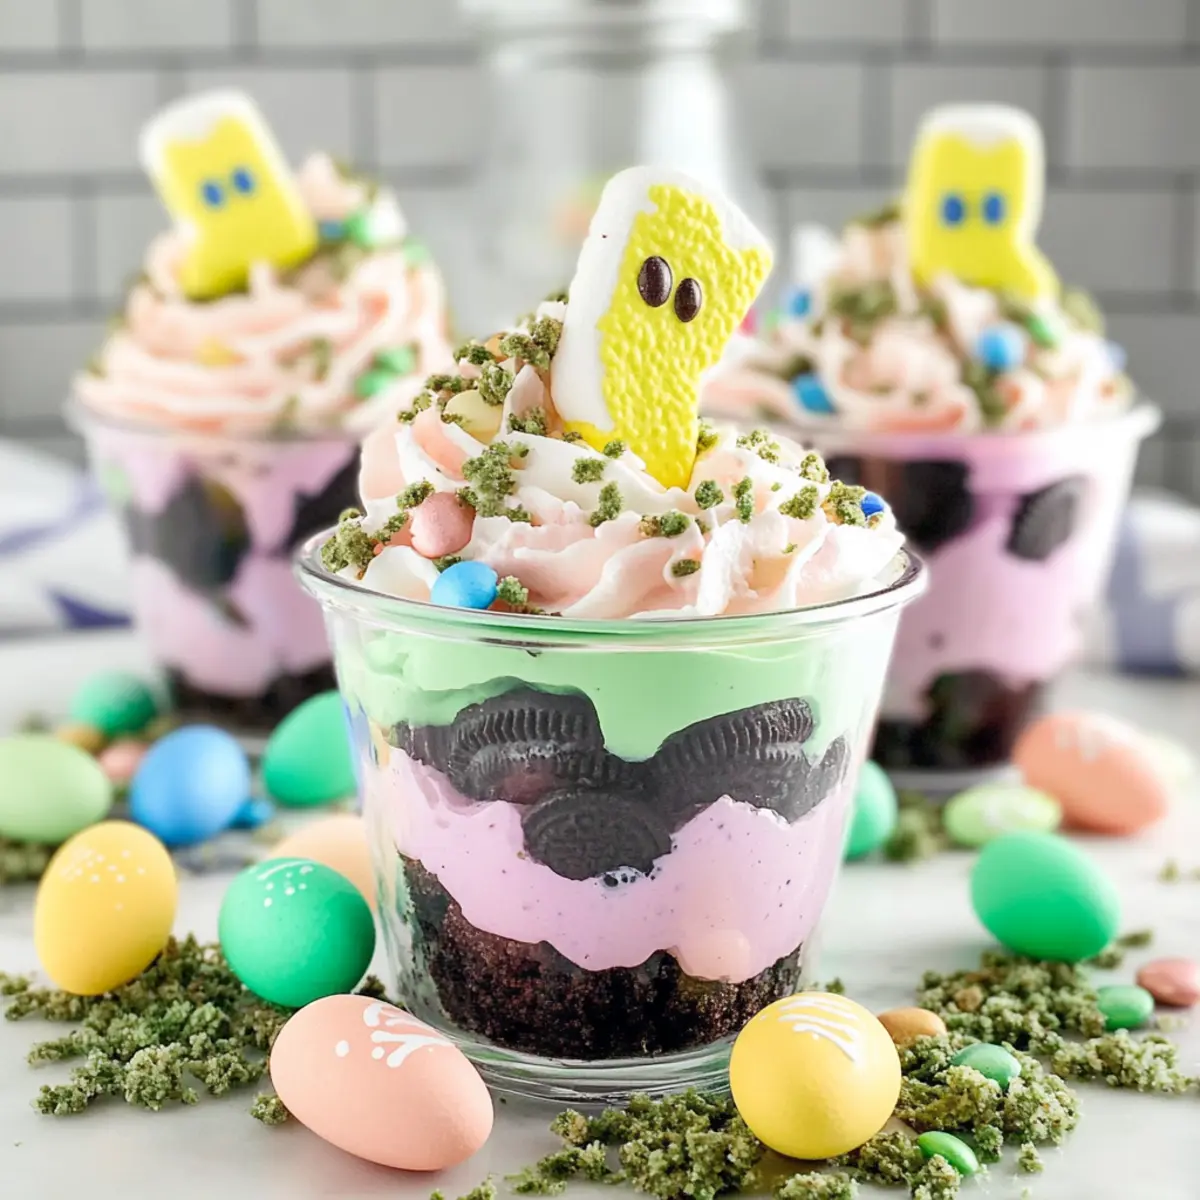
Now, alternate between the colorful pudding and crushed Oreo cookie layers in each cup. Start with one layer of your chosen color pudding, followed by more crushed Oreos, and repeat until the cup is filled, ensuring the last layer is topped with crushed cookies. Aim for a lovely visual contrast that highlights the fun of the Easter Dirt Cups.
Step 5: Tint the Coconut
In a sealed container, combine shredded coconut with a few drops of green food coloring and a splash of water. Shake vigorously until the coconut is evenly tinted, resembling fresh grass. This step adds not only color but also a playful touch to your Easter Dirt Cups, giving them a festive appeal.
Step 6: Finish with Toppings
Right before serving, sprinkle the tinted shredded coconut on top of each cup, creating a beautiful grass effect. To enhance the Easter theme, add candy eggs and adorable Peeps, arranging them playfully for the perfect finishing touch. This will make your Easter Dirt Cups a delightful centerpiece for any holiday gathering.
Step 7: Chill and Serve
For the best texture and flavor, chill the assembled Easter Dirt Cups in the refrigerator for at least 1 hour before serving. This ensures the layers meld beautifully and the pudding is refreshingly cool. Once ready, it’s time to bring out these charming treats that will surely delight family and friends during your festive celebrations.

Storage Tips for Easter Dirt Cups
-
Fridge: Store your assembled Easter Dirt Cups in an airtight container in the refrigerator for up to 3 days. This keeps them fresh and maintains their delightful creamy texture.
-
Freezer: If you want to make them ahead of time, you can freeze the individual cups for up to 1 month. Be sure to cover them tightly to prevent freezer burn. Thaw in the fridge before serving.
-
Reheating: There’s no need to heat these cups! Enjoy them chilled straight from the fridge for the best taste.
-
Make-Ahead: Consider preparing the pudding layers a day in advance and layer them just before serving. This not only saves time but also allows the flavors to meld beautifully, making your Easter Dirt Cups a great addition to your holiday dessert table.
Easter Dirt Cups Variations
Get ready to have fun customizing these delightful Easter Dirt Cups into your unique masterpiece!
-
Chocolate Twist: Substitute vanilla pudding for chocolate pudding to create a rich, decadent flavor. This variation is sure to please chocolate lovers!
-
Dairy-Free Delight: Use unsweetened almond milk instead of regular milk and opt for coconut whipped topping. The results are just as creamy without dairy!
-
Gluten-Free Option: Swap out Oreo cookies for gluten-free cookies or crushed graham crackers to accommodate dietary needs while keeping the same crunch.
-
Pistachio Grass: For a nutty twist, replace shredded coconut with green-tinted crushed pistachios, giving your Dirt Cups a unique flavor profile.
-
Fruit Infusion: Add diced strawberries or raspberries between layers for a fruity burst. It not only adds color but also a refreshing taste that brightens the dessert.
-
Caramel Drizzle: Drizzle some caramel sauce between layers for a sweet contrast. It enhances the flavors and creates a delicious gooey texture!
-
Spicy Kick: For those who love a little heat, sprinkle a dash of cayenne or chili powder atop the coconut for an unexpected kick that balances sweetness.
-
Pastel Presentation: Use pastel-colored sprinkles or edible glitter to decorate the top of each cup, enhancing the visual appeal for your Easter celebration and making them even more festive!
These variations allow you to craft the perfect Easter treat; they’re sure to be a hit at any gathering. If you love dessert ideas like this, don’t forget to check out our Mini Cheesecake Cups for more delicious inspirations!
What to Serve with Easy and Festive Easter Dirt Cups
Add a dash of creativity to your Easter table with these delightful pairings that are sure to complement your colorful dessert.
-
Fresh Fruit Medley: Juicy berries and vibrant citrus add a refreshing contrast, balancing the sweetness of the dirt cups beautifully.
-
Light Fruit Salad: A mix of seasonal fruits brings brightness to the table and enhances the celebratory atmosphere for your gathering.
-
Mini Cupcakes: Sweet little bites in various flavors can enhance your dessert spread while keeping the festive spirit alive. Consider pastel-frosted options for a cohesive look!
-
Whipped Cream Topping: Serve extra whipped cream on the side for guests to dollop over their dirt cups, adding an ultra-creamy finish that elevates the treat.
-
Sparkling Lemonade: The effervescent zest of lemonade refreshes the palate and adds an exciting pop to your Easter brunch, complementing the whimsy of the dirt cups.
-
Chocolate-Covered Strawberries: These luxurious treats bring a touch of elegance, with their rich chocolate flavor enhancing the overall experience of the dessert table.
-
Bunny-Shaped Cookies: A fun and thematic addition, these delectable cookies will not only delight the kids but also keep the Easter spirit thriving.
-
Colorful Gelatin Squares: Light and fun, these playful bites can offer a refreshing contrast in texture while maintaining the vibrant theme of your celebration.
-
Vanilla Ice Cream: A scoop of creamy vanilla ice cream served alongside can create an indulgent, nostalgic dessert experience that everyone will adore.
Helpful Tricks for Easter Dirt Cups
-
Ingredient Temperature: Ensure your cold milk is chilled before mixing; this helps the pudding thicken perfectly and creates a smooth texture for your Easter Dirt Cups.
-
Gentle Folding: When incorporating Cool Whip, use a gentle folding technique instead of stirring vigorously, to preserve the light and airy texture of the pudding layers.
-
Layering Technique: To achieve perfect layers, make sure each pudding layer is thick enough before adding the next. This not only keeps them distinct but also enhances the visual appeal.
-
Coconut Coloring: For the green coconut topping, mix it in a sealed container to avoid mess; just remember to shake it well to distribute the color evenly.
-
Chill Time: Don’t skip the chilling step! Refrigerating the cups for at least 1 hour allows the flavors to meld and the texture to firm up, making these Easter Dirt Cups even more enjoyable.
-
Creative Variations: Feel free to switch out the Oreo cookies for gluten-free options or use different flavors of pudding, like chocolate or butterscotch, to customize these cups to your taste.
Make Ahead Options
These delightful Easter Dirt Cups are perfect for meal prep, allowing you to enjoy the holidays without the last-minute rush! You can prepare the pudding layers and assemble the cups up to 24 hours in advance by storing them in the refrigerator, where they will maintain their creamy texture. Simply mix the pudding and Cool Whip, layer them with crushed Oreo cookies, and cover each cup tightly. On serving day, sprinkle the tinted shredded coconut and add the candy eggs and Peeps right before serving for that fresh, festive look. This not only saves you time but ensures that your Easter celebration is both enjoyable and stress-free!
Easter Dirt Cups Recipe FAQs
How do I select ripe ingredients for my Easter Dirt Cups?
Absolutely! For the best flavor, ensure your milk is fresh and cold for optimal pudding consistency. When choosing shredding coconut, pick a bag without preservatives for a more natural taste. If you opt for candy toppings, look for pastel-colored options that match the Easter theme.
How should I store Easter Dirt Cups, and how long do they last?
You can store your assembled Easter Dirt Cups in an airtight container in the refrigerator for up to 3 days. This keeps them fresh and ensures the creamy texture remains delightful. If you need extra time, consider making them a day ahead; just remember to cover them well!
Can I freeze my Easter Dirt Cups, and if so, how?
Yes! You can freeze the individual cups for up to 1 month. To do this, make sure each cup is tightly covered with plastic wrap or foil to prevent freezer burn. When you’re ready to enjoy them, simply thaw in the fridge for a few hours before serving!
What if my pudding isn’t thickening properly?
If your pudding isn’t thickening as expected, check to ensure you’re using cold milk and have whisked it for the full 2 minutes. Sometimes, allowing it to sit for an additional 5 minutes helps. If it still seems too runny, consider adding a little more pudding mix and whisking again until thickened.
Are there any dietary considerations for my Easter Dirt Cups?
Very! To cater to dietary restrictions, you can use unsweetened almond milk for a dairy-free option and substitute gluten-free cookies for the Oreos. Additionally, check the candy eggs and Peeps for allergens and opt for alternatives if needed. This way, everyone can enjoy these delightful treats!
Delightful Easter Dirt Cups: A Fun, Colorful Treat!
Ingredients
Equipment
Method
- In a medium bowl, whisk together the vanilla instant pudding mix and cold milk until well combined, about 2 minutes. Let it set for an additional 5 minutes until creamy and smooth.
- Divide the pudding mixture into two separate bowls. Add a few drops of different food coloring to each bowl and gently fold in the colors until fully blended and vibrant.
- Select individual serving cups or jars. Begin by adding one tablespoon of finely crushed Oreo cookies into each cup, creating a solid base layer.
- Alternate between the colorful pudding and crushed Oreo cookie layers in each cup until filled, ensuring the last layer is topped with crushed cookies.
- Combine shredded coconut with a few drops of green food coloring in a sealed container. Shake until evenly tinted.
- Sprinkle the tinted shredded coconut on top of each cup and add candy eggs and Peeps for decoration.
- Chill the assembled Easter Dirt Cups in the refrigerator for at least 1 hour before serving.
Leave a Reply