
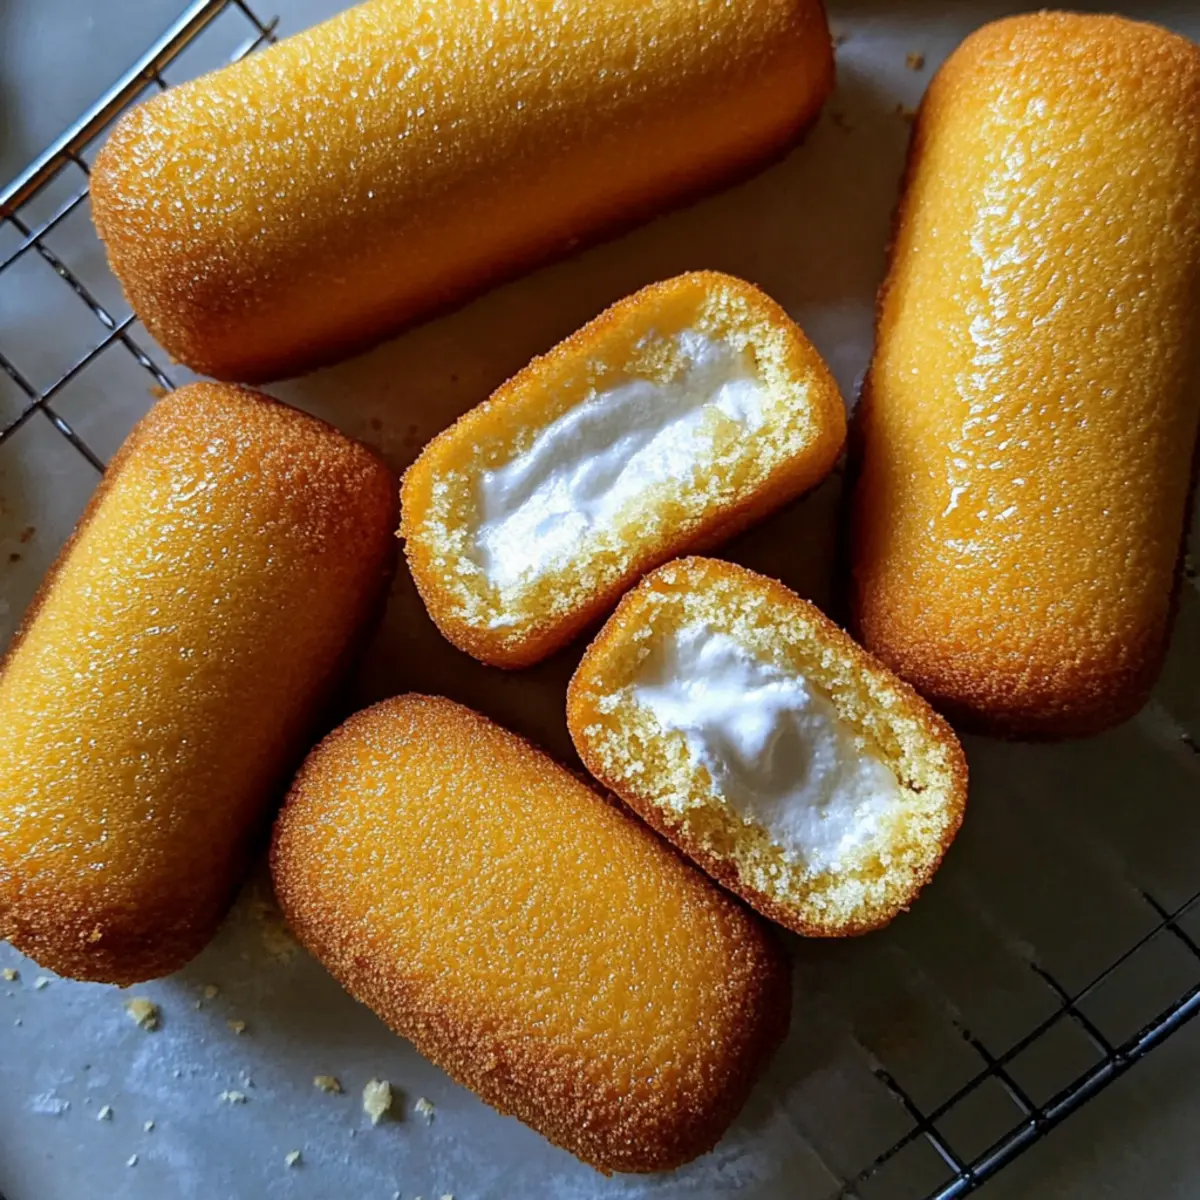
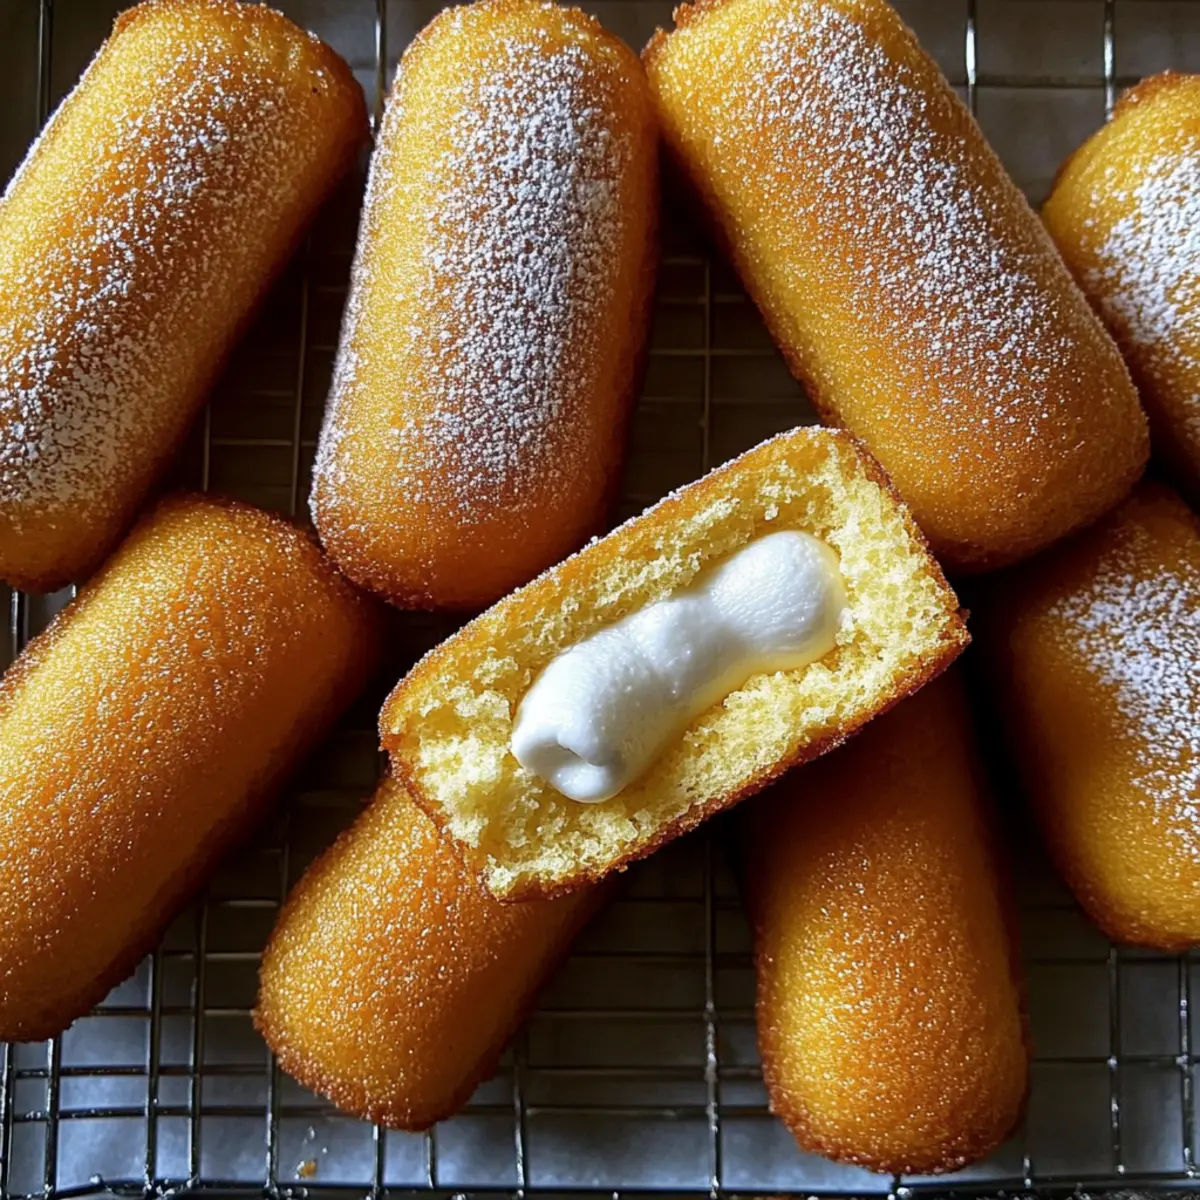
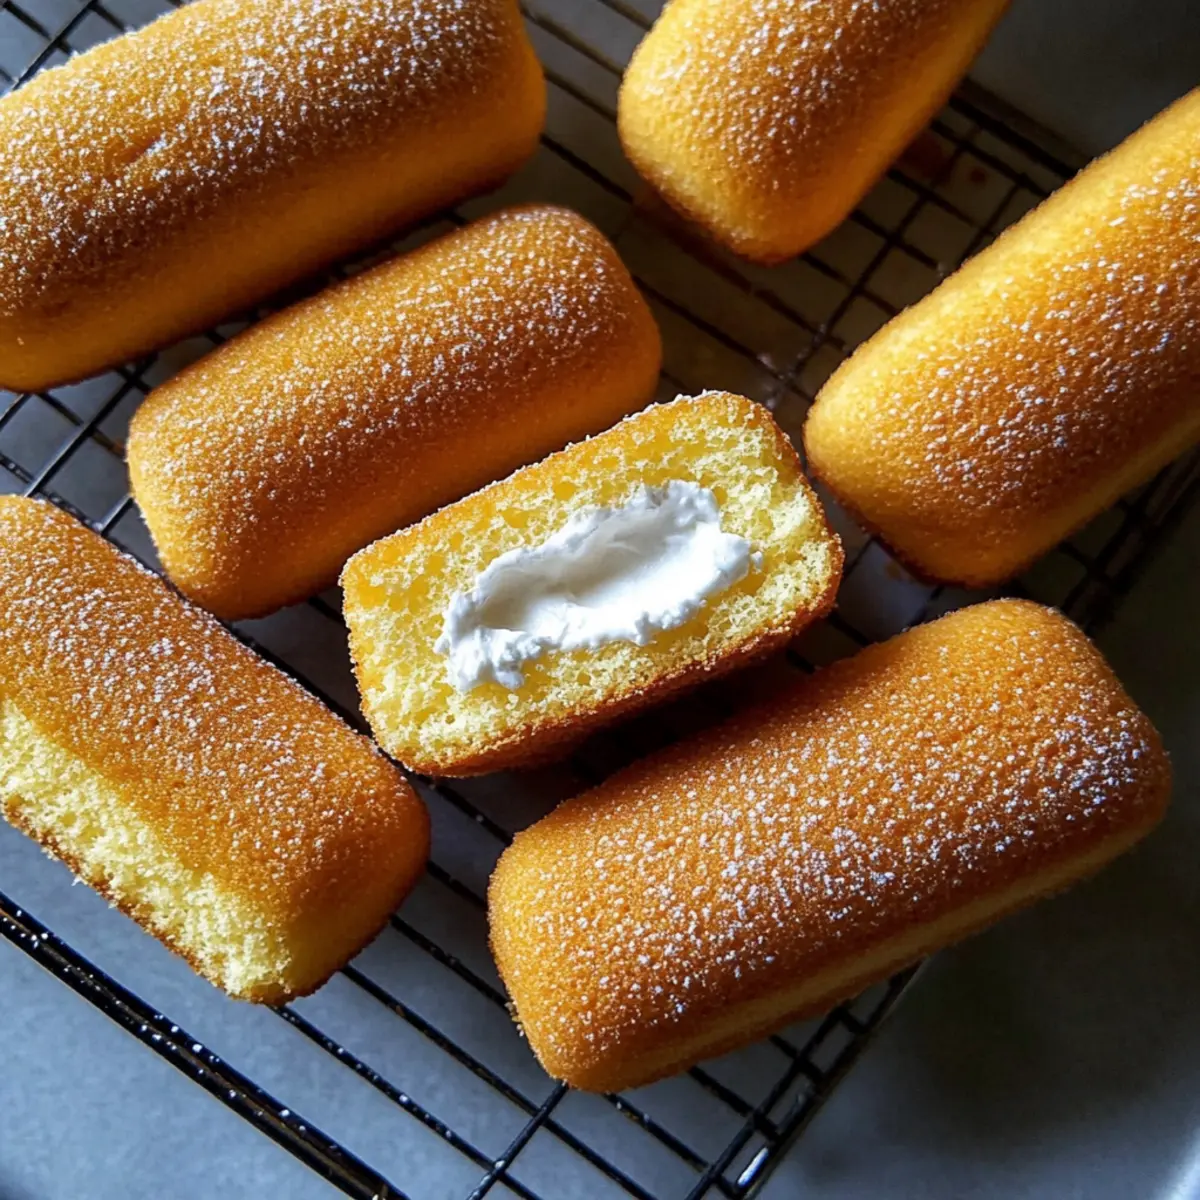
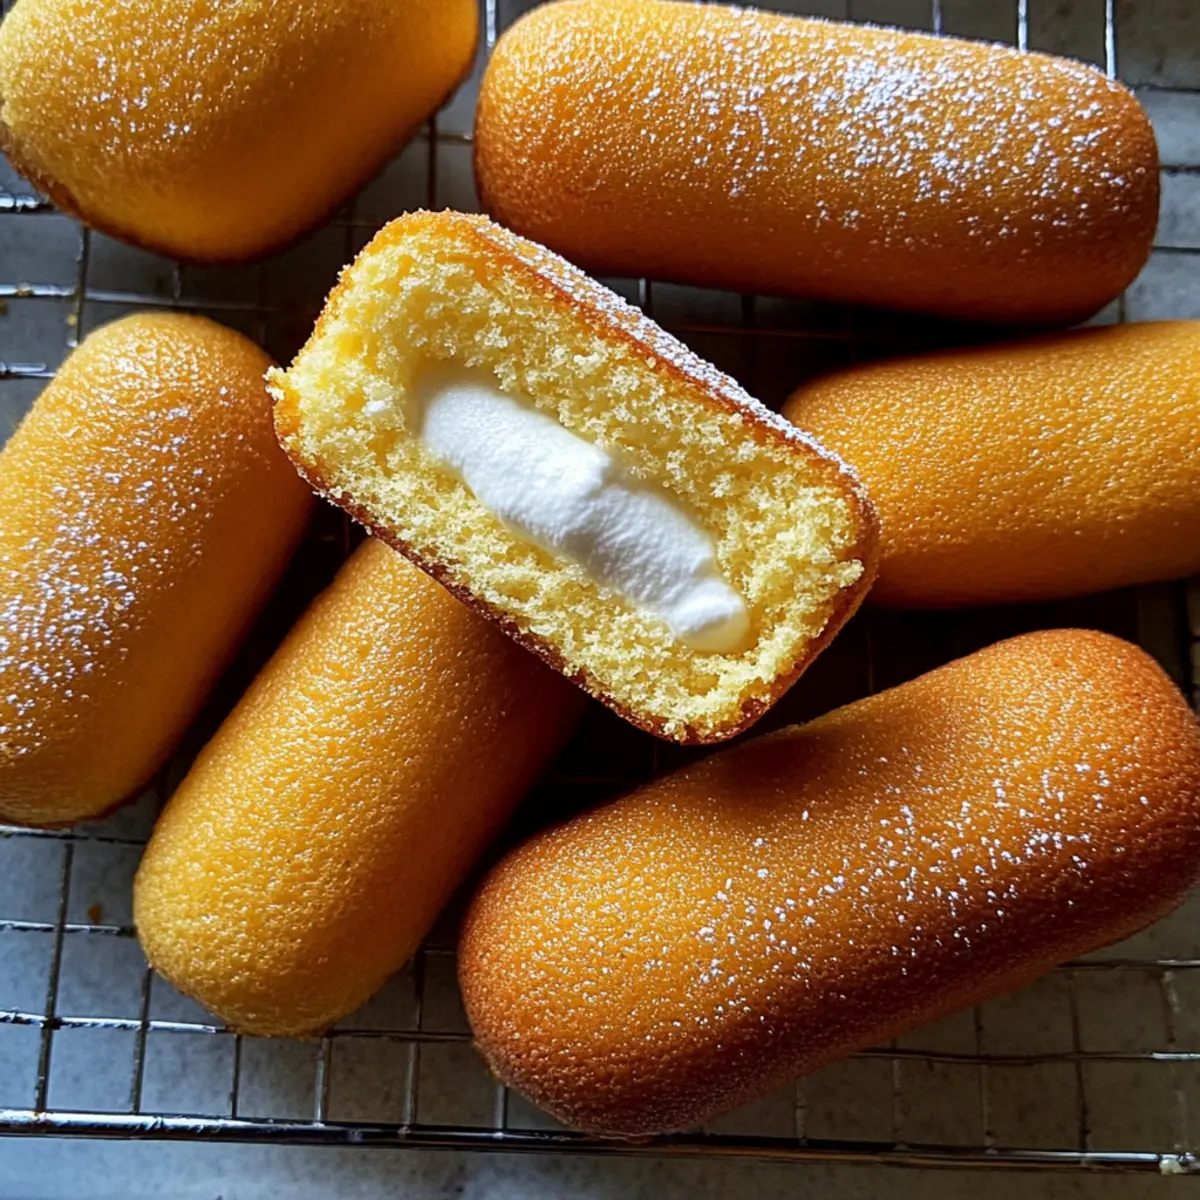
As I stood in the kitchen, the scent of fluffy sponge cake began to swirl around me, transporting me straight back to childhood afternoons filled with sweet indulgence. Today, I’m excited to share my recipe for Homemade Twinkies—a delightful, wholesome twist on the classic treat we all know and love. With the freedom to custom-tailor the flavors, you can indulge your creativity while enjoying a nostalgic snack made from real ingredients. Not only are these homemade delights free from artificial additives, but they also offer a simple and fun baking experience that the whole family can enjoy. Ready to dive into a world where childhood memories meet modern kitchen magic? Let’s make some delicious Twinkies together!
Why Are Homemade Twinkies So Irresistible?
Nostalgic Flavor: These Homemade Twinkies transport you to simpler times, bringing back fond memories with every bite.
Wholesome Ingredients: Made from scratch, the recipe uses real ingredients, ensuring a treat that’s as nourishing as it is delicious, unlike typical store-bought options.
Customizable Options: Whether you prefer chocolate sponge, fruity fillings, or festive flavors, this recipe invites your creativity to shine through.
Family Fun: Involve the kids in the baking process! Everyone will love filling and decorating their Twinkies, making it a delightful family activity.
Perfect for Any Occasion: Ideal for birthday parties, coffee breaks, or even a little afternoon snack. Everyone will adore them, making them a crowd-pleaser!
Quick and Easy: With a straightforward process, these delightful treats come together in no time, letting you enjoy your sweet creations sooner! For a little extra fun, check out more baking ideas you can enjoy with your family.
Homemade Twinkies Ingredients
For the Sponge
• All-Purpose Flour – Provides structure; use gluten-free flour for a GF option.
• Baking Powder – Acts as a leavening agent for a light texture; ensure freshness for optimal rise.
• Salt – Balances sweetness and enhances flavor; a small but essential component.
• Eggs (4 large, room temperature) – Adds moisture and stability; room temperature ensures maximum volume.
• Granulated Sugar – Adds sweetness and moisture; coconut sugar is a healthier alternative.
• Vanilla Extract – Boosts flavor; substitute with almond extract for a nice twist.
• Milk (2 tablespoons, warm) – Provides moisture; opt for non-dairy milk for a vegan version.
• Unsalted Butter (1 tablespoon, melted) – Contributes richness; can be replaced with coconut oil for dairy-free options.
For the Filling
• Unsalted Butter (1/2 cup) – Creates a creamy texture; vegan butter is a great dairy-free alternative.
• Marshmallow Creme (1/2 cup) – Essential for filling consistency; both homemade and store-bought options work.
• Powdered Sugar (1 cup) – Sweetens and adds texture; consider substituting half with cocoa powder for a chocolatey filling.
• Vanilla Extract (1 teaspoon) – Enhances flavor in the filling; perfectly complements the marshmallow.
• Heavy Cream (1 tablespoon) – Ensures smoothness; non-dairy cream alternatives can be used for vegan options.
Step‑by‑Step Instructions for Homemade Twinkies
Step 1: Preheat and Prepare
Begin by preheating your oven to 350°F (175°C). Grease a Twinkie or mini loaf pan thoroughly with butter or cooking spray to ensure easy release after baking. As the oven heats, this is a great time to gather all your ingredients, creating a cozy and organized workspace for making your delightful homemade Twinkies.
Step 2: Mix Dry Ingredients
In a medium bowl, sift together 1 cup of all-purpose flour, 1 tablespoon of baking powder, and 1/4 teaspoon of salt to ensure even mixing and aeration. This step is crucial for a light and fluffy sponge cake. Set the bowl aside and breathe in the warm, inviting scent of the flour as you prepare for the next steps.
Step 3: Beat Eggs and Sugar
In a large mixing bowl, combine 4 large eggs and 3/4 cup of granulated sugar. Using an electric mixer, beat the mixture on medium-high speed for about 6-8 minutes, or until it becomes thick, pale, and doubles in volume. This process incorporates air, essential for creating the fluffy texture in your homemade Twinkies.
Step 4: Fold in Dry Ingredients
Gently fold the dry ingredients from Step 2 into the egg mixture using a large spatula. Be careful to avoid deflating the batter; you want to keep that lightness! Fold until just combined, ensuring that no flour pockets remain visible. The batter should be smooth with a slightly airy consistency, perfect for your Twinkies.
Step 5: Add Milk and Butter
In a separate small bowl, mix 2 tablespoons of warm milk and 1 tablespoon of melted unsalted butter. Slowly fold this mixture into the cake batter from Step 4, ensuring even distribution. As you combine, you’ll notice the batter becomes even more luscious and velvety, setting the stage for a delightful homemade treat.
Step 6: Fill and Bake
Carefully fill each cavity of the prepared Twinkie pan about three-quarters full with the batter, leveling off the tops. Place the pan in the preheated oven and bake for approximately 12-15 minutes. You’ll know they’re done when the tops are golden brown and a toothpick inserted in the center comes out clean.
Step 7: Cool Completely
Once your homemade Twinkies are golden and lovely, remove the pan from the oven. Let them cool in the pan for about 5 minutes before transferring them to a wire rack to cool completely. This cooling process is vital—if they’re warm, the filling can melt, leading to the need for a thicker filling, which we want to avoid!
Step 8: Prepare the Filling
In a large bowl, beat 1/2 cup of softened unsalted butter until light and fluffy. Gradually add in 1/2 cup of marshmallow creme, 1 cup of powdered sugar, 1 teaspoon of vanilla extract, and 1 tablespoon of heavy cream. Mix until it becomes smooth and creamy, creating an irresistible filling for your homemade Twinkies.
Step 9: Fill the Twinkies
Using a piping bag, fill each cooled sponge cake with the prepared filling through the holes at the bottom of each Twinkie. As you fill, watch for any signs that the cakes are satisfied! Once decorated, your delicious homemade Twinkies are ready to eagerly await their moment to be devoured.
What to Serve with Homemade Twinkies
Savoring these delightful treats calls for the perfect accompaniment to elevate your homemade experience.
- Fresh Berries: Juicy strawberries and blueberries provide a burst of freshness, balancing the sweetness of the Twinkies beautifully.
- Vanilla Ice Cream: The creamy, cold texture of vanilla ice cream contrasts perfectly with the fluffy sponge and rich filling, making for a classic pairing.
- Chocolate Sauce: Drizzle some chocolate sauce over the Twinkies for an indulgent twist that will delight any chocolate lover.
- Whipped Cream: Light and fluffy whipped cream adds an elegant touch, making your Twinkies feel like a special dessert for gatherings or celebrations.
- Coffee: A warm cup of coffee pairs wonderfully with the sweet flavor of the Twinkies, providing a delightful balance to your snack time.
- Homemade Lemonade: The refreshing tartness of homemade lemonade cuts through the sweetness, creating a delightful contrast that’s perfect for a summer treat.
- Chocolate Milk: For a nostalgic twist, serve with a tall glass of chocolate milk—a combination that will satisfy any sweet tooth!
Adding these simple yet flavorful accompaniments will transform your homemade Twinkies into a memorable experience, perfect for sharing with friends and family!
How to Store and Freeze Homemade Twinkies
Room Temperature: Store your homemade Twinkies in an airtight container at room temperature for up to 2 days to maintain their delightful texture and flavor.
Fridge: For extended freshness, keep them in the refrigerator in an airtight container for up to 4-5 days. This helps prevent any spoilage while maintaining the taste.
Freezer: To freeze, wrap individual Twinkies in plastic wrap and place them in a freezer-safe bag or container. They can last up to 2 months—just thaw at room temperature when ready to enjoy!
Reheating: If you prefer them warm, reheat in the microwave for about 10-15 seconds. This brings back that freshly-baked feeling without sacrificing the creamy filling of your homemade Twinkies.
Homemade Twinkies: Endless Possibilities
Feel free to unleash your creativity with these delightful treats, inviting you to explore different flavors and textures!
-
Chocolate Sponge: Swap the vanilla sponge for a rich chocolate cake base for a decadent twist that’s sure to please any chocolate lover.
-
Dairy-Free: Substitute regular milk and butter with almond milk and coconut oil, plus vegan butter for the filling, to make these treats suitable for a dairy-free lifestyle.
-
Fruit-Flavored Filling: Replace the marshmallow creme with berry preserves or lemon curd for a refreshing fruity bite. Imagine the burst of flavor with every indulgent mouthful!
-
Nutty Delight: Add chopped nuts or nut butter to the filling for a delightful crunch that complements the creamy texture and adds an exciting taste profile.
-
Spicy Kick: For those who love heat, add a pinch of cayenne pepper or a dash of cinnamon to the batter or filling. This unexpected twist will astonish anyone who’s used to the standard flavor.
-
Seasonal Themes: Consider adding seasonal spices like pumpkin spice or eggnog flavoring during the fall and winter, making these Twinkies perfect for holiday gatherings or celebrations.
-
Chocolate Chips: Stir in chocolate chips directly into the batter for an extra indulgent surprise hidden within your Twinkies. Each bite offers a delightful burst of sweetness!
-
Themed Decorations: Get creative with colorful sprinkles or edible glitter on top after filling the Twinkies, adding a festive touch for celebrations or special occasions.
By considering these variations, you can ensure each batch of your Homemade Twinkies is uniquely delicious and sure to impress family and friends!
Expert Tips for Homemade Twinkies
Room Temperature Eggs: Be sure your eggs are at room temperature before whipping to achieve maximum volume for a light and airy sponge.
Gentle Folding: When combining the dry ingredients with the egg mixture, fold gently. Over-mixing can lead to a dense final texture—nobody wants that in homemade Twinkies!
Thorough Cooling: Allow your cakes to cool completely before filling. If they’re still warm, the filling can melt and become too runny, impacting the delightful creaminess.
Piping Bag Usage: Using a piping bag makes filling your Twinkies neat and enjoyable. It’s also a great way to include children in the fun of homemade Twinkies!
Customization Ideas: Don’t hesitate to experiment with different flavored extracts or fillings. Adding a little cocoa powder can create a chocolate twist that takes your Twinkies to the next level.
Make Ahead Options
These Homemade Twinkies are a fantastic option for busy home cooks looking to simplify their weeknight baking! You can prepare the sponge cakes up to 24 hours in advance by baking and allowing them to cool completely. Once cooled, store them in an airtight container at room temperature to maintain their fluffy texture. Additionally, you can prepare the filling ahead of time and refrigerate it for up to 3 days. Just remember to give it a quick stir before using to restore its creamy consistency. When you’re ready to serve, simply fill the cooled cakes with the prepared filling and watch everyone enjoy this delectable, nostalgic treat without the rush!
Homemade Twinkies Recipe FAQs
How can I select the best ingredients for my Homemade Twinkies?
Absolutely! When selecting eggs, look for ones that are free-range or organic for better flavor and freshness. For flour, choose all-purpose or a gluten-free blend. Ensure your baking powder is fresh—if it bubbles vigorously in warm water, it’s good to use.
What’s the best way to store Homemade Twinkies?
Very! Store your homemade Twinkies in an airtight container. At room temperature, they will stay fresh for up to 2 days. If you want them to last longer, keep them in the refrigerator for 4-5 days, and prevent excessive moisture, which can affect texture.
Can I freeze Homemade Twinkies, and how?
Definitely! To freeze your homemade Twinkies, wrap each one tightly in plastic wrap, making sure there’s no exposed sponge. Place the wrapped Twinkies in a freezer-safe container or bag. They will stay good for up to 2 months. When you’re ready to enjoy, simply thaw them at room temperature for a delightful treat.
What should I do if my sponge cakes turn out dense?
Oh no! Density in your Homemade Twinkies can happen if the batter is over-mixed. I recommend gently folding in dry ingredients to keep the airiness of the batter intact. Additionally, ensure your eggs are properly whipped to maximum volume before combining. If they still turn out dense, check that your baking powder is fresh to ensure that lovely rise.
Are there any dietary considerations I should keep in mind with this recipe?
Absolutely! For those with gluten sensitivities, use a gluten-free flour blend as a substitute. You can also substitute granulated sugar with coconut sugar for a less processed sweetener. For vegan options, replace the butter with coconut oil or vegan butter, and the milk with non-dairy alternatives. Always check marshmallow creme labels for allergens if you’re sharing with others.
Homemade Twinkies Your New Favorite Wholesome Treat
Ingredients
Equipment
Method
- Preheat your oven to 350°F (175°C) and grease a Twinkie pan thoroughly.
- In a bowl, sift together flour, baking powder, and salt.
- Beat eggs and sugar until thick and pale, about 6-8 minutes.
- Fold the dry ingredients gently into the egg mixture.
- Mix warm milk and melted butter, then fold into the batter.
- Fill the Twinkie pan about three-quarters full and bake for 12-15 minutes.
- Cool in the pan for 5 minutes before transferring to a wire rack.
- Beat softened butter, marshmallow creme, powdered sugar, vanilla, and cream until smooth for filling.
- Use a piping bag to fill each cooled sponge cake through the holes.
Leave a Reply