
Imagine diving into a bowl of creamy goodness that feels like a silky hug on a hot day! This no-churn peanut butter ice cream is perfect for peanut butter lovers and offers an easy way to satisfy those sweet cravings without the fuss of an ice cream maker. With just five ingredients, you’ll be treating yourself to a delightful blend of rich peanut butter and chunks of peanut butter cups in every bite. Plus, it’s a breeze to whip up—ideal for anyone who wants to spend more time enjoying dessert than preparing it! Ready to discover how to turn a few pantry staples into a dreamy frozen delight? Let’s get started!
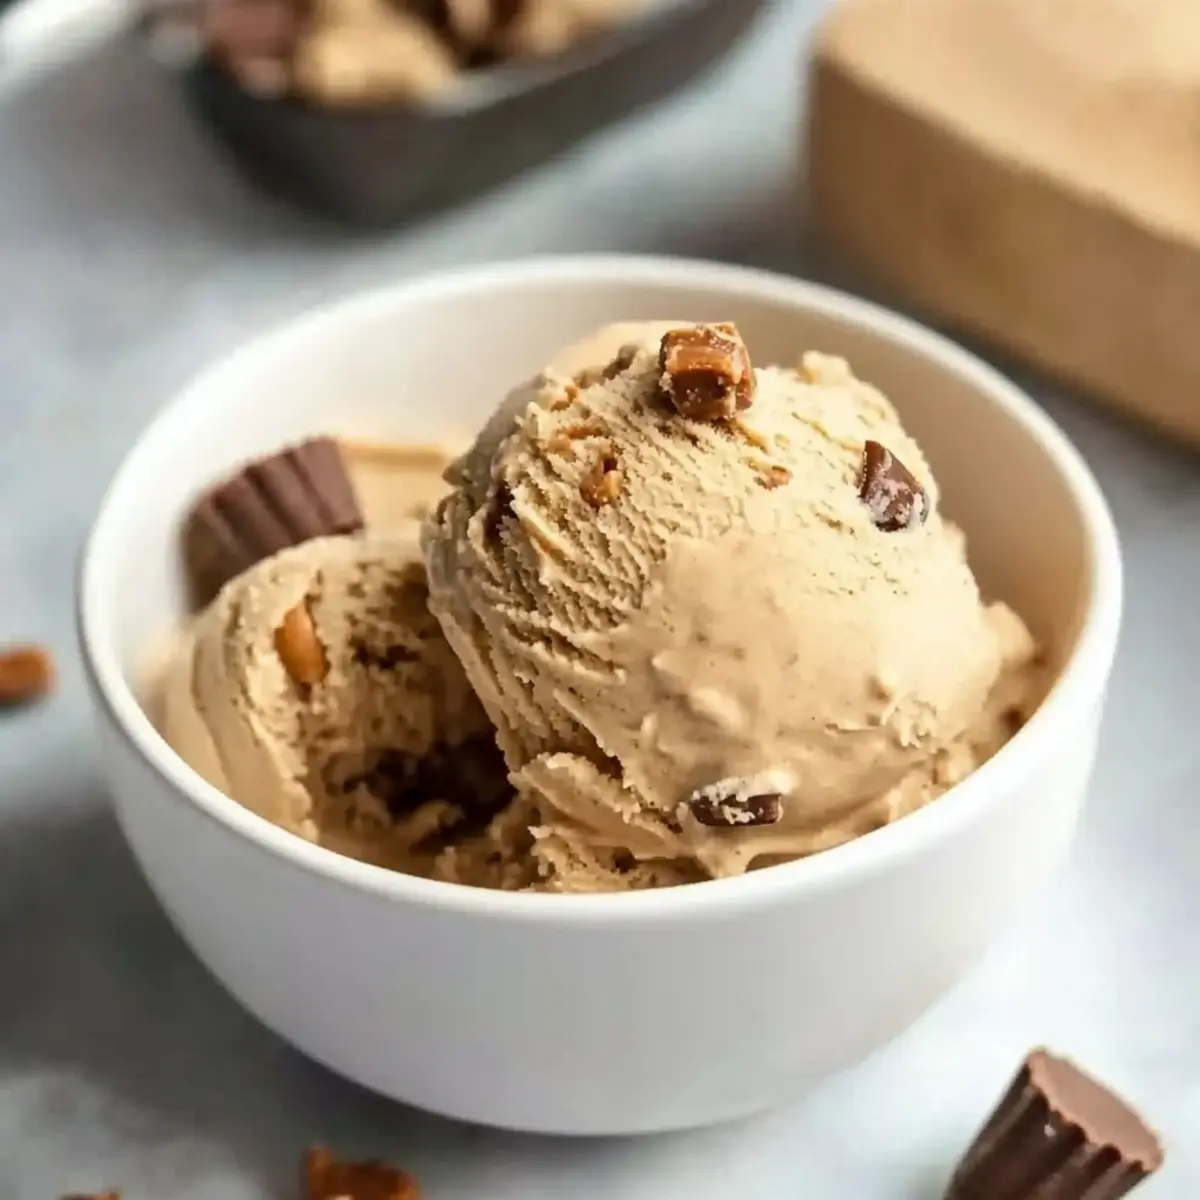
Why is this ice cream so irresistible?
Creamy, Dreamy Texture: This no-churn peanut butter ice cream is a sublime balance of creamy and crunchy, thanks to the luscious peanut butter and delightful chunks of peanut butter cups.
Effortless Preparation: With only five simple ingredients, this recipe requires no fancy gadgets—just a mixing bowl and your kitchen whisk!
Quick Satisfaction: You can whip it up in minutes, making it a fantastic option for those last-minute cravings or impromptu summer gatherings.
Versatile Treat: Customize this treat by swapping out peanut butter cups for your favorite chocolate candies or even adding a swirl of fudge—it’s all about your taste!
Crowd-Pleasing Dessert: Friends and family will rave about this decadent dessert, making it the perfect addition to any get-together. Don’t forget to check out my Garlic Butter Beef for a savory bite after your sweet indulgence!
Peanut Butter Ice Cream Ingredients
• A delightful blend awaits you!
For the Ice Cream Base
- Creamy Peanut Butter – Provides rich flavor and creaminess; avoid natural peanut butter for a smoother texture.
- Sweetened Condensed Milk – Acts as a sweetener and stabilizer for that perfect consistency.
- Pure Vanilla Extract or Vanilla Bean Paste – Enhances the overall flavor with a subtle vanilla hint.
- Heavy Whipping Cream – Creates a light and fluffy texture that’s essential for ice cream.
For the Mix-Ins
- Full Size Peanut Butter Cups or Miniature Peanut Butter Cups – Adds delightful chunks that elevate your peanut butter ice cream; feel free to swap for any chocolate candy you prefer!
Step‑by‑Step Instructions for Peanut Butter Ice Cream
Step 1: Melt Peanut Butter
Begin by placing the creamy peanut butter in a microwave-safe bowl. Heat it in the microwave in 20-30 second increments, stirring in between until smooth and completely melted. This step should take around 1 to 2 minutes. The melted peanut butter will blend seamlessly with the other ingredients, ensuring a rich flavor in your peanut butter ice cream.
Step 2: Combine Mixture
Once the peanut butter is melted, whisk in the sweetened condensed milk and pure vanilla extract until thoroughly combined. This should take about 1 to 2 minutes, resulting in a glossy, cohesive mixture. The sweetened condensed milk acts as a sweetener and stabilizer, making it essential for the creamy texture of your ice cream.
Step 3: Whip Cream
Next, in a separate mixing bowl, pour in the heavy whipping cream. Use an electric mixer to whip the cream on low speed until it begins to thicken, then increase the speed to medium-high until stiff peaks form—this usually takes about 3 to 5 minutes. The whipped cream is crucial for the light, fluffy texture that makes your peanut butter ice cream delightful.
Step 4: Fold Mixtures Together
Gently fold half of the whipped cream into the peanut butter mixture using a rubber spatula, being careful not to deflate the cream. Once combined, fold in the remaining whipped cream until just blended—this should be done quickly, around 1 to 2 minutes. The aim is to create a light and airy base for your creamy peanut butter ice cream.
Step 5: Add Peanut Butter Cups
Now, take your chopped peanut butter cups and gently fold them into the mixture. This step will add delightful chunks throughout your ice cream, enhancing both the flavor and texture. Be careful not to over-mix; you want to keep the airiness intact while ensuring peanut butter cups are evenly distributed.
Step 6: Freeze
Transfer the mixture into a 9×5 loaf pan, smoothing the top with a spatula. Cover it tightly with plastic wrap, ensuring no air can get in. Freeze for at least 8 hours or overnight for best results. This will allow your peanut butter ice cream to firm up perfectly, ready to be enjoyed as a rich, creamy treat.
Make Ahead Options
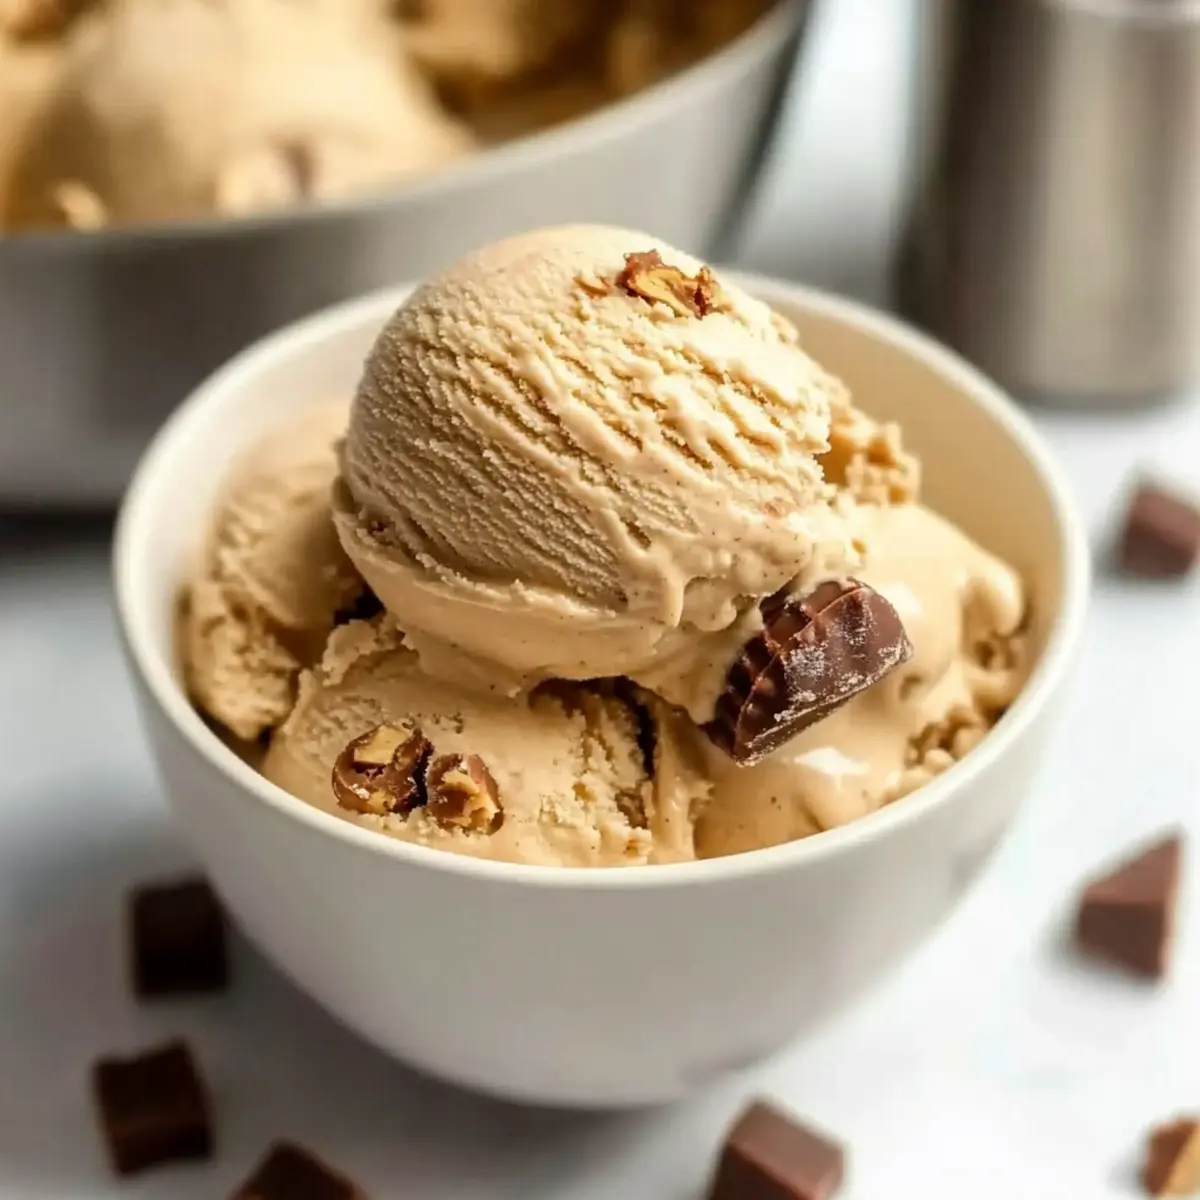
These creamy no-churn peanut butter ice cream treats are perfect for busy cooks looking to save time! You can prepare the base mixture and refrigerate it for up to 24 hours before freezing, ensuring optimal flavor and texture. Simply follow the instructions through the folding of the whipped cream step, then cover the bowl tightly and place it in the fridge. When you’re ready to finish, fold in the chopped peanut butter cups, transfer the mixture to a loaf pan, and freeze for at least 8 hours or overnight. This make-ahead option not only saves time but also allows you to enjoy this delightful peanut butter ice cream without the rush!
Storage Tips for Peanut Butter Ice Cream
Fridge: Store any leftover peanut butter ice cream in the fridge for a short time (up to 1 hour) if it’s chilled. However, it’s best served fresh from the freezer.
Freezer: Keep your peanut butter ice cream in an airtight container or tightly covered with plastic wrap, where it will stay fresh for up to 2-3 months, maintaining its delicious texture.
Reheating: If your ice cream becomes too hard, let it sit at room temperature for about 5-10 minutes before scooping. This will make it easier to serve and enjoy!
Enjoy Fresh: For the best flavor and texture, try to consume your peanut butter ice cream within a month for an irresistible treat!
Peanut Butter Ice Cream Variations
Feel free to personalize this creamy delight to suit your taste buds and dietary needs!
-
Nut-Free: Substitute peanut butter with almond or cashew butter and use nut-free chocolate candies for a delicious alternative. The rich flavor remains, minus the peanuts!
-
Extra Crunch: Mix in chopped pretzels or crushed waffle cones for a delightful crunch that contrasts beautifully with the creamy texture. This adds a playful twist that’ll keep everyone coming back for more.
-
Chocolate Lover: Add chocolate syrup into the mixture before freezing for a rich and decadent chocolate-peanut butter experience. You might even want to drizzle some more on top when serving!
-
Vegan Delight: Use coconut cream instead of heavy whipping cream, replace sweetened condensed milk with coconut milk, and swap peanut butter with almond butter for a plant-based version. Your friends won’t even know it’s vegan!
-
Heat Factor: Mix in a pinch of cayenne pepper or chili powder to create a fun spicy-sweet combination. This twist will surprise and delight your taste buds, making every scoop a little adventure.
-
Berry Bliss: Add a few tablespoons of fresh strawberry or raspberry puree to the base for a fruity twist that complements the richness of the peanut butter. Think summer flavors with a creamy twist!
-
Fudge Swirl: Drizzle some homemade or store-bought fudge sauce into the ice cream mixture before freezing for a delightful chocolate-peanut butter swirl. It adds visual appeal and an extra layer of flavor.
Looking for more scrumptious dessert inspirations? Try my delightful Maple Butter Pecan treat or satisfy your savory cravings with Garlic Butter Zucchini skewers!
What to Serve with No-Churn Peanut Butter Ice Cream
Imagine a warm evening, the sun setting and your favorite people gathered around, indulging in a sweet delight that brings smiles to everyone’s face.
-
Chocolate Fudge Sauce: Drizzling warm chocolate fudge enhances the ice cream’s richness, creating a combination that melts in your mouth. The gooey texture complements the creamy ice cream perfectly.
-
Salty Pretzel Bites: The crunch and saltiness of pretzel bites provide a wonderful contrast to the sweet, creamy ice cream. Pairing them with a little peanut butter dip takes the flavor to the next level!
-
Fresh Berries: Strawberries or raspberries add a burst of freshness and a slight tartness that balances the sweetness of the ice cream. Their vibrant colors also make the dessert more visually appealing.
-
Homemade Waffle Cones: Serve the ice cream in crispy waffle cones for a delightful crunch. You can even dip the edges in melted chocolate for that extra touch of indulgence.
-
Caramel Drizzle: A swirl of caramel enhances the flavor profile, offering a sweet and buttery element that harmonizes beautifully with the peanut butter.
-
Coconut Macaroons: Chewy coconut macaroons provide a tropical texture and sweetness. Their rich flavor will complement the peanut butter ice cream, making for a decadent dessert experience.
-
Iced Coffee: The rich, bitter notes of iced coffee create a perfect pairing, cutting through the sweetness of the ice cream while complimenting the nutty flavors.
-
Chocolate Chip Cookies: Warm, gooey cookies offer the ultimate nostalgic pairing. A scoop of ice cream between two cookies makes for a delightful ice cream sandwich that everyone will love.
Expert Tips for Peanut Butter Ice Cream
Smooth Peanut Butter: Ensure your peanut butter is fully melted and smooth to avoid any lumps in the ice cream mixture.
Careful Mixing: Gently fold the whipped cream into the peanut butter mixture to retain its airy texture; overmixing can make the ice cream dense.
Proper Freezing: Cover the ice cream tightly with plastic wrap to prevent ice crystals, which can ruin the creamy texture of your peanut butter ice cream.
Mix-In Varieties: Feel free to experiment with different candy mix-ins—chocolate chips or crushed cookies can provide delicious alternatives to peanut butter cups.
Storage Strategy: Store your ice cream in an airtight container to keep it fresh for up to 2-3 months; this makes for easy access to this delightful treat!
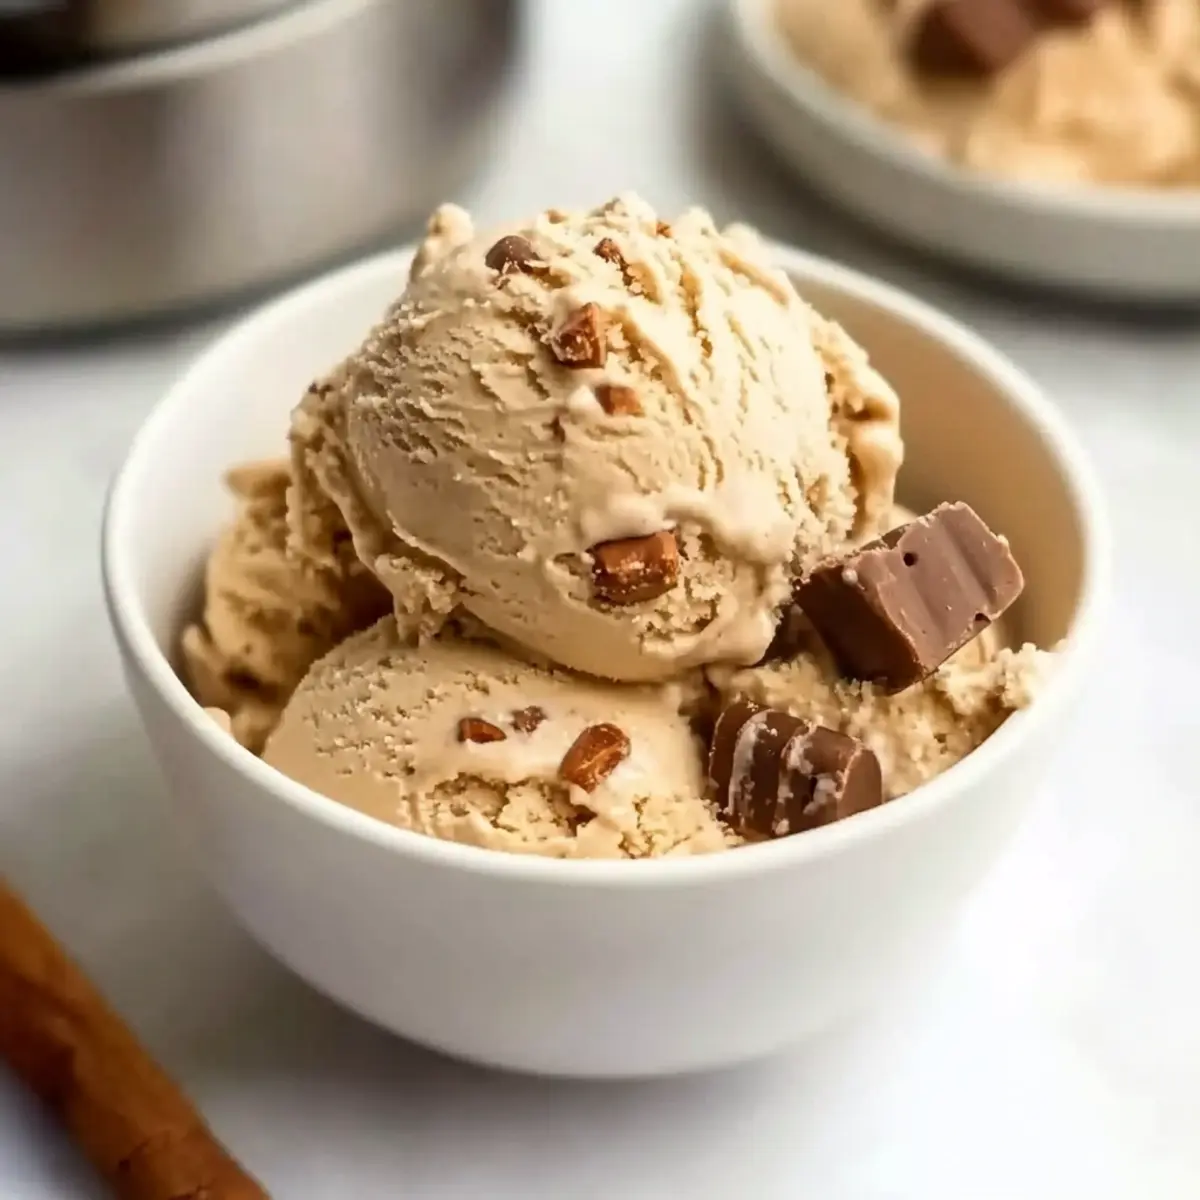
Peanut Butter Ice Cream Recipe FAQs
What type of peanut butter should I use?
I recommend using creamy peanut butter for this recipe, avoiding natural peanut butters as they can affect the texture significantly. Look for a brand that is smooth and free of lumps to ensure your ice cream has that luxurious consistency.
How should I store my peanut butter ice cream?
Store your peanut butter ice cream in an airtight container or tightly wrapped with plastic wrap in the freezer. It will stay fresh for up to 2-3 months. This method helps maintain its creamy texture, ensuring each scoop is as delightful as the first!
Can I freeze any leftover peanut butter ice cream?
Absolutely! If you have leftovers, you can freeze them in the same airtight container. If your ice cream becomes rock hard, let it sit at room temperature for about 5-10 minutes before scooping. This will make it easier to serve without compromising on taste.
What should I do if my ice cream is too dense or icy?
If your ice cream turns out too dense, it could be due to overmixing the whipped cream or improper freezing. Make sure to gently fold the ingredients and cover the ice cream tightly to prevent ice crystals from forming. If you experience ice crystals, it’s best to smooth them out when serving for a more enjoyable texture.
What if I have nut allergies?
For those with nut allergies, this peanut butter ice cream can be adapted by using sunflower seed butter or a similar nut-free alternative. Just be sure to choose nut-free mix-ins as well, like chocolate candies, to ensure the recipe is safe for everyone to enjoy.
Can I customize the mix-ins?
Absolutely! Mix-ins can be as versatile as your cravings. Consider chocolate chips, crushed cookies, or even a swirl of caramel or fudge for added flavor. Feel free to experiment based on what you love most!
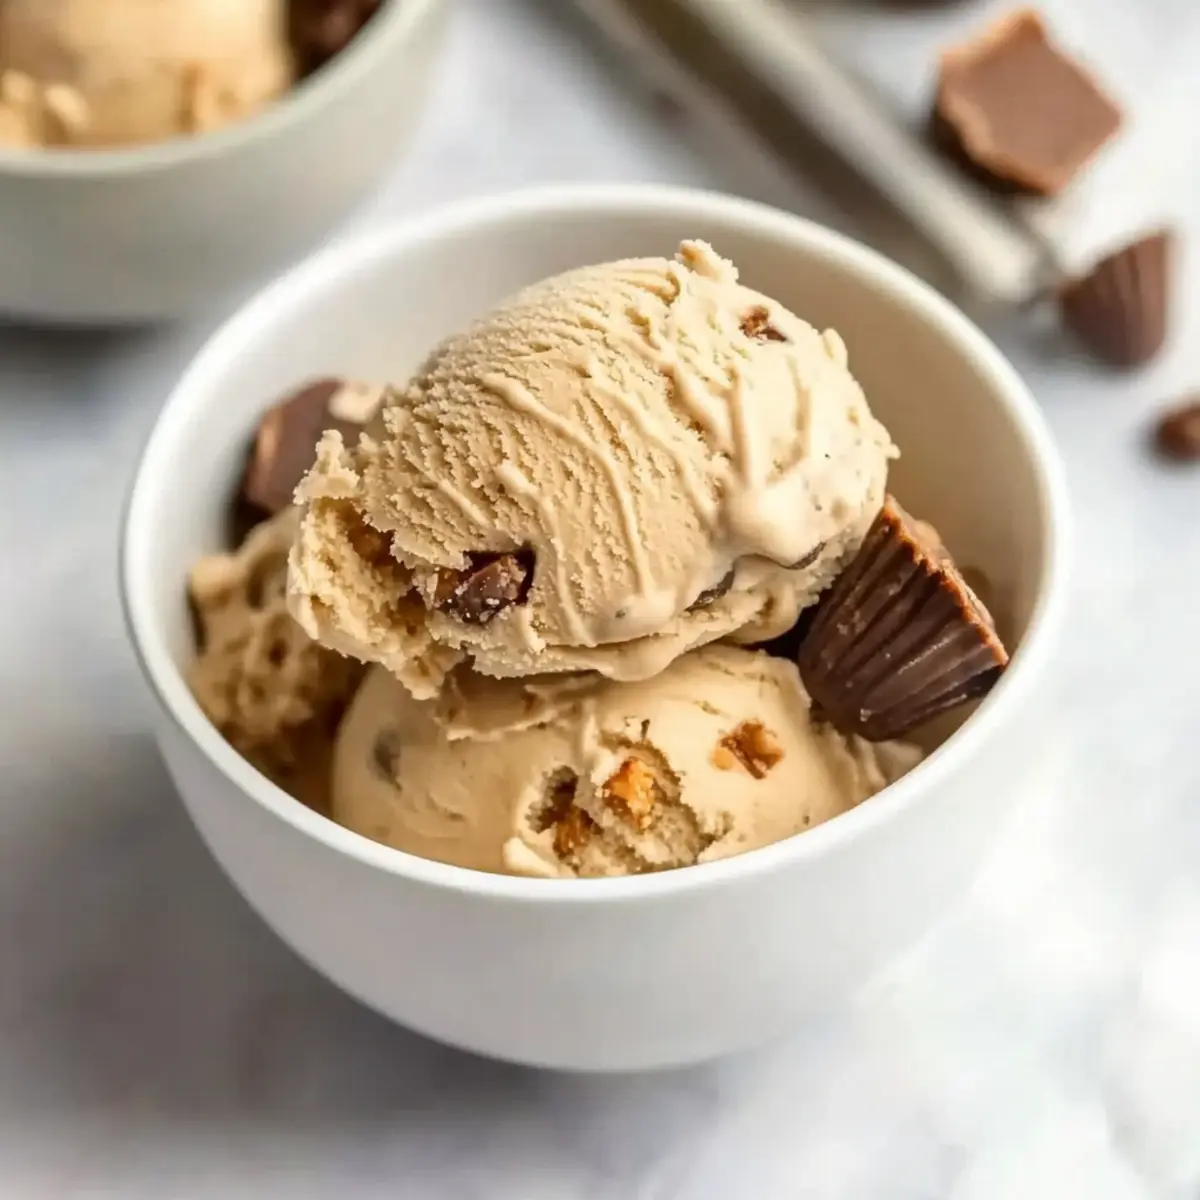
Creamy No-Churn Peanut Butter Ice Cream You'll Love
Ingredients
Equipment
Method
- Melt the creamy peanut butter in a microwave-safe bowl for 1-2 minutes until smooth.
- Whisk in the sweetened condensed milk and vanilla extract until combined, about 1-2 minutes.
- In a separate bowl, whip the heavy cream until stiff peaks form, about 3-5 minutes.
- Gently fold the whipped cream into the peanut butter mixture until just blended, about 1-2 minutes.
- Fold in the chopped peanut butter cups without over-mixing.
- Transfer to a loaf pan, cover tightly, and freeze for at least 8 hours or overnight.
Leave a Reply