
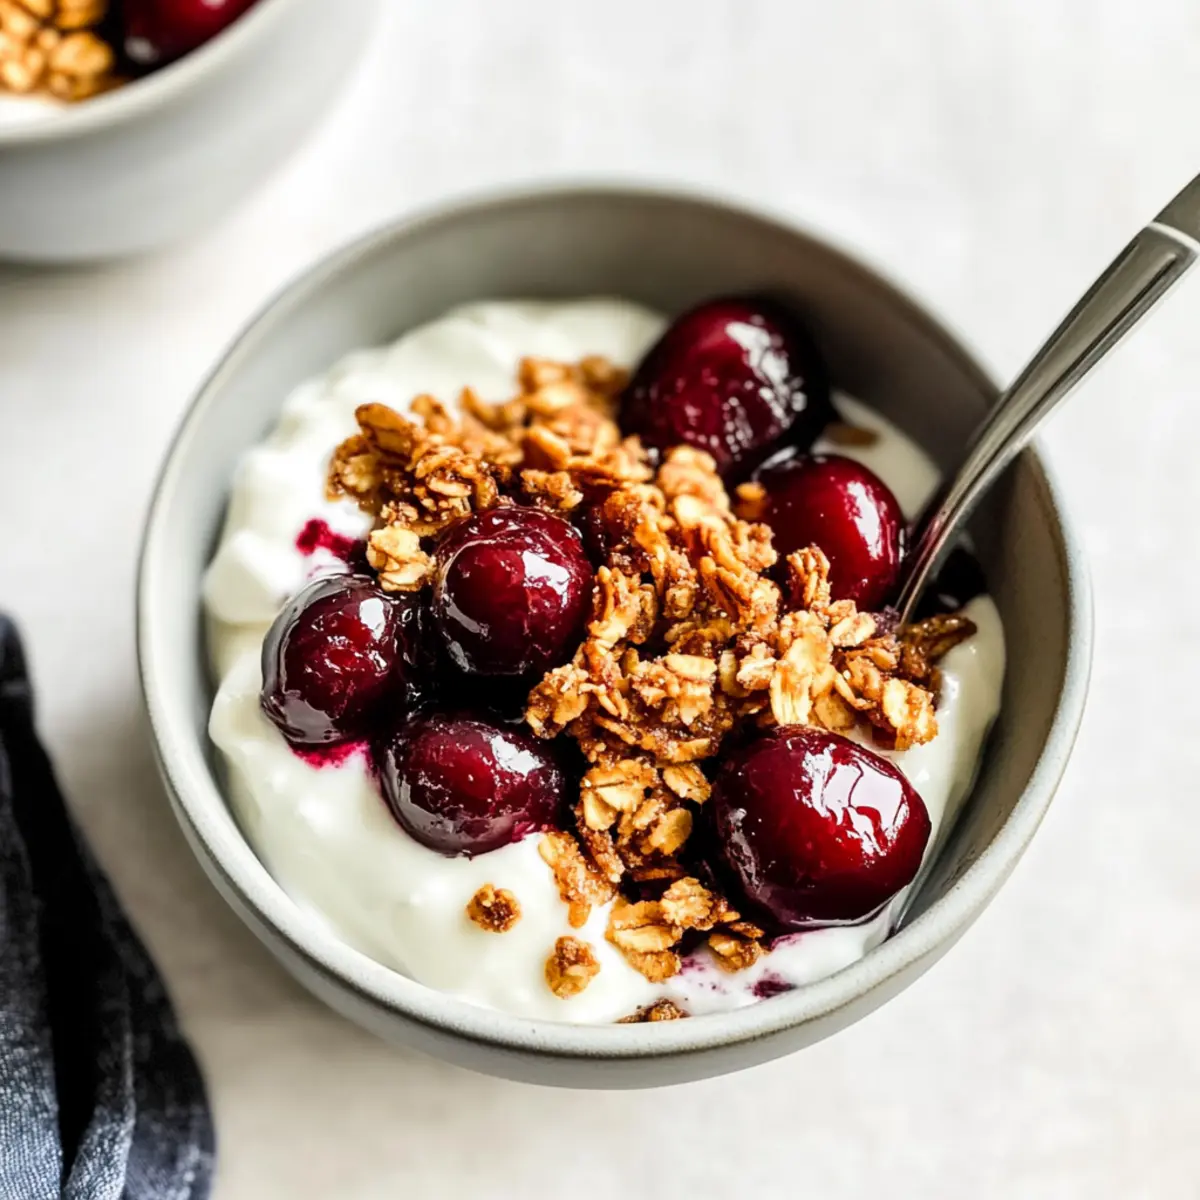
The aroma wafting through the kitchen could make anyone yearn for summer, even in the chill of winter. That’s the magic of my Easy Roasted Cherry Yogurt Bowl, a delightful dish that transforms basic yogurt into a flavorful experience. Featuring Northwest-grown cherries that are roasted to perfection, this recipe is all about balancing health and indulgence, making it the perfect choice for breakfast, a quick snack, or even a light dessert. In less than 30 minutes, you can create a satisfying bowl filled with creamy Greek yogurt, warm, syrupy cherries, and crunchy granola. Not only is this dish a feast for the senses, but it’s also a canvas for creativity; swap ingredients to suit your taste. Are you ready to elevate your yogurt game?
Why Try the Roasted Cherry Yogurt Bowl?
Flavor Explosion: With roasted cherries bringing out their natural sweetness, this bowl bursts with flavors that will brighten your day.
Healthy Fast: It’s a nutritious delight ready in under 30 minutes, perfect for those busy mornings or afternoon pick-me-ups.
Versatile Meal: This recipe seamlessly transitions from a divine breakfast to a gourmet dessert. Consider it a delightful twist on traditional parfaits!
Easy Customization: Feel free to swap lime for lemon or choose flavored Greek yogurt to cater to your cravings.
Crowd-Pleasing Appeal: Serve it during brunch gatherings or as a healthy dessert; your friends and family will adore it! You might also love pairing it with Roasted Green Beans for a light meal!
Roasted Cherry Yogurt Bowl Ingredients
For the Roasted Cherries
• Roasted Sweet Cherries – These add natural sweetness and texture; fresh, Northwest-grown cherries offer the best flavor.
• Lime Juice – This balances the sweetness of the cherries; feel free to substitute with lemon juice.
• Cane Sugar – Enhances the sweetness of the cherries; try using honey, maple syrup, or brown sugar as alternatives.
• Coconut Oil – Aids the roasting process and adds richness; you can substitute with any neutral oil.
• Vanilla Extract – A flavor enhancer that adds depth; pure vanilla yields the best results.
• Salt – Simply brings out flavors in sweet ingredients; just a pinch can make all the difference.
For the Yogurt Bowl
• Plain Greek Yogurt – The dish’s main component, providing creaminess and protein; non-dairy alternatives or flavored yogurts can be tailored to your preference.
• Granola – Provides delightful texture and crunch; consider chopped nuts if granola isn’t available.
• Honey – An optional drizzle to enhance sweetness; adjust according to your taste for a personal touch.
Step‑by‑Step Instructions for Roasted Cherry Yogurt Bowl
Step 1: Preheat Oven
Begin by preheating your oven to 400°F (200°C). While the oven warms up, line a baking sheet with parchment paper to ensure the cherries roast nicely and clean up is a breeze later. This step sets the stage for perfect caramelization, so don’t rush it!
Step 2: Prepare Cherries
Take your fresh Northwest-grown cherries and pit them. Halve each cherry with a sharp knife, exposing the juicy, vibrant red flesh. This prepares them for roasting, which will enhance their sweetness and give your Roasted Cherry Yogurt Bowl that luscious, gooey quality.
Step 3: Cherry Mixture
In a mixing bowl, combine the halved cherries with a splash of lime juice, vanilla extract, cane sugar, a pinch of salt, and melted coconut oil. Stir gently until the cherries are completely coated. The lime juice will add brightness, balancing the sweet caramelization that will occur during roasting.
Step 4: Bake
Spread the cherry mixture evenly on the prepared baking sheet, making sure they have some space between them to roast properly. Place in the preheated oven and roast for about 18 minutes, or until the cherries are bubbling and lightly caramelized, creating a fragrant, syrupy glaze.
Step 5: Cool
Once roasted, remove the baking sheet from the oven and allow the cherries to cool for about 5 minutes. This cooling period is essential to develop their flavor and ensure they won’t scald your yogurt when assembled.
Step 6: Assemble Bowls
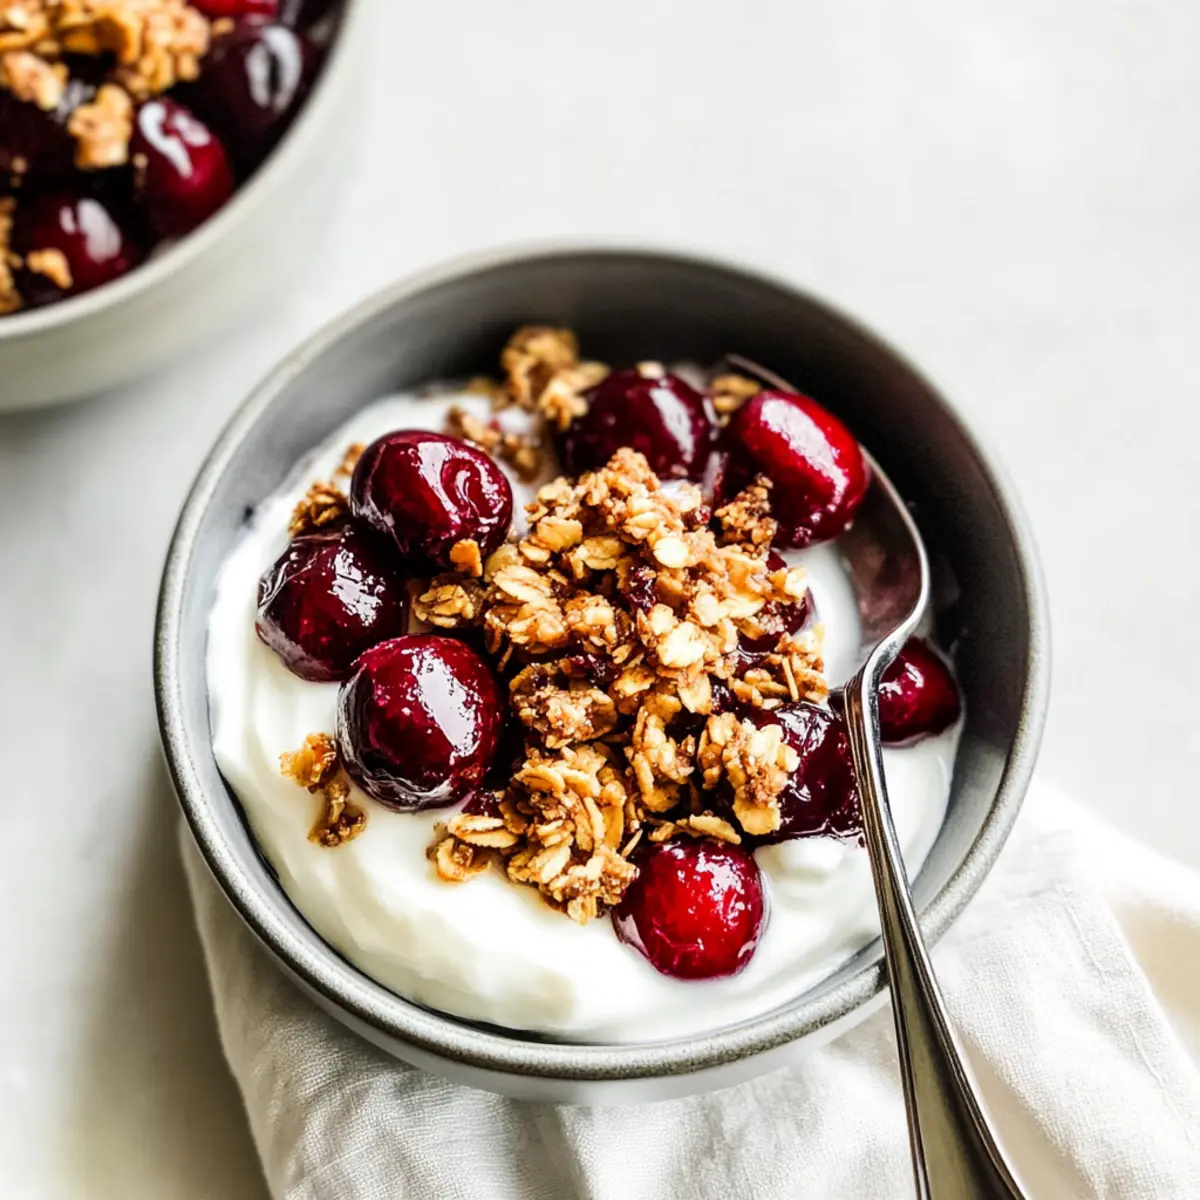
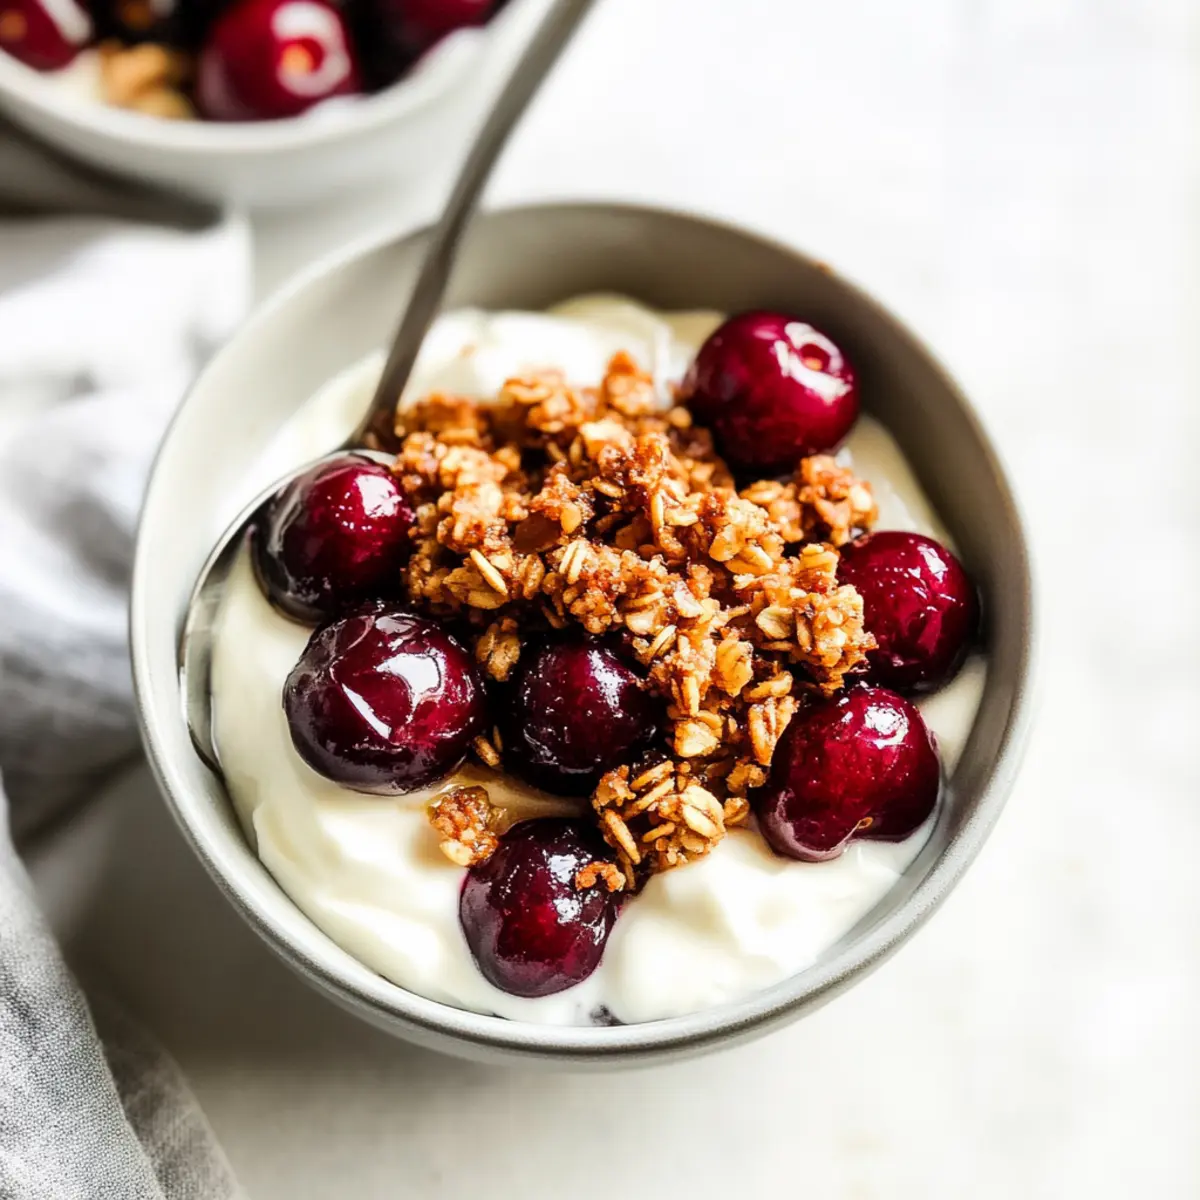
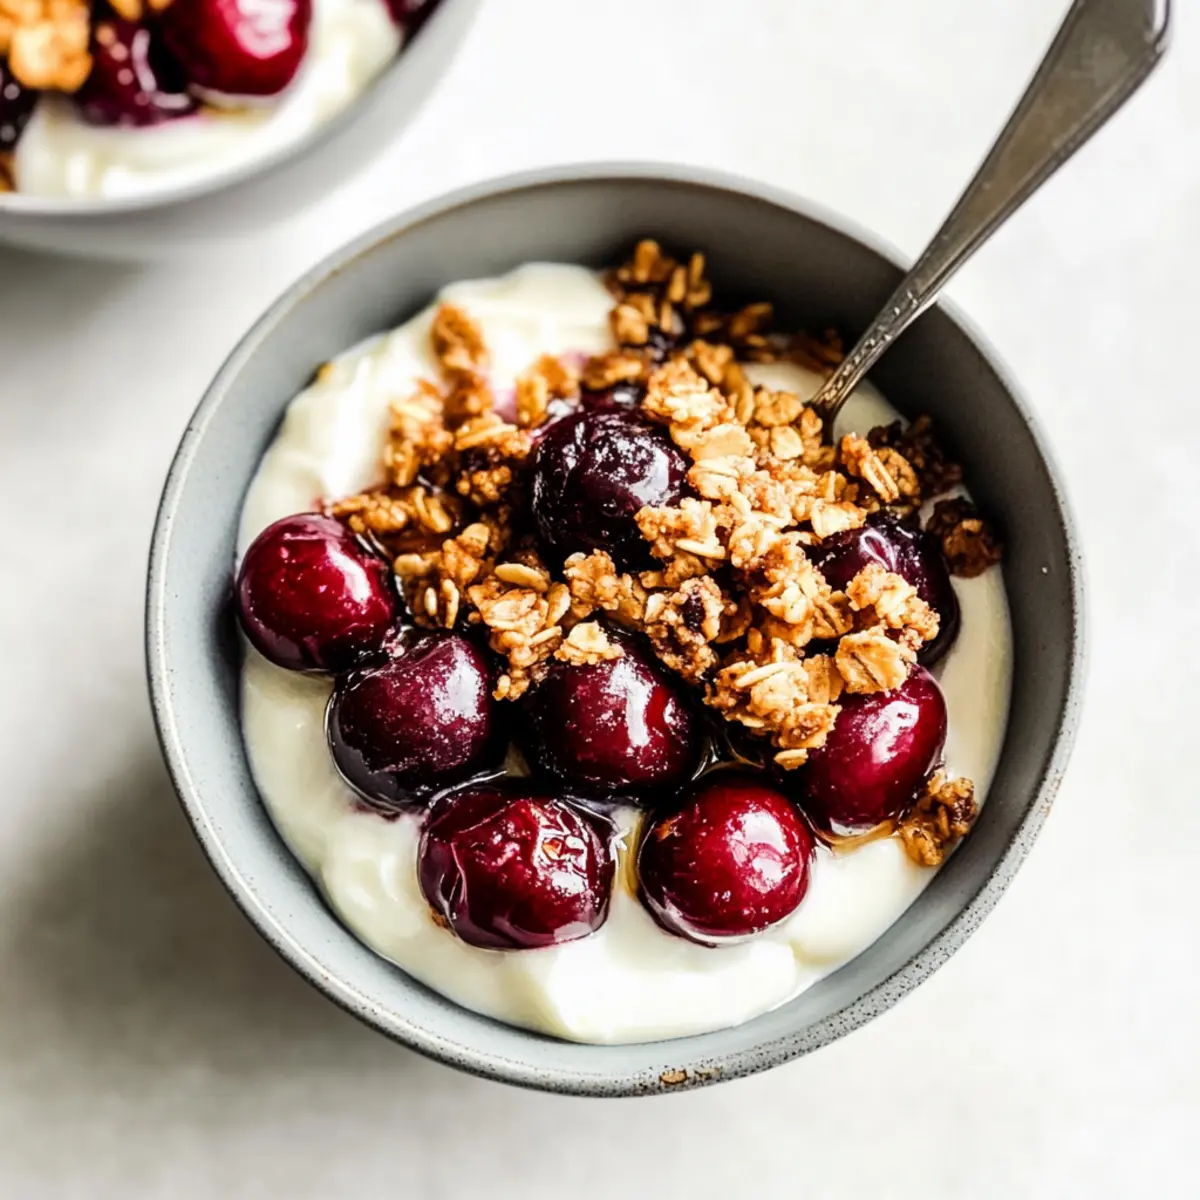
Spoon creamy plain Greek yogurt into bowls, creating a beautiful base for your Roasted Cherry Yogurt Bowl. Top generously with the warm roasted cherries, allowing the syrup to drizzle over the yogurt. Add a delightful crunch with a sprinkle of granola on top.
Step 7: Store Leftovers
If you have any leftovers, transfer the uneaten roasted cherries to a sealed glass container. Store them in the fridge for up to a week for later use. You can reheat them in the microwave to enjoy that same warm, caramelized goodness perfectly paired with your yogurt again!
Storage Tips for Roasted Cherry Yogurt Bowl
Room Temperature: Consume any assembled Roasted Cherry Yogurt Bowl immediately for the best taste and texture; avoid leaving it at room temperature for more than 2 hours.
Fridge: Store leftover roasted cherries in a sealed glass container in the fridge for up to 1 week. Keep Greek yogurt separate for freshness.
Freezer: For long-term storage, freeze the roasted cherries in an airtight container for up to 3 months. Thaw in the fridge overnight before serving.
Reheating: Gently reheat refrigerated roasted cherries in the microwave for 30 seconds to restore warmth and gooey texture before adding to your yogurt bowl.
Roasted Cherry Yogurt Bowl Variations
Feel free to make this delightful bowl your own with these fun swaps and tweaks!
-
Citrus Swap: Replace lime juice with lemon juice for a zesty touch.
-
Flavored Yogurt: Use vanilla or coconut-flavored yogurt to add extra sweetness and flavor.
-
Nutty Crunch: Substitute granola with your favorite chopped nuts for an added crunch and a protein boost.
-
Sweetener Choices: Instead of cane sugar, opt for maple syrup or honey, allowing for a richer taste.
-
Dairy-Free Option: Use non-dairy yogurt to accommodate dietary preferences without losing creaminess.
-
Tropical Twist: Add shredded coconut or diced pineapple alongside the cherries for a burst of tropical flavor.
-
Heat It Up: For a warming spice kick, sprinkle in some cinnamon or nutmeg before baking the cherries.
-
Cheesecake Inspiration: Incorporate a layer of cream cheese mixed with a little sugar and vanilla, transforming your bowl into a sweet cheesecake experience.
Your creativity isn’t limited; take this roasted cherry yogurt bowl in any direction you desire! Consider adding a side of Cherry Shortbread Cookies for a perfect pairing with those warm, caramelized flavors.
Expert Tips for the Roasted Cherry Yogurt Bowl
-
Use Fresh Cherries: Choose ripe, Northwest-grown cherries for the best natural sweetness and flavor. Overripe cherries can become mushy when roasted.
-
Balance Flavors: Don’t skip the lime juice; it brightens the dish and balances the sweetness of the roasted cherries in your Roasted Cherry Yogurt Bowl.
-
Perfect Roasting: Ensure the cherries are spread out on the baking sheet for even caramelization, preventing sogginess.
-
Texture Matters: Add granola or chopped nuts right before serving for a satisfying crunch. If added too early, they may get soggy.
-
Yogurt Flexibility: Feel free to experiment with different yogurt types, whether it’s full-fat Greek or a non-dairy option, to suit your dietary needs.
What to Serve with Roasted Cherry Yogurt Bowl
Brighten up your breakfast table with these delightful pairings that will complement your creamy, fruity creation beautifully.
-
Crunchy Granola: Perfect for adding texture and a hint of nutty flavor, it elevates the yogurt’s creaminess. Feel free to choose flavored granola for a unique twist.
-
Chilled Fruit Salad: A refreshing mix of seasonal fruits like berries and melon, this adds a vibrant splash of color and freshness to your meal.
-
Homemade Nut Butter Toast: Spread your favorite nut butter on whole-grain toast. The nuttiness pairs wonderfully with the roasted cherries and yogurt.
-
Nutty Overnight Oats: Creamy oats prepared with nuts and your choice of milk make for a hearty side and blend perfectly with the sweetness of the yogurt bowl.
-
Coconut Yogurt: For a dairy-free alternative, serve coconut yogurt alongside your Roasted Cherry Yogurt Bowl. Its light taste enhances the cherry flavor without overpowering it.
-
Herbal Tea: A warm cup of chamomile or mint tea can provide a calming complement to your sweet breakfast or snack, enhancing the overall experience.
-
Dark Chocolate Bark: A little piece of dark chocolate on the side balances the sweetness of the cherries, creating a luxurious twist perfect for dessert!
-
Sparkling Water with Lime: Refreshing and vibrant, this drink adds a zesty touch that ties in with the lime juice in your yogurt bowl while providing a lovely contrast to its sweetness.
These pairings transform your Roasted Cherry Yogurt Bowl into an extraordinary meal for any time of day!
Make Ahead Options
These Easy Roasted Cherry Yogurt Bowls are ideal for meal prep enthusiasts looking to save time during busy weeknights! You can prepare the roasted cherries up to 3 days in advance by following the instructions through roasting, then letting them cool completely before transferring them to a sealed glass container in the refrigerator. This keeps their delicious caramelized flavor intact. To finish the bowls when you’re ready to serve, simply scoop out your desired amount of Greek yogurt, warm the cherries in the microwave for about 20-30 seconds, and layer them on top. It’s a delightful, fresh dish that will taste just as delicious as if you made it on the spot!
Roasted Cherry Yogurt Bowl Recipe FAQs
What type of cherries should I use for the Roasted Cherry Yogurt Bowl?
Absolutely! Fresh, Northwest-grown cherries are ideal for this recipe as they provide the best flavor and sweetness. Look for cherries that are firm and vibrant with smooth skin, avoiding any with dark spots or bruises that indicate overripeness.
How long can I store the leftovers of the Roasted Cherry Yogurt Bowl?
You can store leftover roasted cherries in a sealed glass container in the fridge for up to one week. Be sure to keep the Greek yogurt separate to maintain its freshness. When you’re ready to enjoy the leftovers, just reheat the cherries in the microwave for about 30 seconds to restore their warm, gooey texture.
Can I freeze the roasted cherries from this recipe?
Yes, you can! To freeze the roasted cherries, let them cool completely before transferring them to an airtight container or a freezer bag. They can be stored in the freezer for up to three months. When you’re ready to use them, just thaw them overnight in the fridge and they’ll be perfect for your yogurt bowl or any other creation!
What if my cherries become mushy when roasted?
No worries! To prevent cherries from getting too mushy, it’s crucial to use ripe yet firm cherries. Also, ensure they are spread out on the baking sheet with space in between so they roast evenly rather than stew. If you notice them getting soft, take them out of the oven a minute or two early to maintain some structure.
Are there any dietary considerations I should be aware of for the Roasted Cherry Yogurt Bowl?
Very! If you have allergies, check the yogurt for any dairy components, or consider using a non-dairy yogurt alternative to cater to your dietary needs. For those monitoring sugar intake, you can replace cane sugar with a low-calorie sweetener. Always customize the recipe to fit your preferences and enjoy the versatile deliciousness!
Roasted Cherry Yogurt Bowl: A Sweet Breakfast Delight
Ingredients
Equipment
Method
- Preheat your oven to 400°F (200°C) and line a baking sheet with parchment paper.
- Pit and halve the cherries to expose their vibrant red flesh.
- Mix the halved cherries with lime juice, vanilla extract, cane sugar, salt, and melted coconut oil until coated.
- Spread the mixture on the prepared baking sheet and roast for about 18 minutes until bubbly and caramelized.
- Remove from oven and let the cherries cool for about 5 minutes.
- Spoon Greek yogurt into bowls, top with warm roasted cherries and their syrup, and sprinkle with granola.
- Transfer leftovers to a sealed container and refrigerate for up to a week.
Leave a Reply