
As I rolled out the dough for yet another pizza night, I couldn’t shake the feeling that we were stuck in a rut. Then, it hit me—why not swap out the traditional crust for a flavorful low-carb Caesar Chicken Pizza? This dish is a delicious twist that transforms canned chicken into a high-protein, low-carb pizza base. It’s not only quick to whip up but also meal prep-friendly, making it a perfect solution for those busy weeknights. Picture a crispy, golden crust topped with a fresh Caesar salad and a homemade dressing that brings a burst of flavor to every bite. Ready to break free from boring dinners? Let’s dive into this scrumptious and guilt-free pizza adventure!

Why Try Chicken Crust Caesar Pizza?
Uniquely Delicious: You won’t believe a pizza crust can be made from canned chicken, creating a wonderfully savory base that’s both low-carb and high-protein.
Quick and Easy: Whipping up this pizza takes minimal time, making it a fantastic option for busy weeknights.
Meal Prep Friendly: This pizza is perfect for meal prepping—make a batch at the beginning of the week, and enjoy quick dinners all week long!
Crowd-Pleasing Flavor: The combination of crispy chicken crust and fresh Caesar salad toppings ensures that everyone at the table will be satisfied!
Versatile Options: Customize it by adding crispy bacon or fresh veggies like cherry tomatoes or avocado for an extra layer of flavor!
Don’t forget to pair your delicious chicken crust pizza with a refreshing Seafood Salad Flavorful for a complete meal!
Chicken Crust Caesar Salad Pizza Ingredients
Dive into this guilt-free twist on pizza with these simple yet flavorful ingredients!
For the Crust
- Canned Chicken – A high-protein base for a satisfying, low-carb crust; substitute with rotisserie chicken for a fresher taste.
- Egg – Binds the crust together; using a room temperature egg will help with mixing.
- Parmesan Cheese – Adds rich flavor to the crust; you can swap it for Pecorino Romano for a sharper taste.
- Garlic Powder – Boosts the flavor without moisture; opt for powdered form for even seasoning.
- Crushed Red Pepper Flakes – Infuses heat into the crust; increase it for an extra spicy kick.
For the Caesar Dressing
- Mayonnaise – Creates the creamy base for the dressing; you can lighten it with Greek yogurt or a mixture of Greek yogurt and sour cream.
- Lemon Juice – Brightens the dressing’s flavor; fresh lemon juice is recommended for the best taste.
- Dijon Mustard and Worcestershire Sauce – Add complexity to the dressing; try spicy brown mustard for a different flavor.
For the Topping
- Romaine Hearts – Offers a crunchy contrast to the rich dressing; feel free to substitute with other mixed greens if desired.
- Extra Parmesan – Sprinkle on top for an extra layer of flavor and consistency to the dish.
Get ready to enjoy a delightful Chicken Crust Caesar Salad Pizza that will satisfy your cravings without the carbs!
Step‑by‑Step Instructions for Chicken Crust Caesar Salad Pizza
Step 1: Preheat Your Oven
Begin by preheating your oven to 400°F (200°C). While it warms up, prepare a baking sheet by lining it with parchment paper to ensure an easy release of your Chicken Crust Caesar Salad Pizza crust later. This will help achieve that crispy texture we all love, so get it ready while the oven does its thing.
Step 2: Mix the Crust Ingredients
In a food processor, combine the drained canned chicken, egg, Parmesan cheese, garlic powder, and crushed red pepper flakes. Blend these ingredients until they form a well-combined mixture that holds together smoothly, which should take about 30 seconds. You want the consistency to be thick without any visible chunks—this is your base for the delicious chicken crust.
Step 3: Form the Chicken Crusts
Using a spatula, transfer the blended chicken mixture onto the prepared baking sheet. With clean hands, mold and flatten the mixture into two thin rounds, about 1/4 inch thick. Make sure to space them out to allow even baking and to achieve a nice crispy crust all around—this step will set the foundation for your Chicken Crust Caesar Salad Pizza.
Step 4: Bake the Crusts
Place the baking sheet in the preheated oven and bake for 20 to 25 minutes. Keep an eye on them; you want the edges to turn golden brown and crispy while the centers firm up. At this point, your kitchen will start smelling amazing as the chicken crust bakes to perfection!
Step 5: Prepare the Caesar Dressing
While the crust bakes, whip up the dressing. In a mixing bowl, combine mayonnaise, grated Parmesan cheese, fresh lemon juice, Dijon mustard, Worcestershire sauce, garlic, salt, and pepper. Using a whisk, blend these ingredients until you achieve a smooth and creamy consistency. This tangy dressing will be drizzled on your salad, enhancing the overall flavor of the Chicken Crust Caesar Salad Pizza.
Step 6: Toss the Romaine
Once the dressing is ready, take your chopped Romaine hearts and place them in a large bowl. Add the creamy dressing and toss until the lettuce is evenly coated. You want every leaf to be brightened with dressing, which will create a refreshing contrast with your crispy chicken crust.
Step 7: Assemble the Pizza
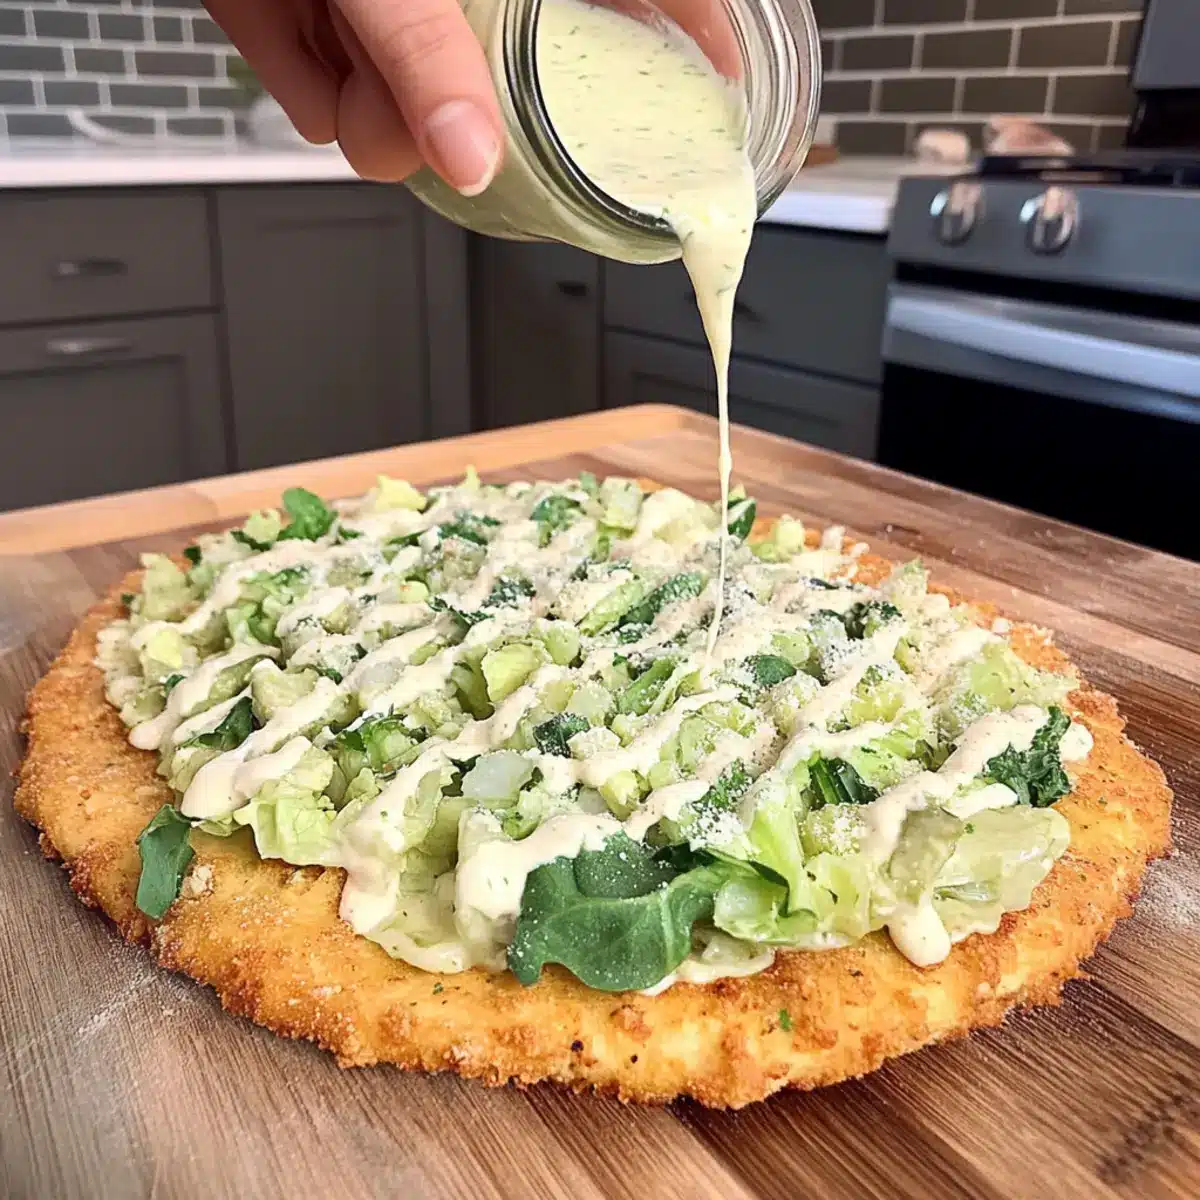
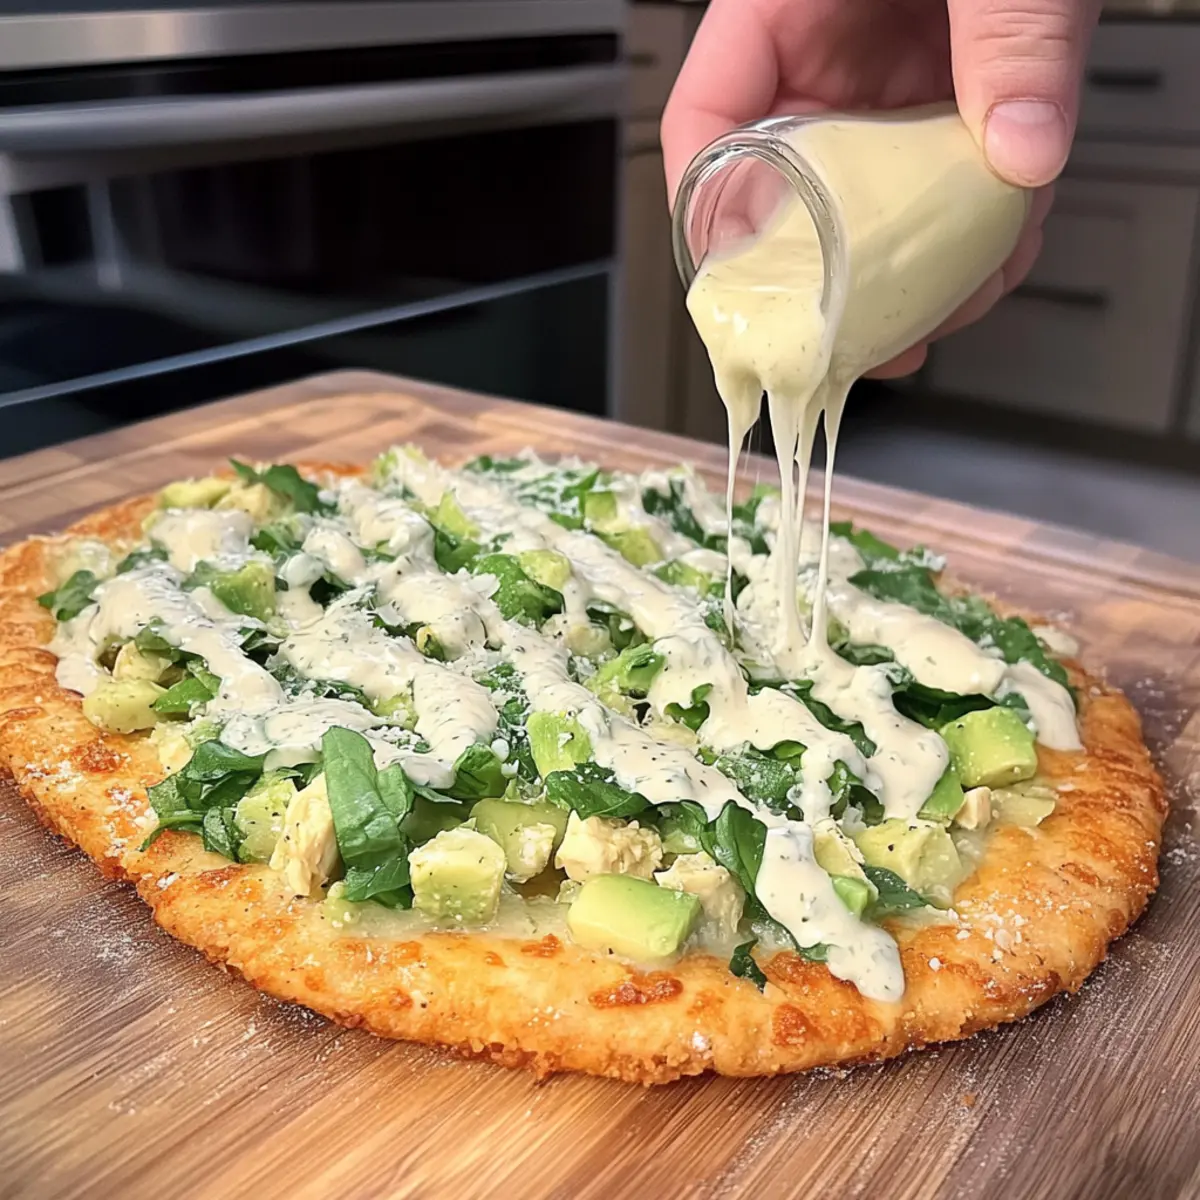
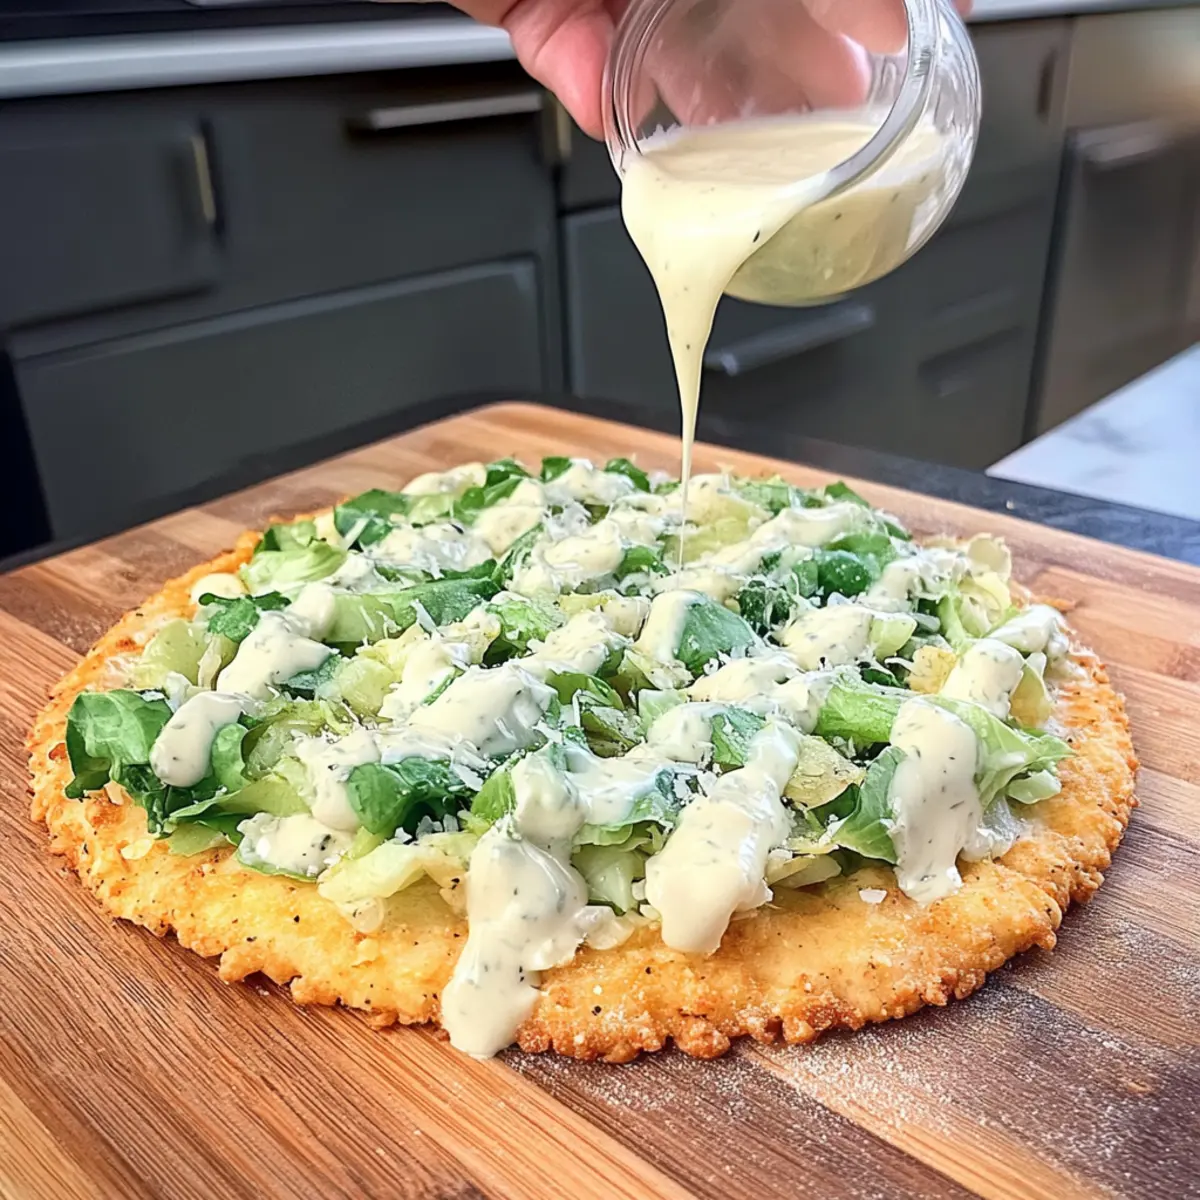
After the chicken crusts are baked to golden perfection, remove them from the oven and let them cool slightly. Top each crust generously with the dressed Romaine and sprinkle additional Parmesan cheese on top. The vibrant greens and creamy cheese will elevate your Chicken Crust Caesar Salad Pizza, making it irresistible!
Step 8: Serve and Enjoy
Slice the assembled Chicken Crust Caesar Salad Pizza into wedges and serve immediately. You’ll love the combination of the warm, crispy chicken crust with the fresh, crunchy Caesar salad on top. It’s a delightful guilt-free twist on a classic that will become a favorite in your household!
Expert Tips for Chicken Crust Caesar Pizza
-
Drain Well: Ensure the canned chicken is thoroughly drained to avoid a soggy crust. Excess moisture can lead to a less crispy texture.
-
Thin Separation: Spread the chicken mixture thinly on the baking sheet for optimal crispiness. Thicker crusts may not cook evenly.
-
Room Temperature Egg: Using an egg at room temperature allows for better mixing, leading to a well-combined crust that holds together nicely.
-
Taste Test: Before spreading the mixture on the baking sheet, taste it to adjust seasoning. This ensures a flavorful foundation for your Chicken Crust Caesar Pizza.
-
Cooling Time: Let the crust cool slightly before adding toppings. This helps to maintain texture while allowing flavors to meld beautifully.
How to Store and Freeze Chicken Crust Caesar Salad Pizza
Fridge: Store leftover Chicken Crust Caesar Salad Pizza in an airtight container for up to 1 day. Note that the lettuce may wilt, but the flavors will remain intact.
Freezer: If you want to freeze the chicken crusts, keep them in a freezer-safe container for up to 3 months. Make sure they are completely cooled before freezing.
Reheating: To reheat, bake in the oven at 375°F (190°C) for 5-7 minutes. This will help restore the crispiness of the chicken crust while warming the toppings.
Serving Note: It’s best to add the fresh Romaine topping just before serving to maintain its crunch and vibrant flavor.
What to Serve with Chicken Crust Caesar Salad Pizza?
Transform your mealtime with delightful sides and beverages that enhance the experience of your flavorful chicken crust pizza.
-
Loaded Smashed Potatoes: The creamy texture of these potatoes complements the crispy pizza crust, making every bite a comforting delight. Top them with cheese and chives for an extra layer of flavor!
-
Caesar Salad: Keep the vibe going with a classic Caesar salad. The crisp, fresh greens and creamy dressing echo the pizza’s toppings, providing a refreshing contrast.
-
Grilled Veggies: A medley of grilled zucchini, bell peppers, and asparagus adds a burst of color and nutrients to your meal. Their smoky flavor beautifully balances the rich toppings.
-
Garlic Breadsticks: Light and fluffy breadsticks drizzled with garlic butter are the perfect sidekick for soaking up any extra dressing, creating a mouthwatering experience.
-
Crisp White Wine: A chilled glass of Sauvignon Blanc harmonizes with the Caesar flavors, elevating your dining experience while enhancing the freshness of the dish.
-
Lemon Sorbet: To wrap up your meal, serve a light lemon sorbet for dessert. It’s refreshing and cleanses the palate after indulging in the richness of the pizza.
Delight in crafting a memorable meal, and let these pairings enhance your chicken crust Caesar salad pizza journey!
Make Ahead Options
These Chicken Crust Caesar Salad Pizzas are a fantastic choice for meal prep enthusiasts! You can prepare the chicken crusts up to 3 days in advance. Simply bake the crusts as instructed, allow them to cool, and then refrigerate them in an airtight container to maintain their crispiness. When you’re ready to serve, toss the Romaine with the dressing just before assembly to keep the salad fresh and vibrant. Assemble the pizza by topping each crust with the dressed greens and additional Parmesan, then slice and enjoy. This make-ahead strategy saves time on busy weeknights while delivering delicious, satisfying results!
Variations & Substitutions for Chicken Crust Caesar Salad Pizza
Feel free to personalize your pizza with these delightful suggestions to elevate your dish!
-
Dairy-Free: Swap Parmesan for nutritional yeast to create a cheesy flavor without dairy. It’s a great way to keep things vegan while keeping that savory taste.
-
Add Crispiness: Incorporate crispy bacon bits into the salad topping for a wonderful crunch and smoky flavor! This upgrade creates a delightful contrast in textures that everyone will love.
-
Spicy Kick: Increase the amount of red pepper flakes in the crust for an extra spicy punch. You can even drizzle your finished pizza with hot sauce if you’re craving some heat!
-
Veggie Boost: Top with fresh cherry tomatoes and sliced avocados to add vibrant color and additional nutrients. These toppings yield a delicious, refreshing layer that complements the creamy dressing perfectly.
-
Herbal Surprise: Try adding fresh herbs like cilantro or basil to the Caesar dressing for a bright twist. It’s a fantastic way to deepen the flavor profile and keep your taste buds engaged with every bite!
-
Prep Ahead: Make a batch of the crusts early in the week and store them for quick reheating. Pair them with different toppings each night for a diverse dining experience that eliminates the dinner-time dread!
-
Mix It Up: Add cooked ground turkey or chicken to the crust mixture for a more protein-packed base. Just remember to cook the meat beforehand for a seamless blend of flavors.
Feel inspired to enhance your culinary adventures? Consider pairing your Chicken Crust Caesar Salad Pizza with a vibrant Christmas Salad Festive for a colorful and delicious side!
Chicken Crust Caesar Salad Pizza Recipe FAQs
What should I look for when selecting canned chicken?
Absolutely! When choosing canned chicken, look for products that are labeled “100% white meat” and check the ingredient list for minimal additives. Ideally, pick brands that use just chicken, water, or broth for the best flavor and texture, avoiding those with additional preservatives or flavorings.
How should I store leftovers of Chicken Crust Caesar Salad Pizza?
Very simple! Place leftovers in an airtight container and store them in the refrigerator for up to 1 day. Keep in mind that while the chicken crust will hold up well, the Romaine lettuce may wilt, but don’t worry; it will still taste delicious! For the chicken crust alone, you can store it for about 3 days.
Can I freeze the chicken crust for later use?
Of course! To freeze the chicken crust, let it cool completely after baking, then place each crust in a freezer-safe container or wrap them tightly with plastic wrap and foil. They can be stored for up to 3 months. Just make sure to label them with the date so you know how long they’ve been in the freezer!
What if my chicken crust turns out soggy or too thick?
No problem! If you find your chicken crust soggy, ensure that you’re draining the canned chicken thoroughly before mixing. Also, spreading the mixture thinly on the baking sheet promotes even cooking and crispiness. If it’s too thick, it may not cook through properly; aim for about 1/4 inch in thickness.
Are there any dietary considerations with this recipe?
Absolutely! If you or someone in your family has dietary restrictions, consider substituting the mayonnaise in the dressing with Greek yogurt to reduce calories. For those avoiding dairy, use dairy-free mayonnaise and vegan Parmesan for a completely vegan option. Just remember to check labels for allergens!
How can I customize my Chicken Crust Caesar Salad Pizza?
The more the merrier! You can easily customize this recipe by adding toppings like crispy bacon bits, sliced cherry tomatoes, or even chickpeas for a plant-based protein boost. Feel free to experiment with flavors by adjusting the amount of crushed red pepper flakes for more heat or adding herbs like basil or oregano for a fresh twist.
Delicious Chicken Crust Caesar Salad Pizza You’ll Love
Ingredients
Equipment
Method
- Preheat your oven to 400°F (200°C) and prepare a baking sheet with parchment paper.
- In a food processor, combine canned chicken, egg, Parmesan cheese, garlic powder, and crushed red pepper flakes. Blend until smooth.
- Transfer the mixture to the baking sheet, molding it into two thin rounds about 1/4 inch thick.
- Bake for 20 to 25 minutes until the edges are golden brown and crispy.
- While the crust bakes, mix dressing ingredients in a bowl until creamy.
- In a large bowl, toss Romaine hearts with the Caesar dressing until well coated.
- Once the crusts are baked, top them with the dressed Romaine and extra Parmesan.
- Slice and serve immediately for a delightful meal.
Leave a Reply