
The sweet aroma of caramelized pears fills the kitchen, instantly lifting my spirits. This Easy Dairy-Free Caramelized Pears recipe is a delightful way to transform simple ingredients into something magical. Not only is it dairy-free and easy to whip up, but it can be prepped in batches for your busy mornings or transformed into a luscious dessert that impresses at any gathering. Imagine pouring over warm oatmeal for breakfast or scooping over dairy-free ice cream for a cozy evening treat. This dish is all about versatility and indulgence without the guilt. Ready to learn how to elevate your pear game? Let’s get cooking!
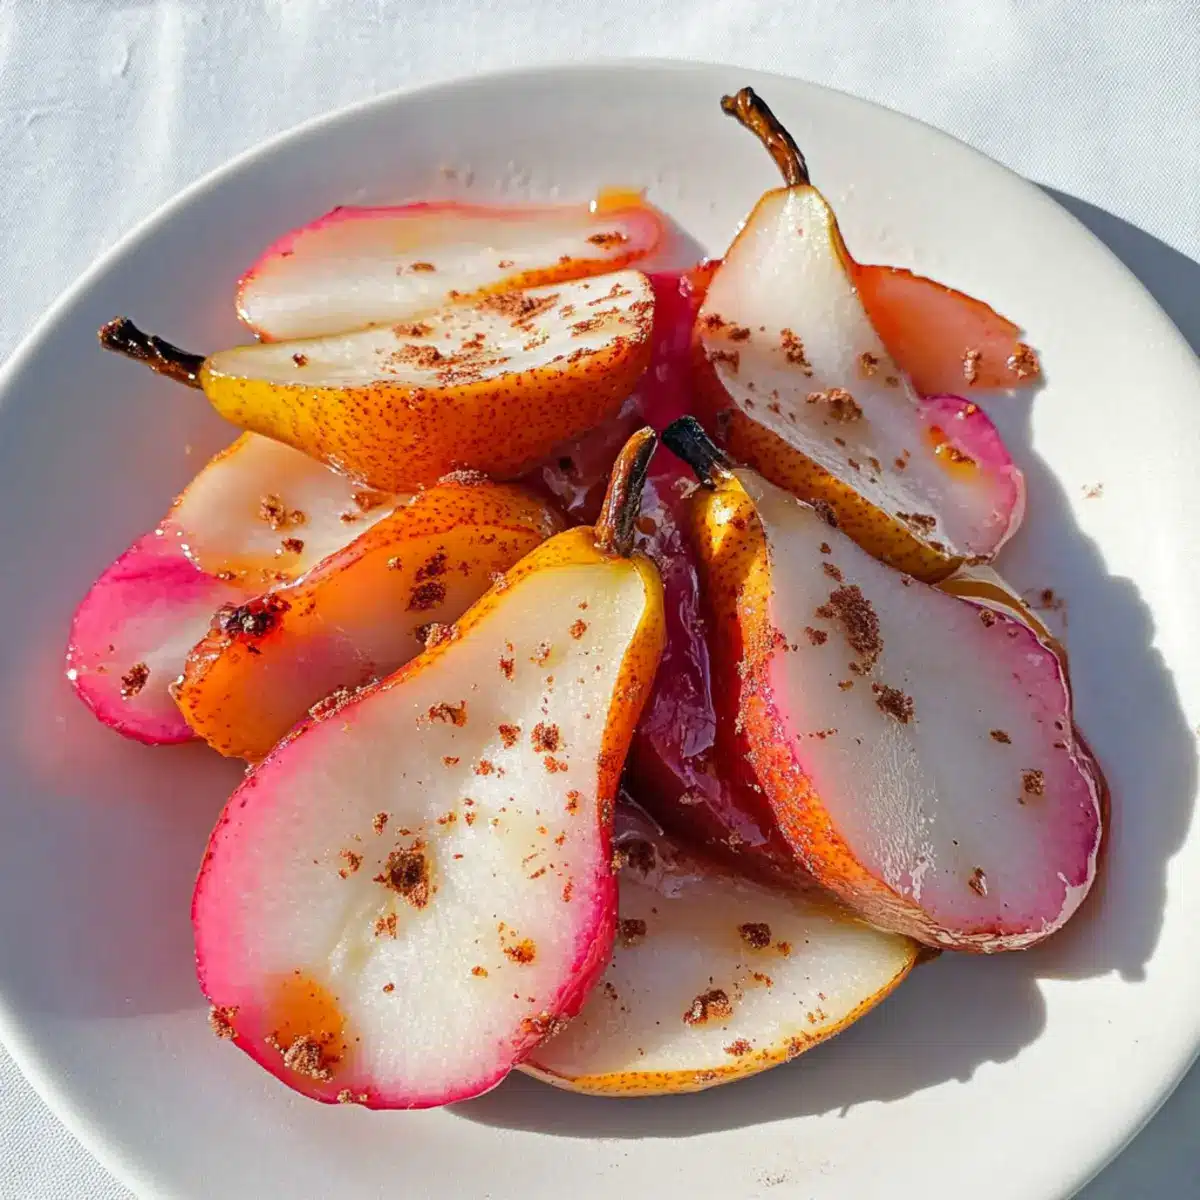
Why are Caramelized Pears a Must-Try?
Simplicity at its finest: This Easy Dairy-Free Caramelized Pears recipe requires minimal ingredients and effort, making it perfect for both novice cooks and seasoned chefs.
Versatile serving options: Enjoy them as a sweet breakfast treat over oatmeal or as a decadent dessert with dairy-free ice cream or yogurt.
Flavorful twist: The blend of warm cinnamon and natural sweetness of ripe pears creates an irresistible combination that’s hard to resist.
Batch-friendly preparation: Whip up a big batch and enjoy these caramelized delights throughout the week, making your mornings easier than ever.
Guilt-free indulgence: With no dairy and packed with nutrients, you can savor every bite without feeling bad. For more delightful breakfast ideas, check out these Cranberry Orange Sweet.
Dairy-Free Caramelized Pears Ingredients
For the Caramelization
- Pears – Select ripe pears for the best natural sweetness and tender texture.
- Plant-based Butter or Oil – Use this for sautéing; coconut oil adds a lovely flavor while keeping it dairy-free.
- Sweetener (optional) – Maple syrup or coconut sugar can enhance the sweetness without dairy.
For Flavor
- Cinnamon – This spice adds warmth and depth; if you prefer, substitute with nutmeg for a different flavor profile.
- Lemon Juice – A splash prevents browning and provides a tart balance to the sweet pears.
Pair these ingredients together to create irresistibly delicious Dairy-Free Caramelized Pears that will brighten up your breakfast or dessert table!
Step‑by‑Step Instructions for Easy Dairy-Free Caramelized Pears
Step 1: Prep the Pears
Begin by selecting ripe pears for maximum sweetness. Peel the pears and slice them into even wedges, ensuring they are of a similar size for uniform cooking. This simple preparation is key to achieving perfectly tender Easy Dairy-Free Caramelized Pears.
Step 2: Sauté in a Skillet
Heat a skillet over medium heat and add your choice of plant-based butter or oil, letting it melt until it shimmers. Carefully add the prepared pear slices to the skillet, cooking them for about 3-5 minutes. Look for them to soften slightly and start to become fragrant, which signals they are ready for the next step.
Step 3: Add Sweetener & Spices
Sprinkle your preferred sweetener over the softened pears, and then add a dash of cinnamon and freshly squeezed lemon juice. Stir everything gently to ensure the pears are well coated, then continue to cook for an additional 5-7 minutes. Watch for the pears to turn golden brown and become tender, indicating they’re in the final stages of becoming your delicious caramelized treat.
Step 4: Serve and Enjoy
Once the pears are beautifully caramelized and glossy, remove the skillet from heat. Allow them to cool slightly before serving warm. Enjoy your Easy Dairy-Free Caramelized Pears over oatmeal for a delightful breakfast, or indulge with a scoop of dairy-free ice cream for a sweet dessert experience.
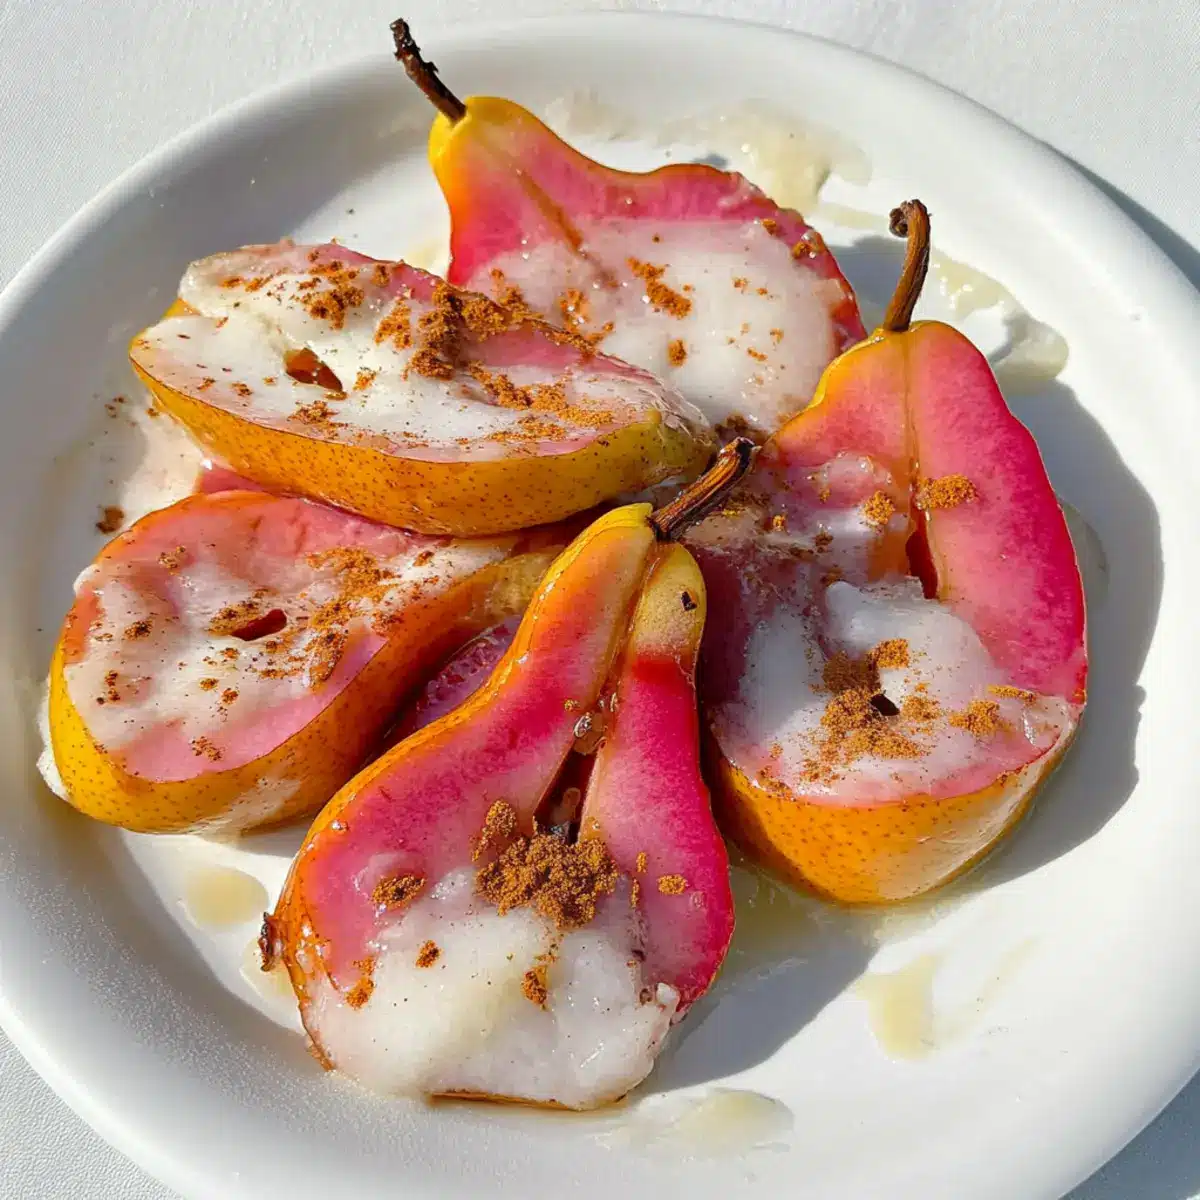
What to Serve with Easy Dairy-Free Caramelized Pears
Transform your meal routine with delightful pairings that enhance the rich sweetness of caramelized pears.
-
Creamy Oatmeal: Mixing warm caramelized pears into a bowl of oatmeal adds a sweet depth, making your breakfast cozy and nourishing.
-
Dairy-Free Yogurt: Spoon the luscious pears over a dollop of dairy-free yogurt for a light, creamy dessert that balances sweetness and tartness seamlessly.
-
Buttery Toast: Spread nut butter on warm, crusty toast and top with caramelized pears for a satisfying breakfast that’ll keep you fueled all morning.
-
Chewy Granola: Sprinkle caramelized pears over a hearty bowl of granola for added sweetness and a delightful crunch, perfect for a satisfying snack.
-
Vanilla Ice Cream: Scoop warm, caramelized pears over creamy vanilla dairy-free ice cream for an indulgent dessert that feels extra special.
-
Fruity Salad: Toss slices of caramelized pears into a fresh spinach salad with walnuts and a splash of balsamic vinaigrette for an unexpected twist.
-
Sparkling Water: Pair with a refreshing glass of sparkling water or herbal iced tea to cleanse the palate and elevate the experience of each bite.
Each of these options perfectly complements the warm, inviting flavors of your Easy Dairy-Free Caramelized Pears, creating a meal that’s as special as it is delightful.
Dairy-Free Caramelized Pears Variations
Feel free to play around with this recipe and let your creativity shine through deliciously!
-
Nutty Crunch: Add walnuts or pecans during the last few minutes of cooking for a satisfying contrast in texture. It’s a delightful twist that brings an added richness to every bite.
-
Spicy Kick: Incorporate a pinch of ginger or allspice to the mix. The result will be an exciting touch of warmth that elevates the standard caramelized flavor profile.
-
Fruit Swap: Substitute pears with apples or ripe peaches depending on what’s in season or your personal preference. Each fruit brings its own delightful sweetness and texture to the dish.
-
Herbal Essence: Toss in fresh mint or basil just before serving for a refreshing herbal twist. These vibrant flavors will create an unexpected, yet delightful, layer of complexity.
-
Citrus Zing: Instead of lemon juice, try orange juice for a brighter, more vibrant flavor that beautifully compliments the sweetness of the pears. If you’re feeling adventurous, consider pairing it with some citrus zest for even more aroma!
-
Liquor Infusion: A splash of bourbon or rum added during caramelization can elevate the flavor to luxurious heights. Just a teaspoon or two will create an indulgent dessert experience that’s still family-friendly.
-
Sweet Sauce: Drizzle with a homemade caramel or maple syrup at serving for an extra layer of sweetness. This will transform your simple caramelized pears into a showstopper dessert!
Explore these variations to find your perfect combination, and don’t forget, you can enjoy your stellar caramelized pears over warm oatmeal or paired with yogurt, custard, or even Cranberry Orange Sweet for unforgettable breakfasts or desserts!
Expert Tips for Easy Dairy-Free Caramelized Pears
-
Choose Ripe Pears: Ensure your pears are ripe, as this maximizes their natural sweetness and results in a luscious texture when caramelized.
-
Don’t Overcrowd the Pan: Cook the pears in batches if necessary. Overcrowding leads to steaming instead of the desired caramelization.
-
Perfect Cooking Time: Keep an eye on the cooking time; you want them golden brown and tender but not mushy. A few minutes can make all the difference!
-
Flavor Variations: Experiment with spices like nutmeg or even a hint of ginger for a delightful twist on the classic caramelized pears.
-
Storage Secrets: Store any leftovers in an airtight container in the fridge for up to 3 days, and gently reheat them for a quick treat.
Storage Tips for Dairy-Free Caramelized Pears
Fridge: Store leftovers in an airtight container in the refrigerator for up to 3 days to keep them fresh and tasty.
Freezer: If you want to save them for longer, freeze caramelized pears in a freezer-safe container for up to 2 months. Thaw in the fridge before reheating.
Reheating: Gently reheat in a skillet over low heat until warmed through, or microwave in short intervals, ensuring they remain tender and delicious.
Batch Cooking: Feel free to make a larger batch; caramelized pears are perfect for grabbing quickly during busy mornings or adding a sweet touch to dessert!
Make Ahead Options
These Easy Dairy-Free Caramelized Pears are perfect for meal prep enthusiasts! You can slice and prepare the pears up to 24 hours in advance, keeping them submerged in a mix of water and lemon juice to prevent browning. Additionally, you can sauté the pears and allow them to cool, then store them in an airtight container in the refrigerator for up to 3 days. When you’re ready to serve, simply reheat the caramelized pears gently in a skillet over low heat, adding a splash of water if needed to restore moisture. Not only does this make your weeknight breakfasts seamless, but it also delivers delicious, restaurant-quality results with minimal effort!
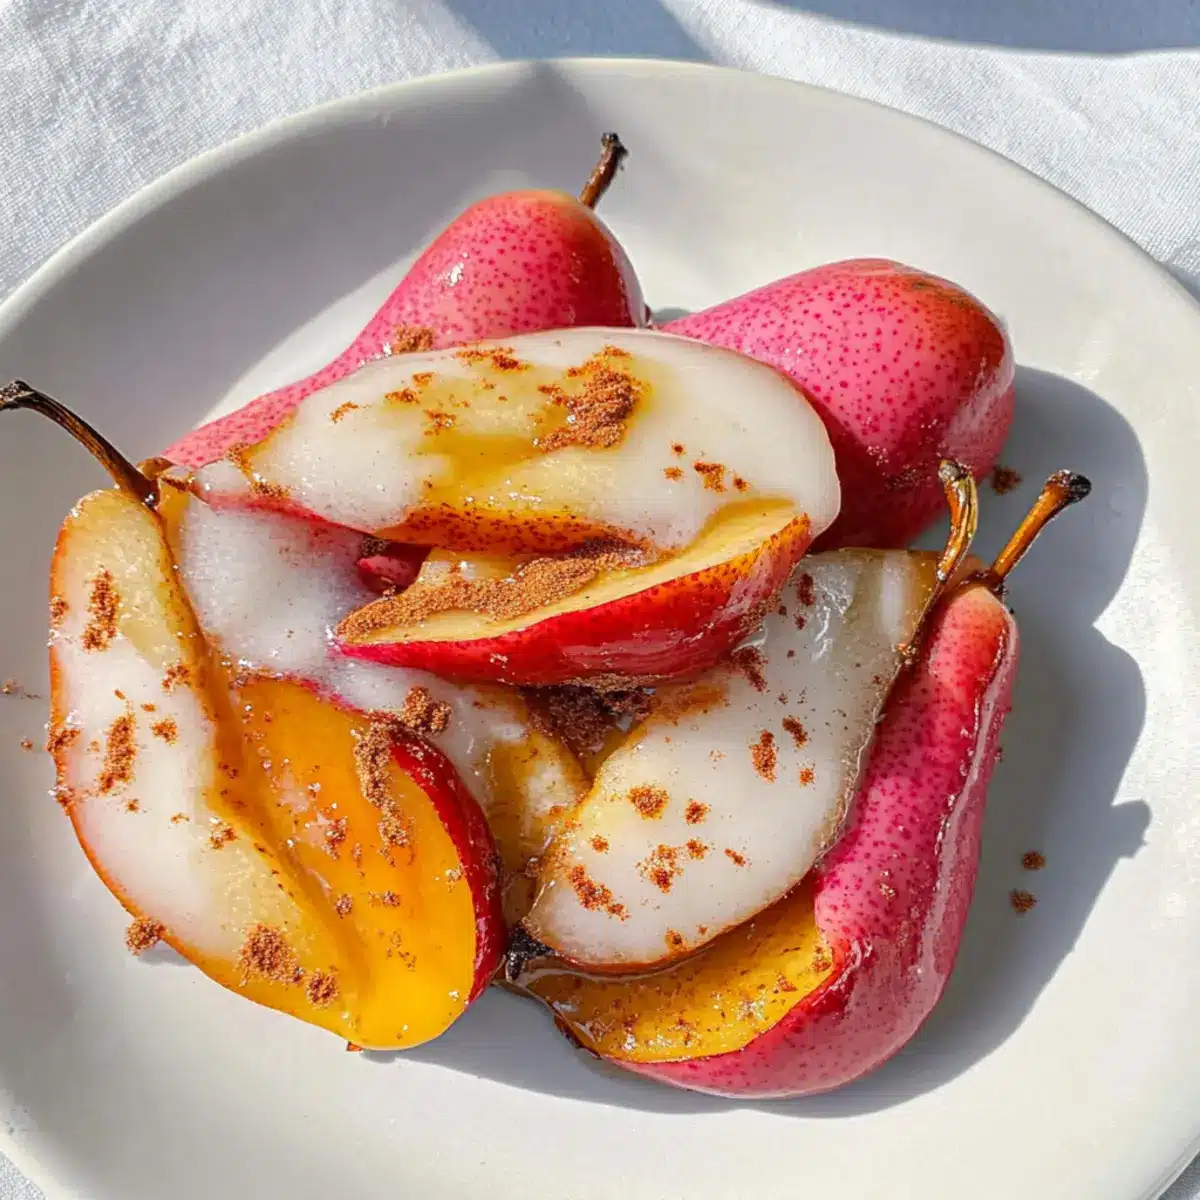
Easy Dairy-Free Caramelized Pears Recipe FAQs
What type of pears should I use for the best results?
Absolutely! For the best flavor and texture in your Easy Dairy-Free Caramelized Pears, choose ripe pears such as Bartlett or Anjou. Ripe pears will naturally have a sweet flavor and will caramelize beautifully, turning tender without becoming mushy. Look for pears that yield slightly to pressure without any dark spots, indicating they are perfectly ripe.
How should I store leftovers?
Very important! Store any leftover caramelized pears in an airtight container and keep them in the refrigerator for up to 3 days. When you’re ready to enjoy them again, I recommend gently reheating them in a skillet over low heat for the best texture. If you prefer, you can microwave them in short intervals, making sure to check that they’re warm throughout.
Can I freeze my caramelized pears?
Absolutely! If you’d like to freeze your Easy Dairy-Free Caramelized Pears, place them in a freezer-safe container or resealable bag. They’ll keep well for up to 2 months. When you’re ready to use them, simply thaw them in the fridge overnight before reheating gently in a skillet or microwave. This makes for a perfect quick treat on busy days!
What if my pears don’t caramelize properly?
Don’t worry! If your caramelized pears aren’t browning as expected, check a few things. First, ensure that you’re cooking over medium heat, as too low a temperature can prevent caramelization. Also, make sure you’re not overcrowding the pan; if there are too many pears, they’ll steam instead of caramelize. If you follow these steps and let them cook for a few more minutes, you should achieve a beautiful golden brown color.
Are these caramelized pears suitable for those with allergies?
Yes! This Easy Dairy-Free Caramelized Pears recipe is designed with common dietary restrictions in mind. However, if you have specific allergies, always check the ingredients you use. For example, select a plant-based butter or oil that’s free from allergens like soy or nuts, and ensure any sweeteners used are safe for your needs. Enjoy this dish knowing it can be customized to accommodate different dietary considerations.
Can I add other flavors to the caramelized pears?
Very! You can elevate your Easy Dairy-Free Caramelized Pears by experimenting with flavors. Consider adding a pinch of nutmeg or ginger for a hint of spice, or toss in some chopped walnuts or pecans for added crunch. You can also substitute pears with apples or peaches for a different twist. The more the merrier when it comes to customizing your dish!
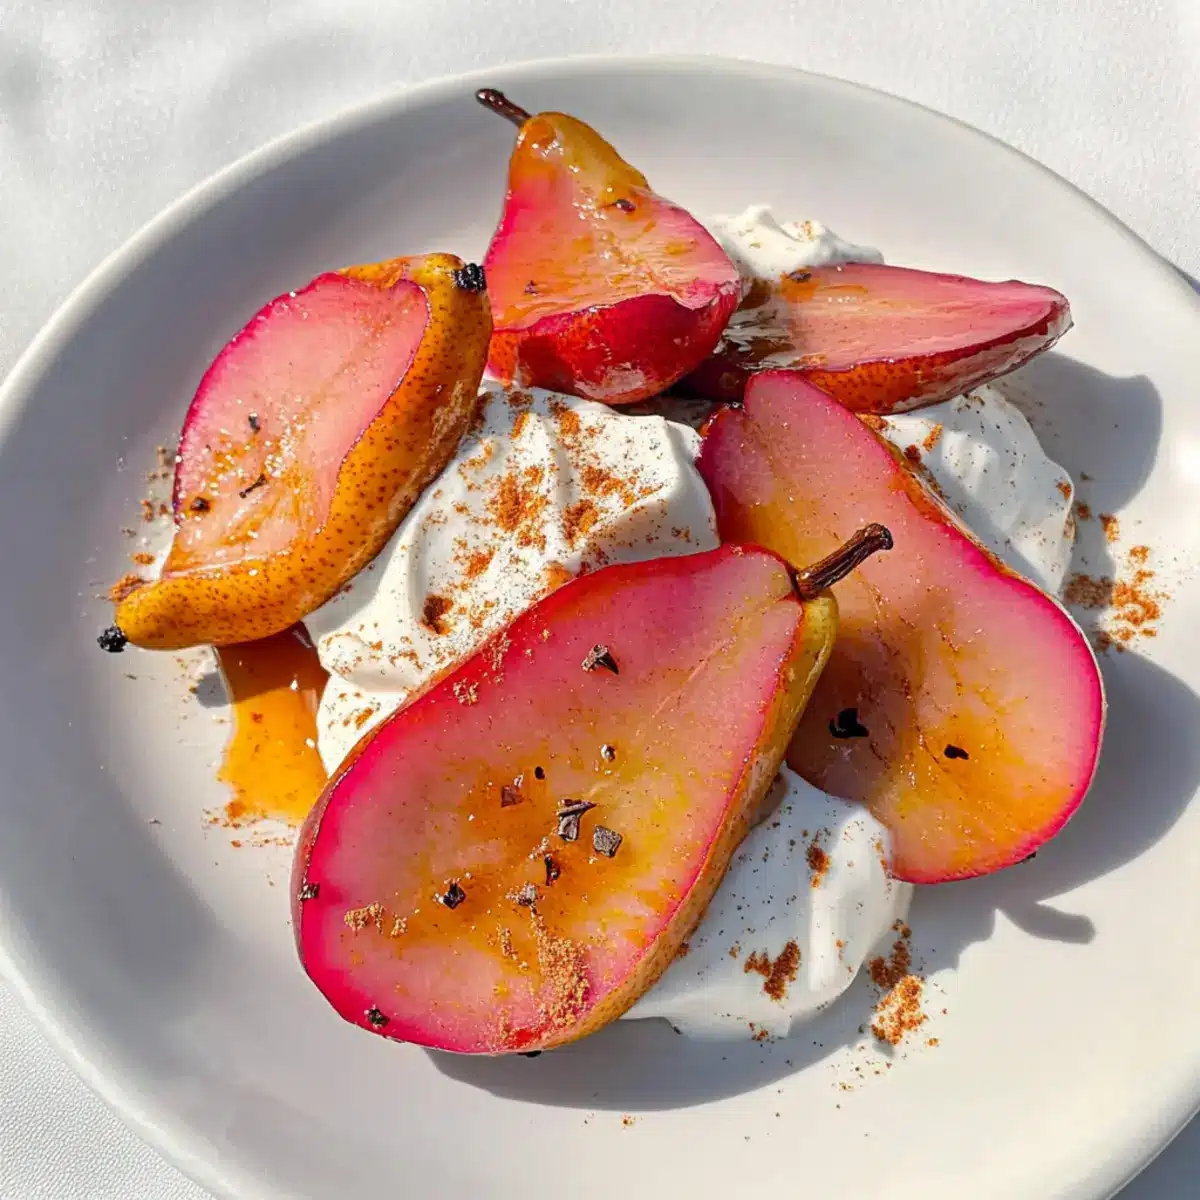
Hibiscus & Orange Poached Pears for a Vibrant Twist
Ingredients
Equipment
Method
- Begin by selecting ripe pears for maximum sweetness. Peel the pears and slice them into even wedges.
- Heat a skillet over medium heat and add plant-based butter or oil until it shimmers. Add the pear slices and cook for about 3-5 minutes.
- Sprinkle your preferred sweetener over the softened pears, and add cinnamon and lemon juice. Stir gently and cook for an additional 5-7 minutes.
- Once the pears are beautifully caramelized, remove from heat and let cool slightly before serving warm.
Leave a Reply